Translate

Showing posts with label Watercolor. Show all posts

Wednesday, June 8, 2022


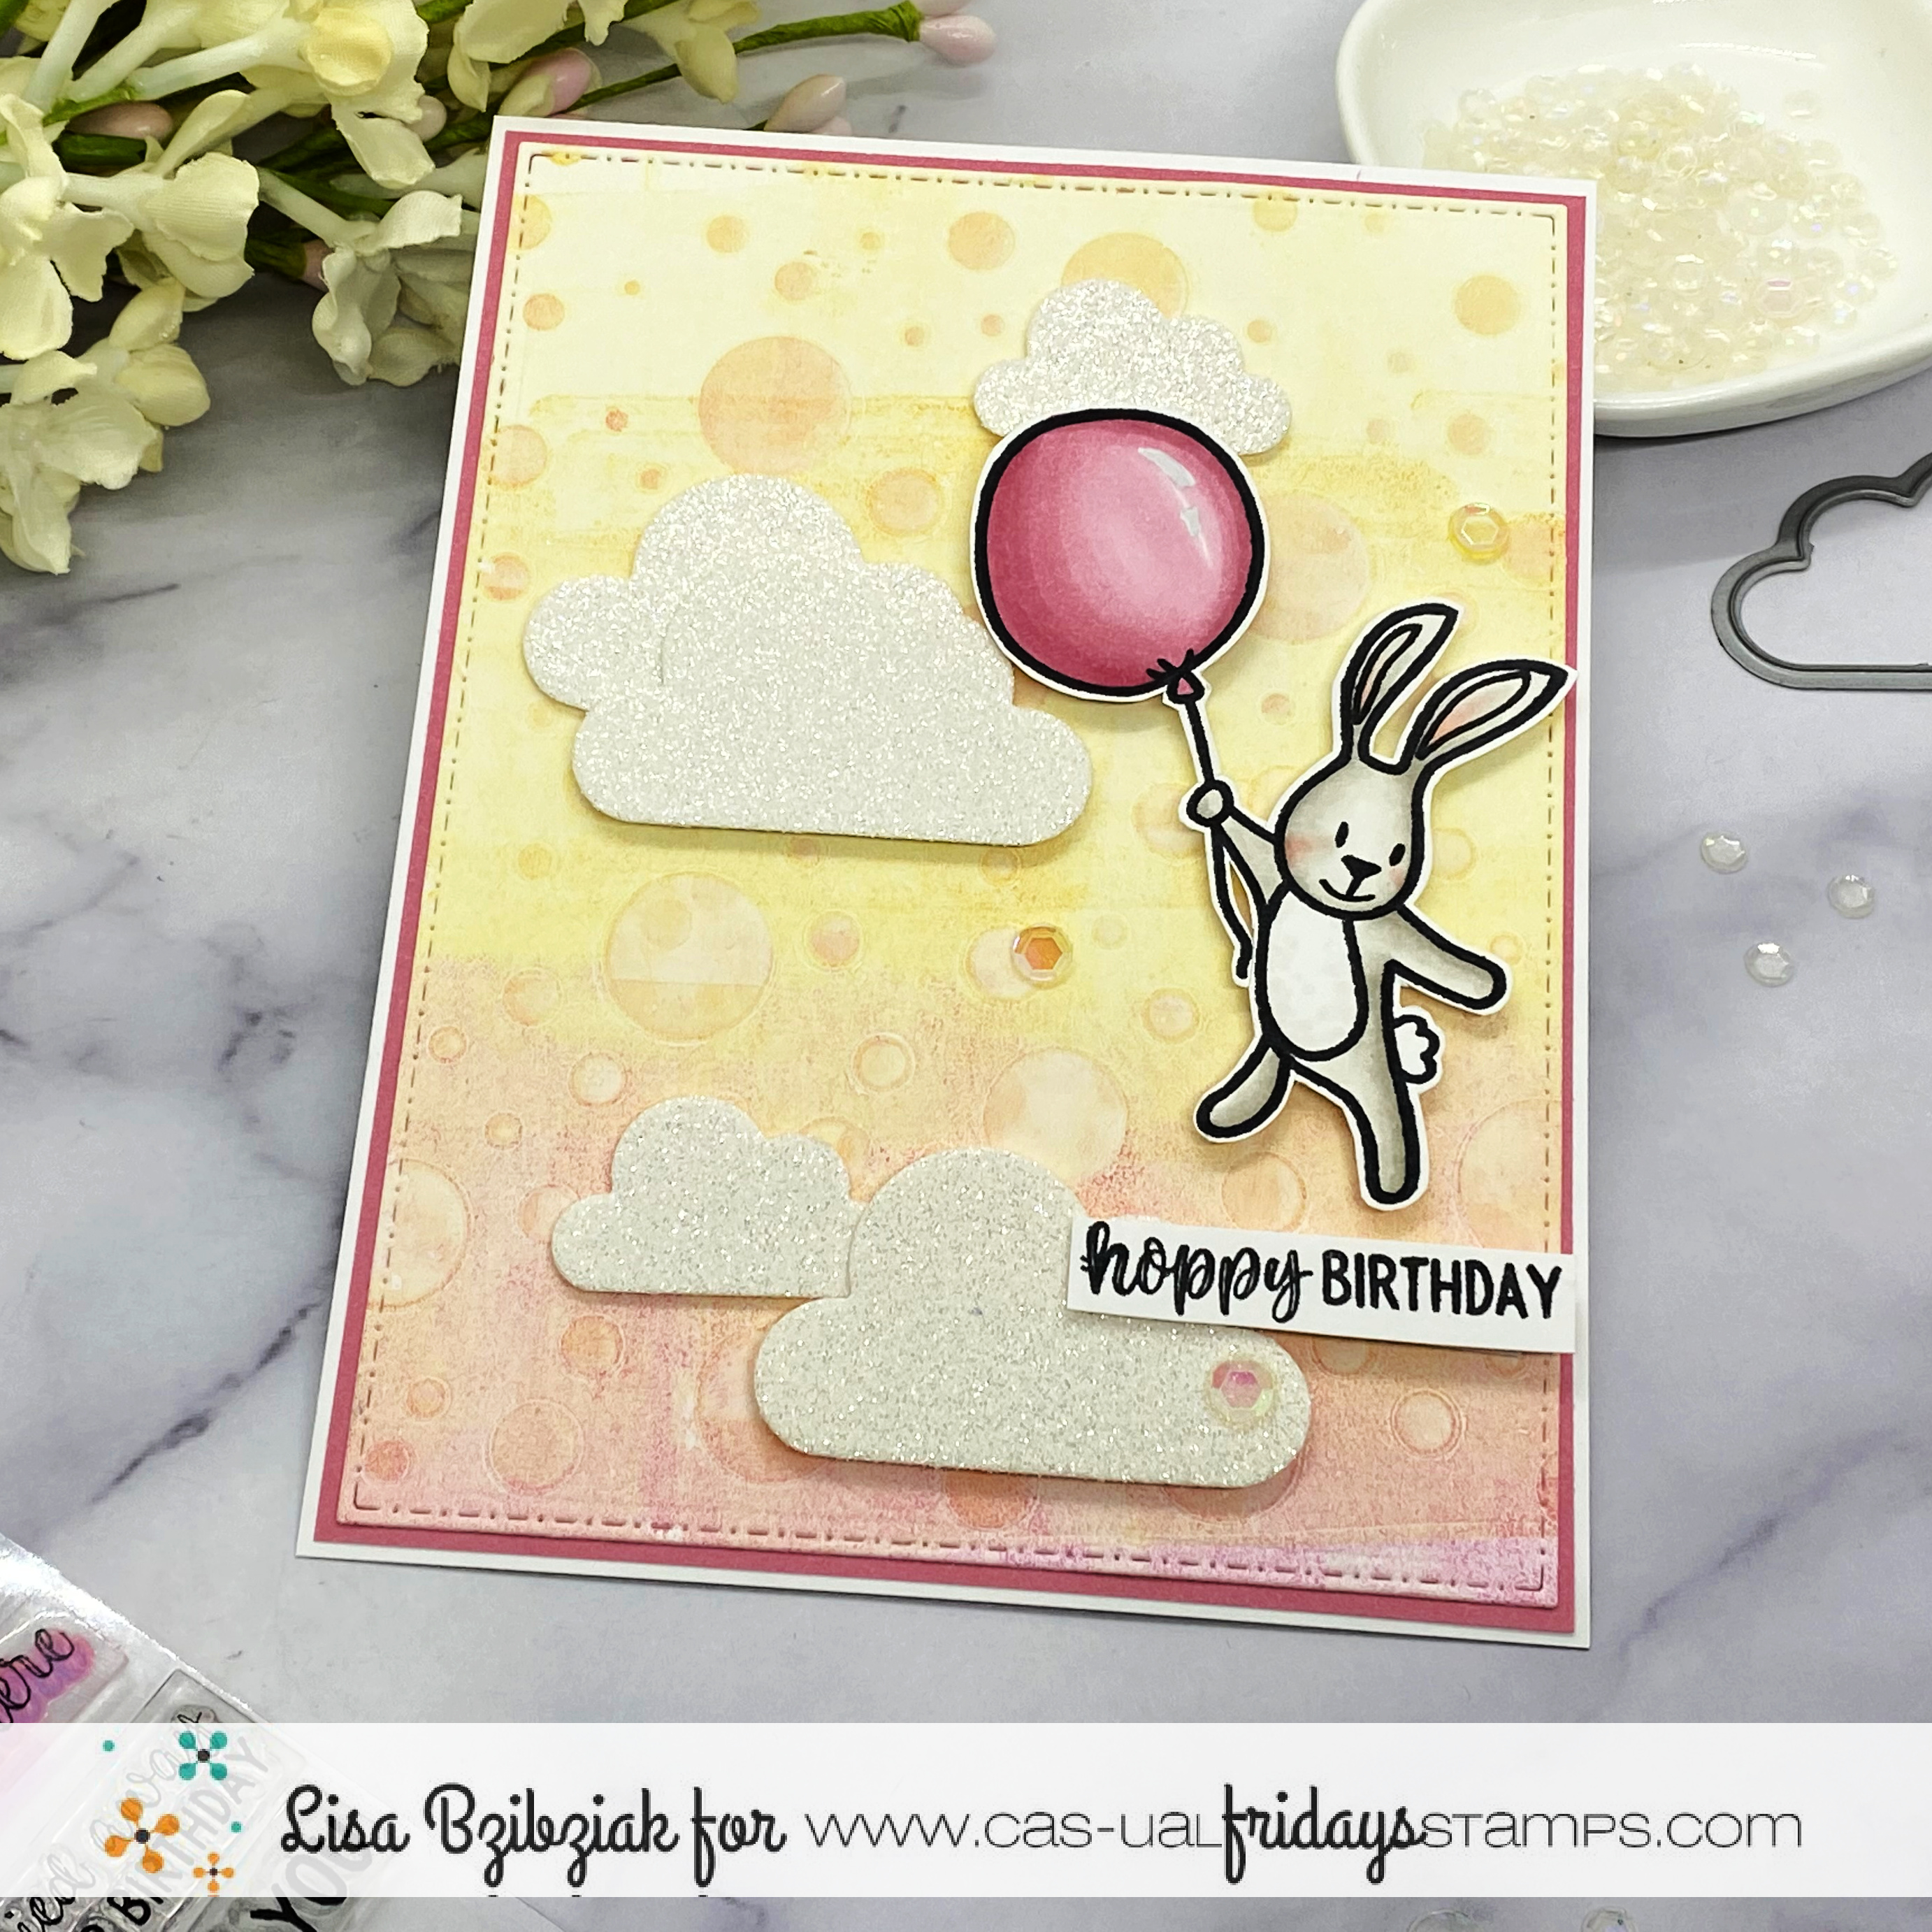
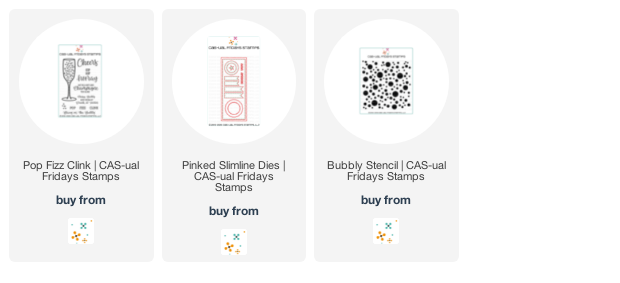
Hello!  I've got one today with a watercolored background I created on my Gel Press using some Distress Oxides and water along with the Bubbly Stencil.


I cut a few clouds from the Raindrops Duo out of white glitter paper and stamped and cut the bunny and sentiment from Somebunny.


Finally I popped everything up onto the watercolored background.

That's me for today!  I hope you enjoyed it and you'll come again soon!


Friday, May 27, 2022

Nothing You Can Do


Well hello!  Lisa here and today I've got a fun one for you using a couple stencils and some dies!


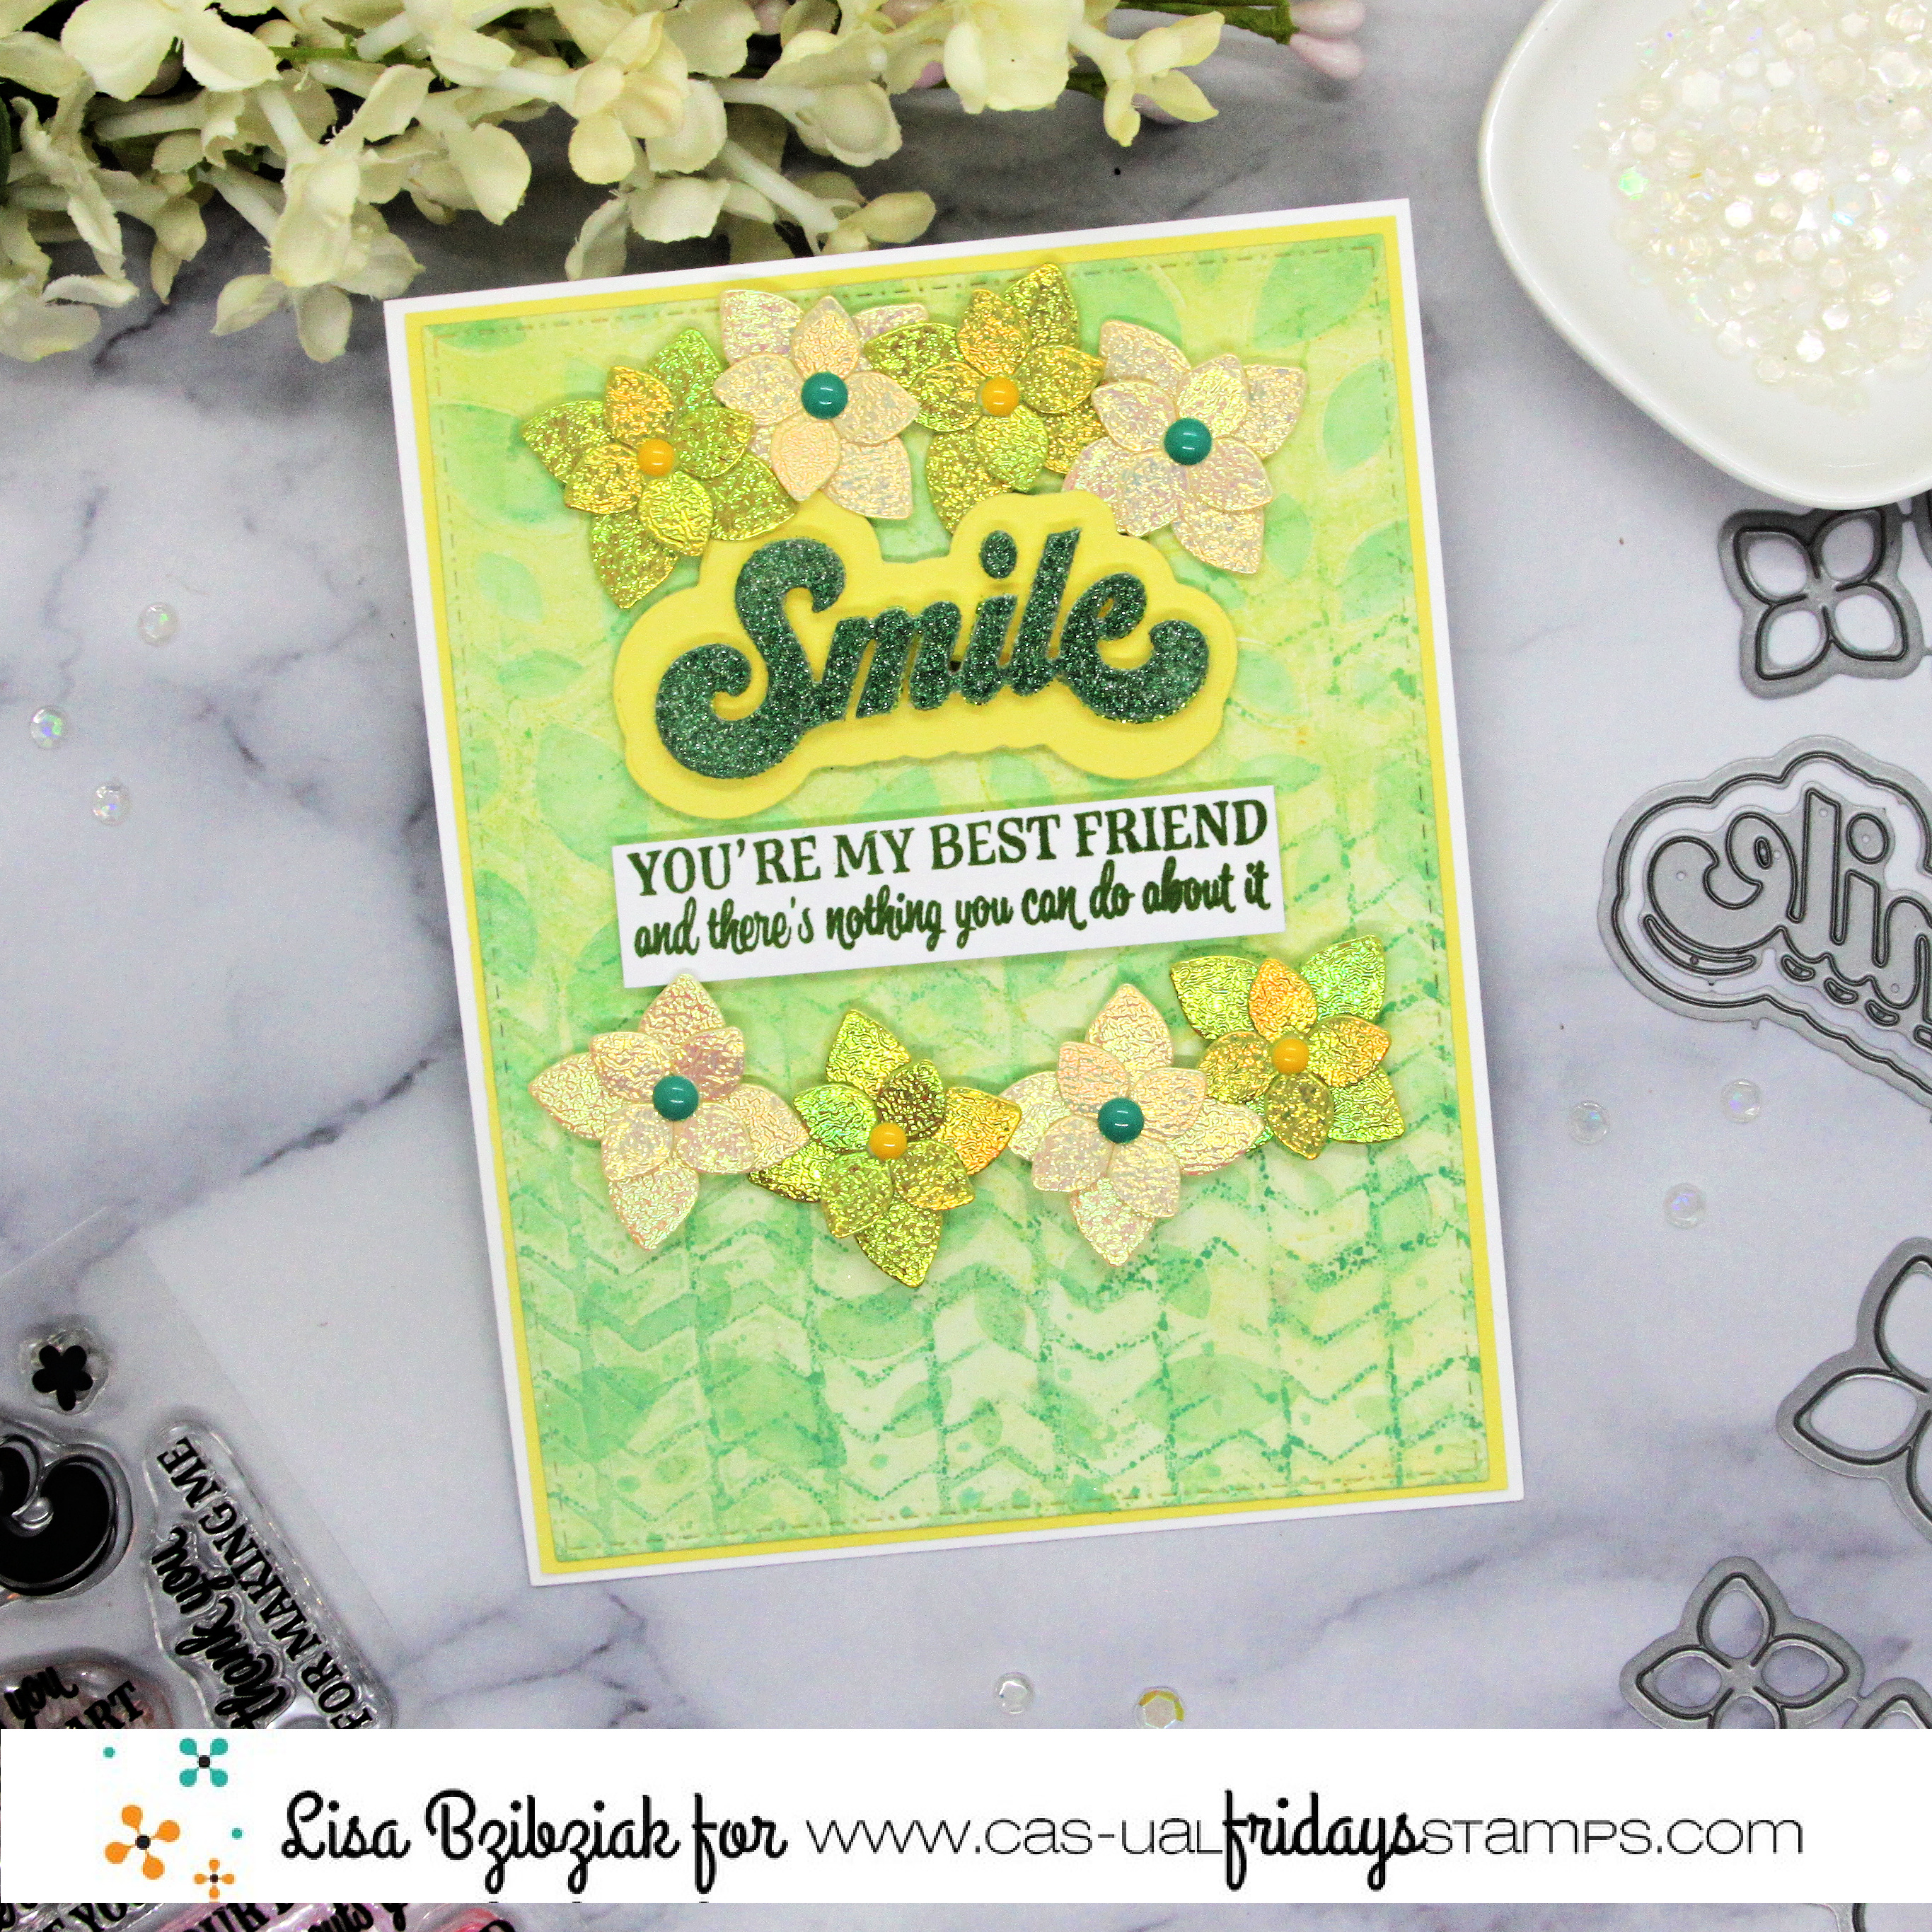
I created the background with my gel press and some inks using both the Chunky Chevron and Falling Leaves Stencil.

I cut a bunch of the 4 Petals die cuts from some shimmery paper and glued the smaller ones over the larger ones and then added a center.


I cut the smile word from green glitter and the base using the same yellow for my border, stamped the sentiment from the Sassy Smiles Duo stamp set and then arranged everything over the top of the background and adhered it in place.

That's me for today!  I hope you enjoyed it and you'll come again soon!


Wednesday, May 18, 2022

Silent Scream


Welcome Back!  Today I'm sharing another coffee card with a watercolored background using the Falling Leaves stencil!


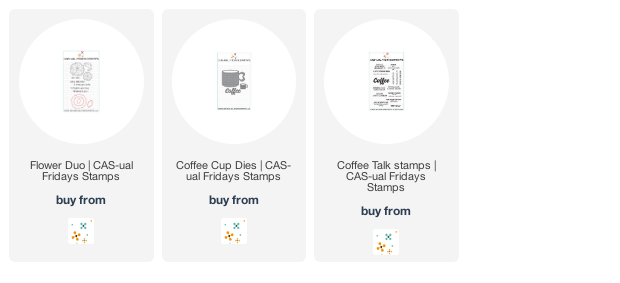
I stamped, cut and colored the pretty flowers from the Flowers Duo and tucked them inside the Coffee Cup after stamping the sentiment from Coffee talk.  Then I cut the Coffee word die from green glitter paper and then popped it up at the bottom to complete the sentiment!


That's me for today!  I hope you enjoyed your visit and you'll come back again soon!


Thursday, April 28, 2022

Pop Fizz Clink Cheers!


Welcome back!  I've got some more fun with the Pop Fizz Clink set!

I started this one with a panel I created using the Bubbly stencil and watercolors using some Distress Oxide Inks.


I stamped and embossed the glass directly onto the background and then used the coordinating die to cut the bubbles from some iridescent paper and then glued them over the stamped bubbles.


I stamped and heat embossed all of the sentiments.. the Pop Fizz Clink on pink cardstock with white embossing powder and then stamped the Cheers on white with Raspberry ink and embossed with clear powder.  I fussy cut the Cheers and popped it up onto the two circles from the Pinked Slimline set and trimmed the Pop Fizz Clink to strips and popped them up onto the background.

That's me for today!  I hope you enjoyed it and you'll come again soon!


Sunday, October 24, 2021

You Make My Heart Smile!


Welcome back!  I've got some watercoloring for you today!  I've used some liquid watercolor this time.

I started by die cutting a panel using the stitched die from the Slimline Pinked set.  I heat embossed the beautiful Flowery Background onto it in gold.  The background covers a regular card base panel so was short for the slimline, but I decided instead of stamping it again, I'd leave it blank and do something different with it.  Then I dropped a couple drops of the yellow and orange watercolors into wells of a paint pallete and water in a couple of the wells.  I started with a yellow wash and then started adding the two colors to the flowers sometimes heavier on the yellow and others the orange.


I love the variations I got and it reminds me of the Fall Mums I'd always plant in the fall in NY.

When that was dry, I blended some yellow and orange Distress Oxides onto the blank end of the panel and then added some texture paste through the Falling Leaves stencil and added gold embossing powder over it and heated that up.

I used some gold Glitter Tape across the area where the two designs came together and then added the sentiment with the word die and sentiment from the Sassy Smiles Duo at the bottom.


Finally, I cut the pinked panel in white and layered the watercolored panel over a yellow; then layered that over the white pinked panel and finally an orange base and a few sequins to finish it off!

That's me for today!  I hope you enjoyed it and I hope you've been enjoying all of the birthday inspiration we've been having here lately!

Come back again soon!


Thursday, April 16, 2020

When This Is All Over


Hi, Lisa here!  Sharing this one today using some of the great new stamps from the latest release.

I started with the background that I made by sprinkling some Color Burst onto some watercolor paper and sprayed it with water infused with Liquid Pixie Dust and let it do it's thing.


While the base was drying, I stamped the flowers from Terrific Flowers onto watercolor paper in Versamark and heat embossed them with Wow embossing powder.  I used Zig Clean Color Markers to color them in and then fussy cut them out so I could pop them up over my watercolored background.  I stamped the Hope word from the Heart Ribbon set in purple and fussy cut that out and popped it up in the corner.


Finally, I stamped another one of the sentiments from the Heart Ribbon set and popped it up on the top.  I love the encouraging sentiments on that set that are great with or without those beautiful ribbons!  I just added some purple gems and clear sequins and I was done.


I find myself creating a lot of these kinds of cards lately because there are a lot of us who need a little encouragement and a reminder that things WILL get better.  

And if you're up for a little bit of happy (or a lot of happy), come back tomorrow because we've got something pretty special going on here!  You don't want to miss it!

Thanks so much for stopping!  Hope you enjoyed it!


Sunday, October 20, 2019

Hey There Foxy!


Lisa here!   Have you seen the beautiful Foxy stamp set in the CAS-ual Fridays shop?  I decided I needed to pull it out for today.  I stamped the images onto some watercolor paper using Ranger Archival Ink and then colored them in using Zig Clean Color Real Brush markers.  Once they were dry, I fussy cut them out.  I love to cut the floral out especially because I love the way it looks and how it curls just a bit!


I created the background using the Modern Petals Stencil and the Zig markers.  I taped down the stencil over some water color paper and holding down the stencil close to the paper I proceeded to color in the petals.  I didn't spend a lot of time to color the entire petal because I knew I wanted to mix these colors in the negative spaces so with quick brush strokes I went over with yellow, then green, and then orange.  Finally I splattered some glitter watercolors over the top.


Once I popped up and added all of my pieces, I heat embossed this sentiment from the Foxy stamp set onto black cardstock... my favorite way to add a sentiment these days.


Thank you so much for stopping by today!  I hope I've provided a little inspiration for your crafty day!

If you have seen something you must have, I have this for you:


Come back soon and often for more inspiration!


Wednesday, August 7, 2019

No Limit To Your Awesomeness


Lisa here and I mentioned last time that I would share a background using watercolors and a stencil and so here we are!  I love this beautiful Mon Ami stamp set... the floral images and those great sentiments!


I started with the Modern Petals stencil and a panel of watercolor paper.  I taped down the stencil over the watercolor panel.


I laid down a light layer of the aqua color and let it dry.  I added a bit more tape and used a smaller paint brush with less water to add some purples and gold (of course) in a few select areas.  Less water and a tighter stencil will give you a little more control and less bleed under the stencil.


After the additional colors dried, I removed the stencil and splattered on a little of each of the colors and let it dry.


While my background was drying, I heat embossed one of the floral images from the Mon Ami set in gold on watercolor paper and die cut it out.  Then I used both of the purples that I used in my background to color it in.  I heat embossed that fun sentiment in white on Aqua cardstock and popped up both the floral and the sentiment on my background.


I love when the colors blend and bleed a bit, but you can still see the shape of the stencil open spaces!  I just added a few sequins and I was done!


That's me for today!  I hope you enjoyed your stop here!

Don't forget this is going on:


And should you decide there is something you must have, I have this for you:


Come back soon for more inspiration!


Monday, July 22, 2019

A Shimmery Watercolored Note To Say Hello (or Maybe Two)


Lisa here!  I'm really loving my glittery watercolors lately and creating backgrounds with them.  I'm sharing with you today one of the ways I've been using them.


Nothing like a beautiful floral and this Pretty Posies set is SO lovely.  And with it's pretty and simple sentiments, the set is perfect for any occasion!


I cut my panel of watercolor paper and started by stamping the medium flower from the set in versamark and heat embossing with some Wow Bright White Embossing Powder.  When I'm random stamping I like to start with my largest image and stamp in a triangle pattern leaving room for my other images.  Then I go down to the next smallest image and do the same and fill in with the smallest.


Because the paper is white and it can be hard to see the images on the paper I heat emboss each set of images separately.  It also helps to keep me from smudging and ruining an image because my thumbs tend to get in the way.


Then I start to add my background color.  I don't worry so much about getting the background color over the images because a lot of the time it just mixes in with the other colors I add and creates some really cool colors.  Also because it's water, you also have the option to wet a space again and lift up the color with a paper towel.  I did that for my smallest flowers a bit because I was using orange and felt it would be a better color without mixing with the blue.  I'd let the background color dry and then see if I wanted to add any more color until I was happy.  Really the waiting is the hardest part as the song says...lol!


After I was happy with my background coverage, I started adding color back in with a smaller paintbrush.  Again, I would let my colors dry and then add some more where I wanted it.  I mixed in some purple with my pink and a couple different greens on the leaves... along with the blue I love the way they came out!


When I had everything colored in, I let it dry and splattered some more colors on with my tiny paint brush.  It's so much fun to play with watercolors this way!  
  

I stamped and embossed a few more of each of the images onto some watercolor paper to be cut out and popped up on my card.  I added this simple sentiment from the set and finished my sentiment ...


With this Hello from the Sweet Friend Fri-Dies... 


And there you have it!  I did fussy cut my images out because in my usual fashion I FORGOT I had the dies!!  Oh I wish I hadn't forgotten that...lol!  Although I don't mind cutting.. it sure would have been SO much easier had I just die cut them out.  Don't ask me how I forget these things... I just do...lol!

I had some extra flowers left over so I decided to create one more quick one:


Rather than creating a new identical background... I just used my watercolors with the Modern Petals Stencil for an even quicker and simpler background.. I'm gonna make a few more of these as well and I'll share those with you next time!


To make things easier for myself I kept the same design basically and this one came together quickly!


Have I mentioned how much I love the font on these Sweet Friend Fri-Dies??


So that's me for today!  I hope you enjoyed your stop here today and you'll pull out your watercolors and play a little.  I know I'm going to be doing just that very soon!

If you've seen something here today that you must have, I have this for you:


And come back soon for more inspiration!  You can find us at these places: