Translate

Showing posts with label Pretty Posies. Show all posts

Friday, January 28, 2022

A Sad Goodbye and A Get Well Card

Happy Friday everyone!! 

Nora here on the blog today from A Creative Touch with a farewell post with a get well card created with some of my FAVORITE CAS-ual Fridays supplies.


I started off this card by ink blending pink and peach on opposite sides of an A2 white, card front. I then used the retiring
Modern Petals Stencil over the top, switching the colors so that the peach was over the pink and the pink over the peach color.


To complete the card front, I spritzed some pink spray stain over the stenciling. I cut the front down to a 4" by 5 1/4" and adhered to a white, A2, top folding card.


I set this aside and stamped the large flower, two medium flowers and three leaves from
Pretty Posies  stamp set with Versamark ink on white cardstock. 


I heat embossed these botanicals with gold embossing powder. I used pink, peach and green ink to color my stamped images in and die cut them with the matching
Posies Dies.


I adhered the flowers over my card front. I then heat embossed a sentiment from the same stamp set on a white strip of cardstock. I cut the sentiment up into pieces and adhered it over the card as shown.


My last step was to use the
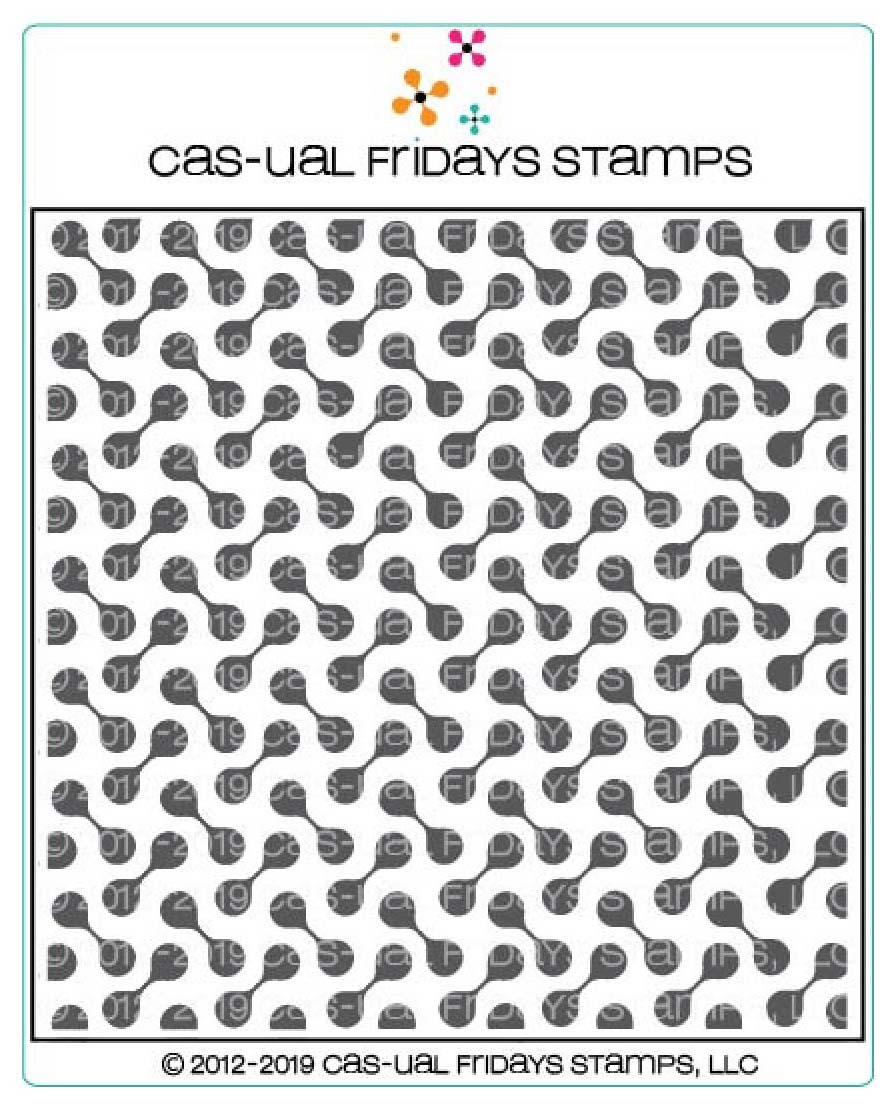
Swirls Stencil and some Nuvo Crystal Drops in green to make some swirls over the card front.


My card was complete!!


If you want any of these products, hop on over to the CLEARANCE section at the CAS-Fridays Shop. These are going fast and will not be there for much longer!!

I will miss all of you and my fellow DT members. I want to thank Michele for a wonderful experience!!! 

I will still be blogging over at A Creative Touch. Hop on over from time to time to see what new endeavors I will be delving in. 

I thank you for taking the time to stop by!! Have a FABULOUS day!!


Monday, January 24, 2022

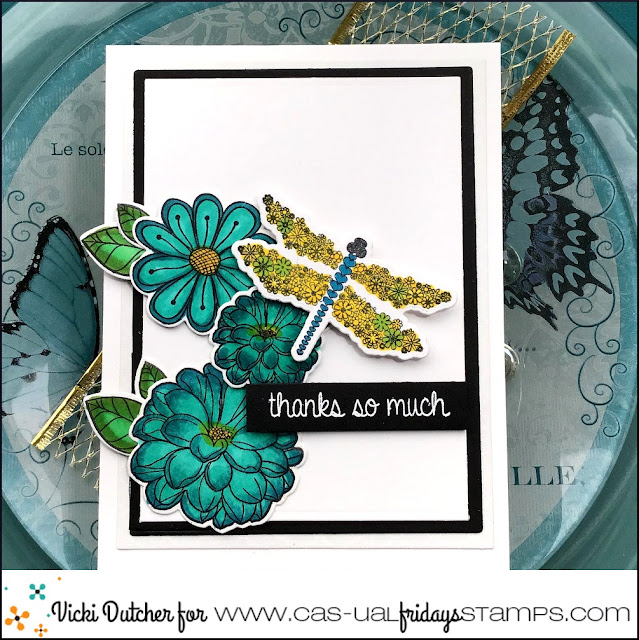
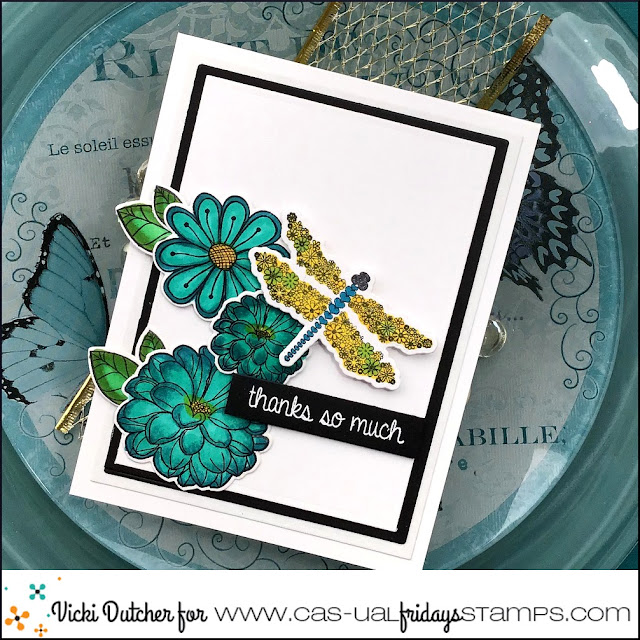
Thanks So Much

Hi All, it's Vicki from All I Do Is Stamp.  I needed a Thank You card, and was in the mood to color up some flowers!  Here is what I came up with~

I used a couple of products for today's card; Flowery Duo [comes with the dies!], Pretty Posies [with matching dies], and Everyday Dragonflies [with matching dies]. [All of these are on sale, and yes, my code works too!]

I colored the images with my Copics, and the sentiment is from Everyday Dragonflies.

That's it for my card.  I'll be back next month with more CFS cards.


Thanks for stopping by~
ps - I have used affiliated links in this post at no additional cost to you. 


Wednesday, January 12, 2022

Happy Birthday to You

 Hi All, Vicki here today from All I Do Is Stamp.

Have you ever stamped your own background? While I don't do it often, I did do it for today's card. I went with a totally different color combo for me.  That said, I am loving these colors together!  I used the Jewish Star Stencil to sponge my background.  I added some stamped Pretty Posies flowers, and lastly, I used the tiny flower from Sassy Smiles, stamped as a filler.

I used the [so fun] Whole Shebang stamp set for the sentiment.  [On a side note, I really love how you can use embossing powder with Versafine ink.  Makes it all pretty and shiny ;)]

That's it for me today.  I'll be back in a couple of weeks.


Thanks for stopping by~

ps - I have used affiliated links in this post at no additional cost to you. 


Friday, August 20, 2021

Feel Better Soon!!

Hello Crafty Friends!! 

Larissa here today to share this SWEET Feel Better Soon Card using the NEW Stars and Stripes Stencil along with the Flower Duo Set and the Pretty Posies Stamp Set!! 
SWOON!! I LOVE the combination of the Plaid with the Flowers!! 
Let's get Started!!
 

I Started by Inking up the NEW Stars and Stripes Stencil with Picked Raspberry Distress Oxide Ink to create a FUN Plaid Design!! I think this Technique would also be FUN with Different Colored Inks!! I can't wait to try it for another Card!! 
I Stamped and Embossed the Flower Duo Image with Versa Fine Black Onyx Ink and Embossed with WoW Clear Gloss Embossing Powder!! 
Then I Colored with Copic Markers!! 
Flower: RV00, RV52 & RV55   N0 & N3     Leaves: YG61, YG63 & YG67
Then I used the coordinating Dies to Die Cut them out!! I Adhered them to a Circle Die Cut that I inked with Salvaged Patina Distress Oxide Ink using Foam Tape for some Dimension!!  
I Stamped and Embossed the "Feel Better Soon" Sentiment and then added the Circle to the Card using Foam Tape!! I adhered some Trinity Stamps Fairy Rock Rhinestones for an extra touch of Sparkle!! I LOVE the way this Card turned out and I hope I've INSPIRED you on a FUN way to use the NEW Stars and Stripes Stencil!! 

THANKS SO MUCH for stopping by today!! I hope you have a FABULOUS WEEKEND!! 

Larissa Heskett


Wednesday, July 7, 2021

To Brighten Your Day

Hi All - it's Vicki here today from All I Do Is Stamp.  Gosh, this month is getting away from me!  My Facebook account got hacked [!], and I spent 4 days dealing with compromised accounts!  Ya know, hackers are idiots - that's all I'm saying!  Meanwhile, if I can't get my account back [I'm trying to deal with FB as I wait], then, I will be opening up a new Facebook account and starting from scratch -- seriously bums me out.  I had a lot of friends, along with all my cards!  Absolute nightmare!

All that said, I did manage to get this CFS card made and I am happy that at least got done.

I started with a stenciled background using the Bubbly Stencil, and the Chunky Chevron Stencil.

I got out the fun newly released Flowery Duo, along with the [matching] older Pretty Posies. Rather then actually coloring in the leaves and flowers, I thought I would try different colored ink from the Catherine Pooler Carnival set.  I rather like the end result.  Not coloring does make it a much quicker card for sure. 😀

What type of cards do you make?  Quick and easy?  More elaborate?  A mixture?  I do prefer a mixture so I don't get bored.

That's it for me today. 


Thanks for stopping by~
I have used affiliate links in my post. If you click on the store links, [not the photos], below and shop from them, I will receive a small commission from the sale which is no additional cost to you but compensates me for using the product and my time. Thanks so much!
CFS Bubbly Stencil
CFS Bubbly Stencil
Shop at:
CFS
CFS CP Mini Inks Paradise Found
Shop at:
CFS
CFS - Chevron Stencil
Shop at:
CFS
CFS - Flowery Duo
CFS - Flowery Duo
Shop at:
CFS
CFS - Pretty Posies
CFS - Pretty Posies
Shop at:
CFS


Monday, July 5, 2021

A Mixed Media Card Combining Stencils, Dies and Stamps

Hello Crafty Peeps!!!

It is Nora  from A Creative Touch here on the blog today with a Mixed Media card. I have been kind of in love with getting messy lately, so I decided to make a mess while making this  card! I combined the Curtis Stencil, the Love Notes and Pretty Posies stamps with the 4 Petal dies to create my project.


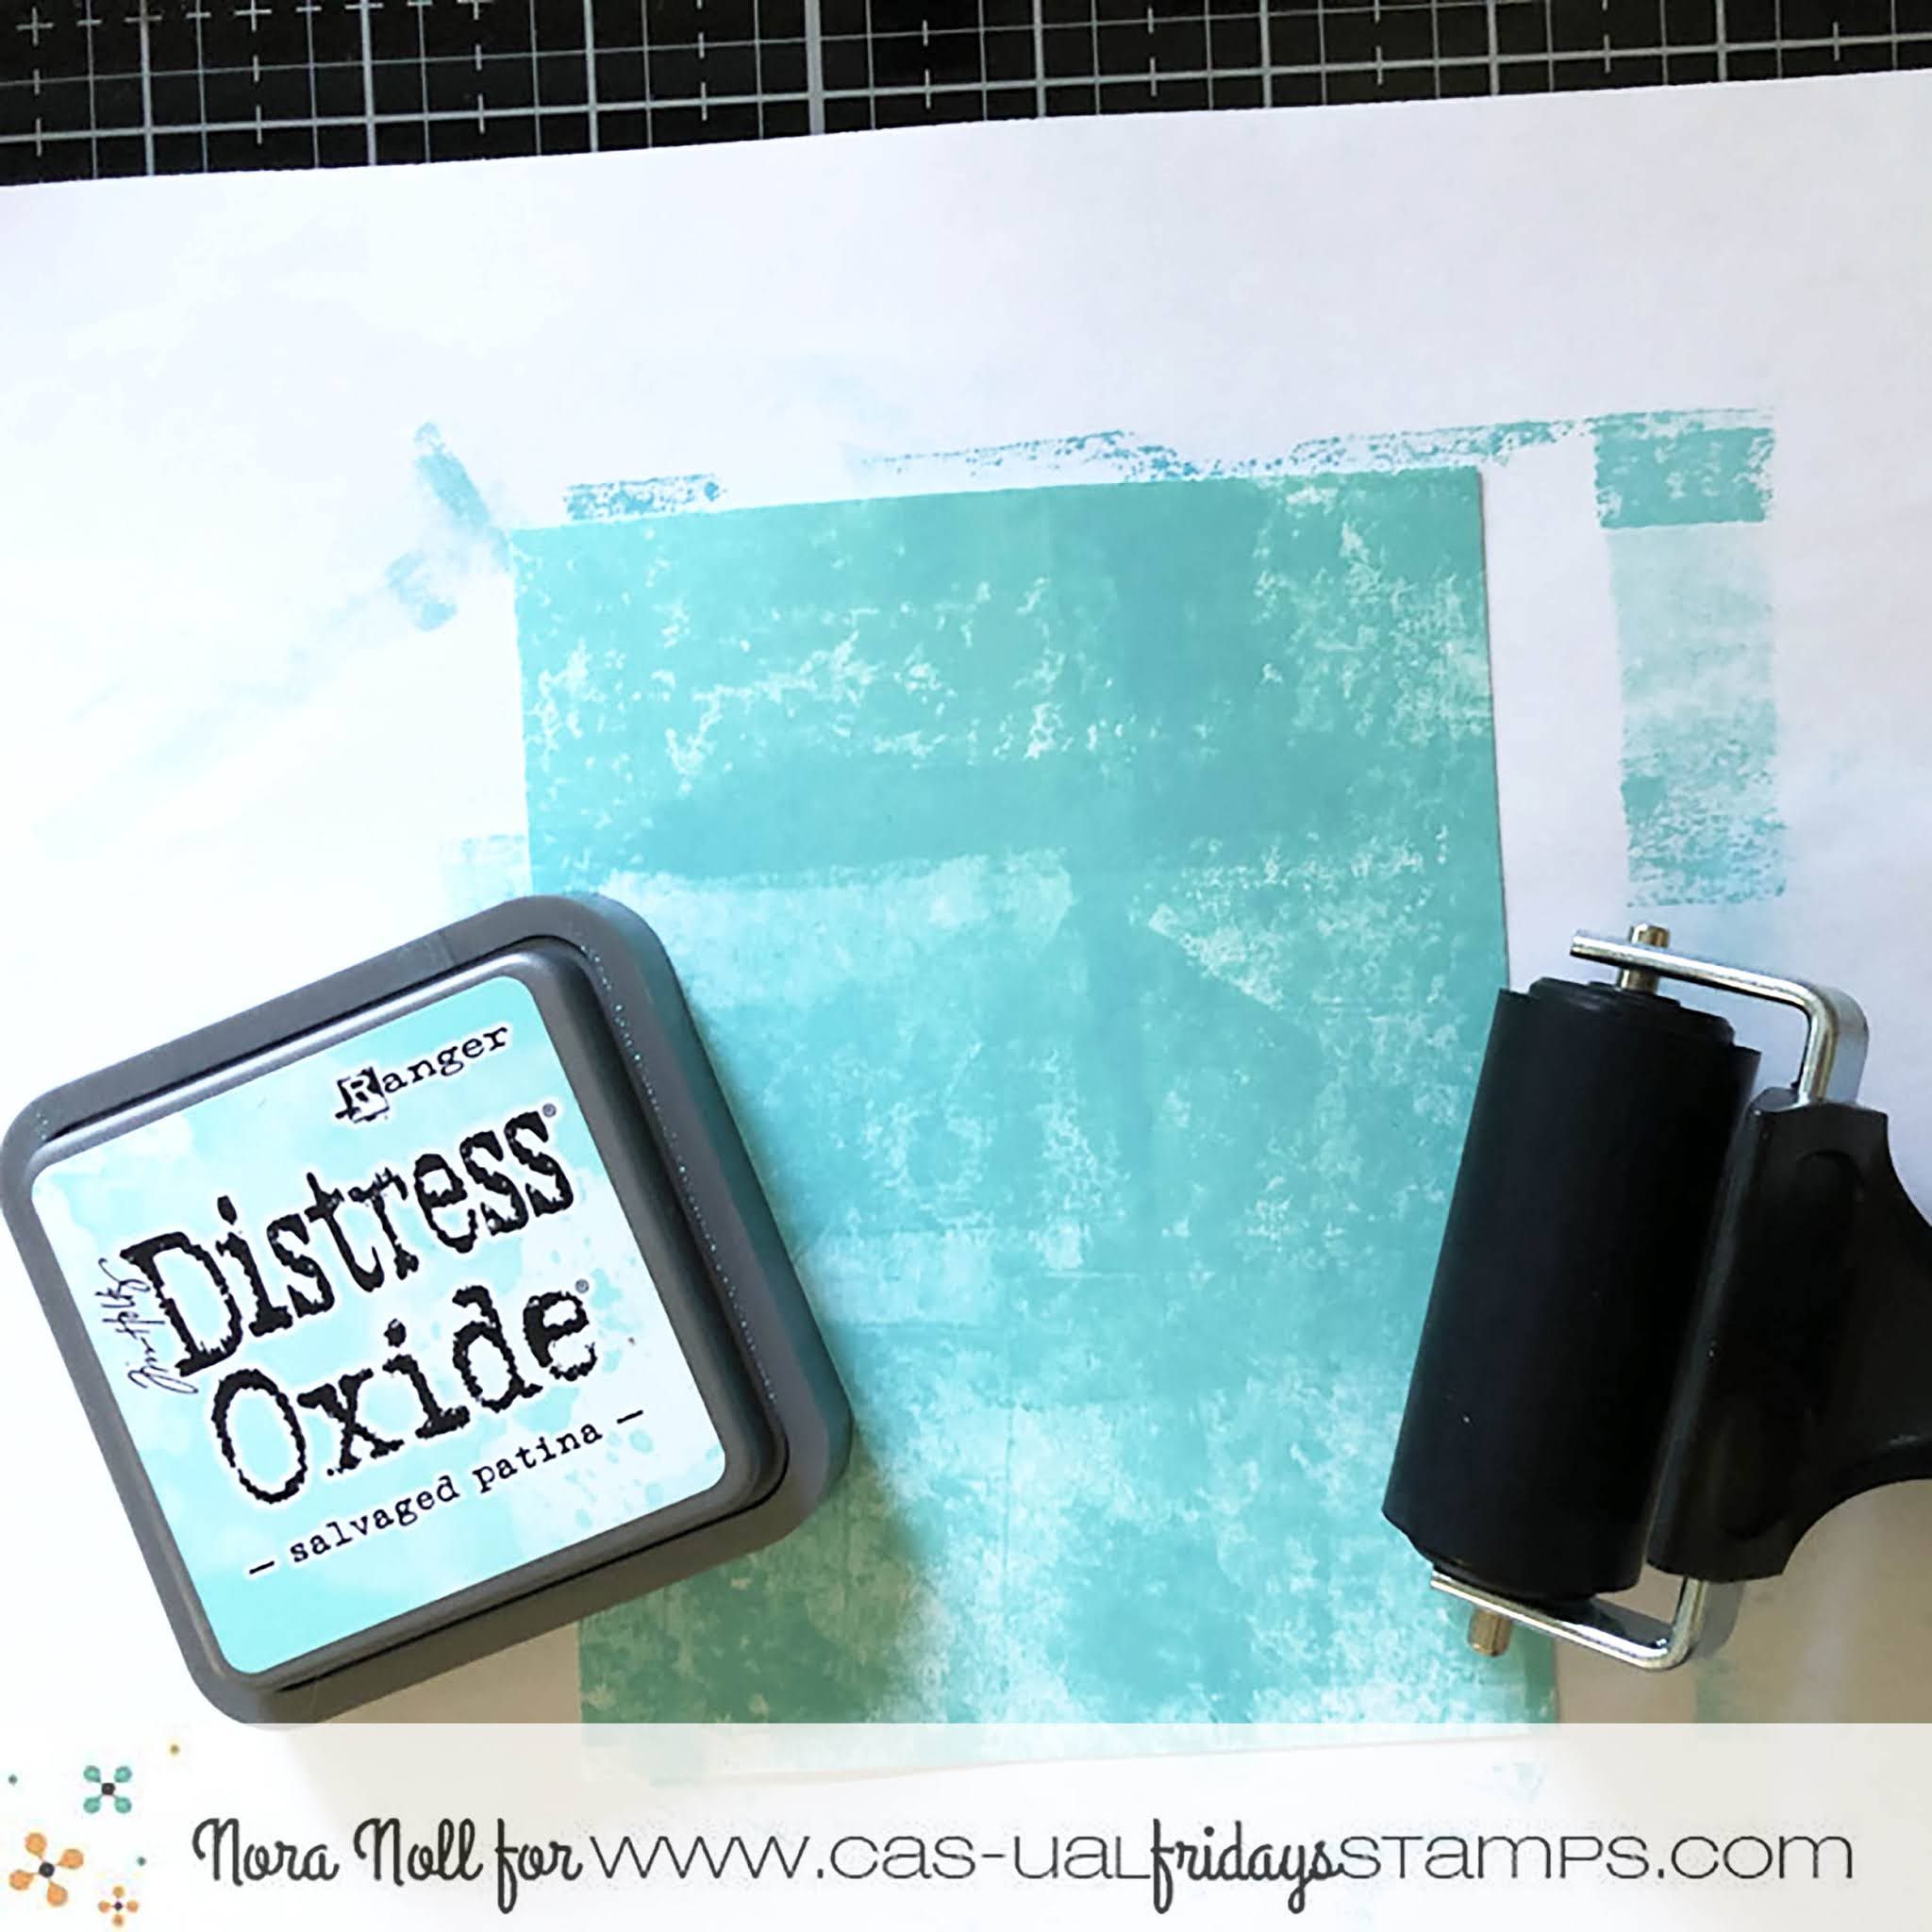
I started off my card by adding Distress Oxide Ink across a of 4 1/2" by 5 1/4," white piece of cardstock with an ink brayer.  As you can see, I did not fully cover the cardstock as I knew I was going to be adding layers over this panel. Also, if you don't have a brayer, you can just drag the ink pad across the cardstock. I liked how the brayer looked so I chose to ink the 
panel up with that.


 Next, I used some Nuvo paste and the Curtis Stencil to stencil on top of my inked panel. 


I would urge you to let this dry but since I am impatient, I did not do so.


I used the Love Notes stamp set to stamp the xoxoxo sentiment randomly across the card front. 


At first I tried to make everything straight but since I was doing this free hand with an acrylic block, only some of the sentiment are perfect. I didn't care as it adds to the look of the card.


I used a music note and the same colored Distress Oxide ink to stamp the notes randomly around my panel. These notes kind of blended in to the background but this was the look I was going for.


The last step I did before I set the panel aside was to flick Distress Stain in a few colors 
cross the front. 

While the card front was drying, I worked on my flower. I used the 4 Petal Die set to die cut a bunch of petals out of white cardstock. 


I was not sure how many I would need so I cut extra. 


I stamped the leaves with black ink using the Pretty Posies set. 


Please forgive the look of my leaf stamp below. It has seen a lot of love!!!


At first I colored the leaves in green  using Copic markers. However, I didn't like how it looked with the background. Instead, I stamped a second set of leaves and used oxide ink with flicks of Distress Stain to color them in. 

I die cut the leaves with the matching Posies dies


I added my leaves as shown, adhering two with foam adhesive. I then glued the petals on, using both the large and the small die cuts, with a liquid glue. I wanted to be able to play around with where I wanted the petals placed so using a liquid glue that dries slower was a must.


The last step to this card was to add some flower centers with lilac dimensional drops. I looked at white hydrangea photos to see what color the center actually is but didn't have what I wanted in my stash. Since I had fun with the leaves, I decided I could make the centers of the flower whatever color I wanted.


I love love love how this card came out and it was a TON of FUN to make. It looks like it took a ton of time but really it wasn't because it did not require me to be "perfect."

Want to go shopping? There are a lot of fabulous products in the CAS-Fridays Shop. Use my code NORASENTME to get an extra 15% off your total order!!


That is all from me today. Please be sure to stop back to the blog to see some other FABULOUS projects by the Design Team. Have a FABULOUS day!!