Translate

Showing posts with label Chunky Chevron stencil. Show all posts

Friday, September 2, 2022

Anytime You're Sad - Coffee


Welcome back!  I'm sharing some caffeinated inspiration for you today.  I've used some of my favorite things from the shop for this one.


I created the background using the Chunky Chevron stencil with my Gel Press.  I die cut the cup using the Coffee Cup Die from white cardstock.  I stamped part of the sentiment from the Cup Refills stamp set.  I stamped the flower from the Flower Duo set onto the corner of the cup, colored the coffee piece and popped it up onto the background.  Finally some Jumping Jacks cut from glitter paper as "steam".


You may have seen yesterday's announcement that Michele is going to be closing up shop.  There is a huge liquidation sale going on and everything is 40% off.  Many of my faves have already sold out so if you'd like to get some great deals on some great stamps, dies and stencils, hurry over to the shop to get some of your faves before they are gone.

Thanks for stopping!  Come again soon.


Friday, August 5, 2022

Thanks for Making Me Smile


Welcome back!  Ever have a friend that can always make you smile?  I'm sharing this card that I made for one of those!


I started with a gel print I created using the Chunky Chevron Stencil that I foiled with a used piece of Teal Deco Foil.  I added the flower from Mon Ami which is not available! So sorry, but we do have the awesome Flower Duo that you could easily substitute!


I added a sentiment using the Sassy Smiles Duo!

That's me for today!  Hope you enjoyed it!  And we have a sale going!


Thanks so much for stopping!  Come again soon!


Monday, July 18, 2022

You Got Rescued - A Pawesome Shaker


Hello!  Welcome back!  I created a shaker for today.  
My background was created with the Chunky Chevron stencil on my gel press with Distress Oxides.


I created a simple shaker using some Hexagon dies and some pretty colorful sequins that coordinated with the colors on the card and added pawprints I created with the Pawesome Stencil, Distress Oxides and Iridescent Glitz Glitter Gel.

Finally a sentiment from Nate & Friday and done!


Monday, June 20, 2022

Happy Birthday-Foiled


Welcome back!  Today I'm sharing a card using the Mon Ami stamps and dies along with the Happy Birthday dies.  I created the background using some Yupo paper and alcohol inks and then used the Chunky Chevron stencil and some Deco Foil Transfer Gel Duo and Gold Deco Foil over the top.


The Transfer Gel Duo stays a little sticky so you can use it with foil without heat.  I like to let it sit for a whole day so it's only slightly sticky and the foil transfer isn't solid.

I cut the Happy Birthday dies from some foiled gel print and then cut it twice more from cardstock and stacked them for dimension.


Then I added the stamped images to the front with foam tape and just a few sequins.

Thanks so much for stopping!  Come again soon for more CAS-ual Fridays inspiration!


Friday, May 27, 2022

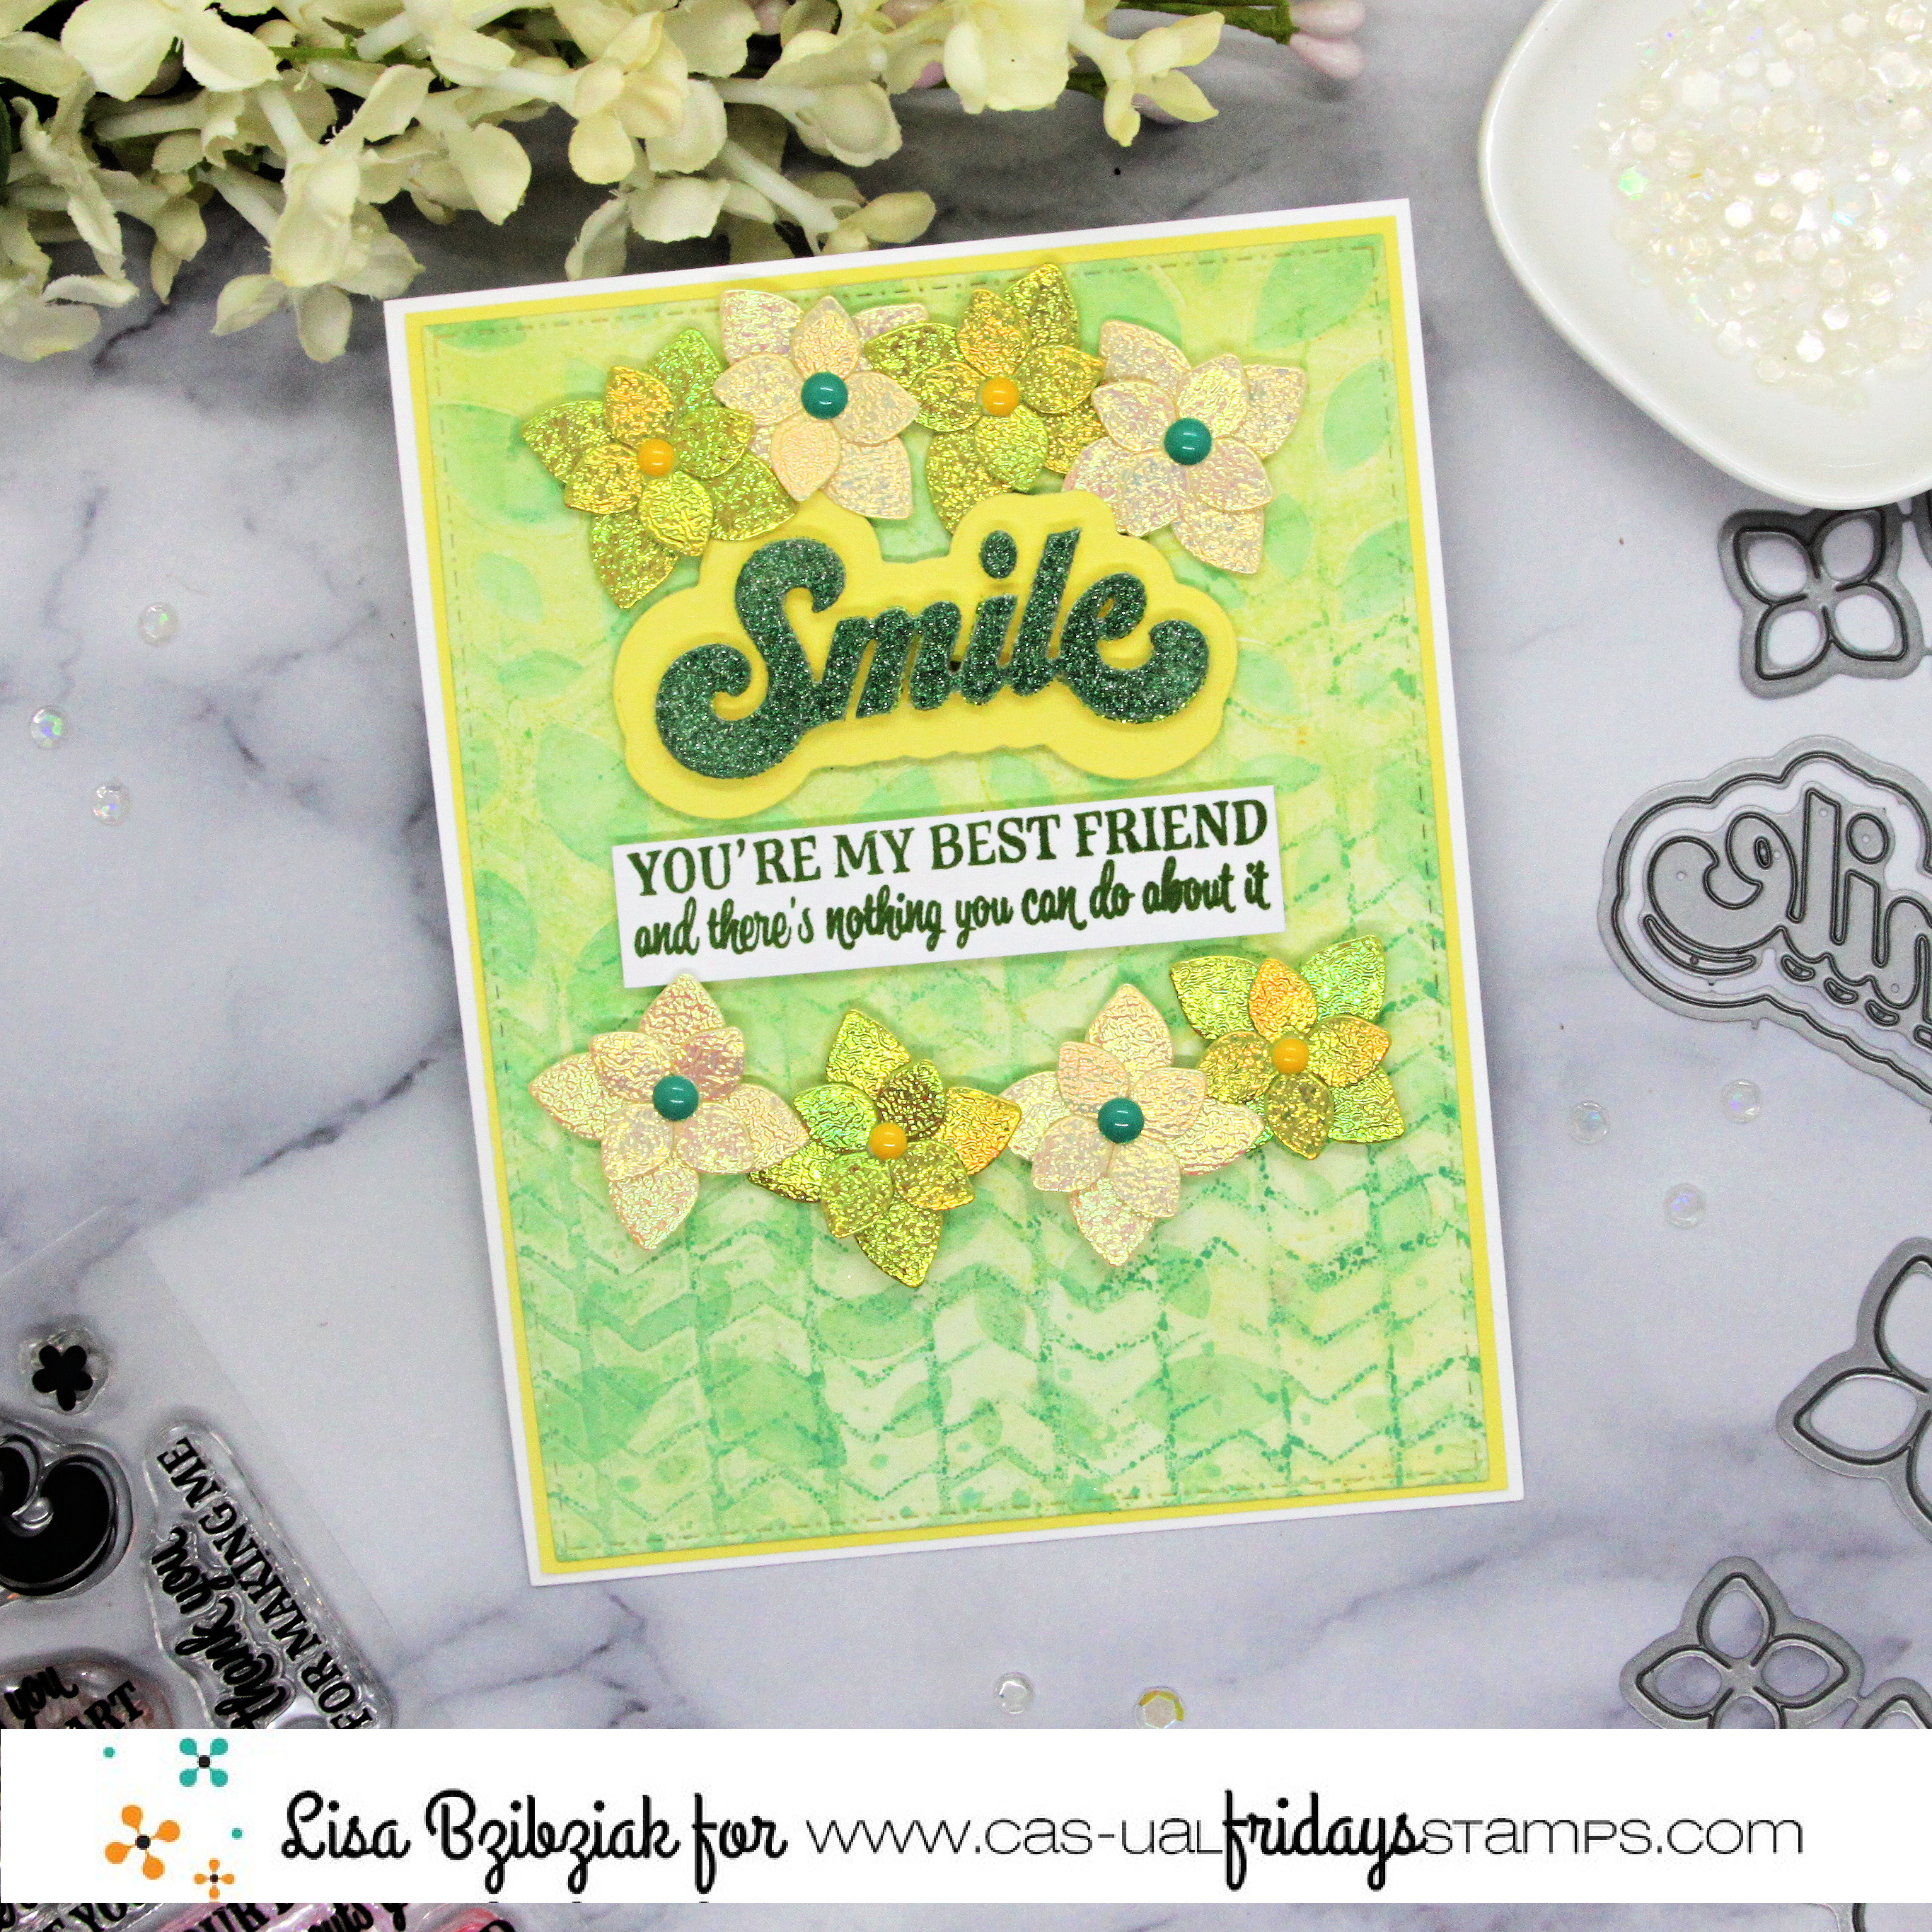
Nothing You Can Do


Well hello!  Lisa here and today I've got a fun one for you using a couple stencils and some dies!


I created the background with my gel press and some inks using both the Chunky Chevron and Falling Leaves Stencil.

I cut a bunch of the 4 Petals die cuts from some shimmery paper and glued the smaller ones over the larger ones and then added a center.


I cut the smile word from green glitter and the base using the same yellow for my border, stamped the sentiment from the Sassy Smiles Duo stamp set and then arranged everything over the top of the background and adhered it in place.

That's me for today!  I hope you enjoyed it and you'll come again soon!


Friday, November 5, 2021

Who Totally Forgot?-A Belated Birthday Card

Hello Crafty Friends!!! It is Nora here from A Creative Touch with a belated birthday card.


I started off this card by stenciling different purple inks onto a 4" by 5 1/4" white piece of cardstock. I then used the Chunky Chevron Stencil and stenciled over each circle with the same color ink. 


I then adhered the stenciled panel over the top of a top folding, A2 sized purple card base.


I stamped the Full on Floral Stamp in purple ink on an ink smooshed panel done in purples.


 I then used circle punches to punch out different kinds of circles. I adhered these circles randomly around the front of the card. Some I adhered with foam adhesive and others I used a tape runner. 


My last step was to stamp a sentiment using the WTF2, in purple, on a white strip of cardstock. 


I used foam adhesive to adhere it to my card front and it was DONE.


If you would like to go shopping for the products I used, or any of the other fun products from CAS-ual Fridays Stamps Shop, use my code to NORASENTME to get an extra 15% off your total order.


Please remember to stop by the CAS-ual Fridays Stamps Blog for more inspiration from the other DT members!!!

Thank you for stopping by. Have a FABULOUS day!!!


Friday, October 22, 2021

Still celebrating!

Hello, it's Michelle here today with another birthday card to celebrate CAS-ual Fridays 9th birthday!

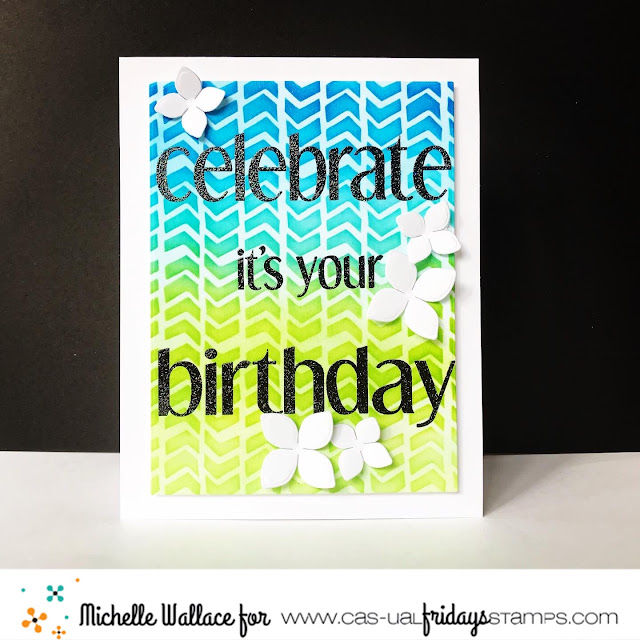
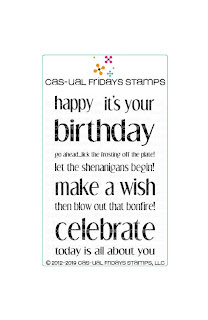
I started with the Chunky Chevron stencil and blended  some Catherine Pooler inks.  Then I stamped the sentiments from Shenanigans stamp set with Versafine Black Ink and added some sparkly embossing powder.  Lastly I added a few flowers using the 4 Petals dies.


Thanks so much for stopping by and if you are interested in purchasing any of the products I've used today you can click the "let's go shopping" link below to take you over to the shop!
I have used my affiliate link which means at no extra cost to you I can make a small commission on any purchase you make.

You can also use my special discount code MICHELLESENTME for an additional 15% discount.


Sunday, September 26, 2021

Spooky Cute!


Lisa here and I've got some more Spooky for you today!  I had some more of those gel prints I made using the Chunky Chevron stencil.


I stamped the spiders onto some of the gel print paper with a bright pink, but decided so they'd show up a little bit more on that cool background I decided to outline them with a micro liner pen and then used gel pen to whiten their eyes.  I also stamped a few of the smaller ones onto the background.


I stamped the Spooky word in black and then colored in the letters in pink and orange.  I fussy cut it out and popped it up onto the background.


Then I popped the big spiders onto it and added a few sequins!

That's it for today!  I love these colors for Halloween.

Thanks so much for stopping and hope you'll come again soon for more CAS-ual Fridays Stamps inspiration!  And here's a discount code for you should you decide to shop!


Monday, September 13, 2021

A Spooky Halloween Slimline


I have a fun Halloween Slimline for you today using a cool Gel Print background I created using the Chunky Chevron Stencil.


I stamped the webs from the Spooky stamp set in Versamark onto the corners of the gel print panel I die cut using the smaller slimline die from the Pinked Slimline Dies and heat embossed with some black glitter embossing powder.  Then I layered that base onto a piece of black cardstock I cut 1/8" larger than the gel print panel and then die cut the pinked slimline in white and added the panel to that.  Then I splattered some Purple Distress Oxide spray and watered down black acrylic paint over the top.


I heat embossed and cut the Boo sentiment and a couple spiders from the Spooky set onto white cardstock and popped them up onto the card.  I splattered these also and added Nuvo drops to the spiders' eyes.

That's me for today!  I hope you enjoyed it and come again soon for more CAS-ual Fridays Stamps inspiration!