Translate

Showing posts with label 4 Petals Dies. Show all posts

Saturday, August 13, 2022

CAS Birthday Cards with 4 Petals

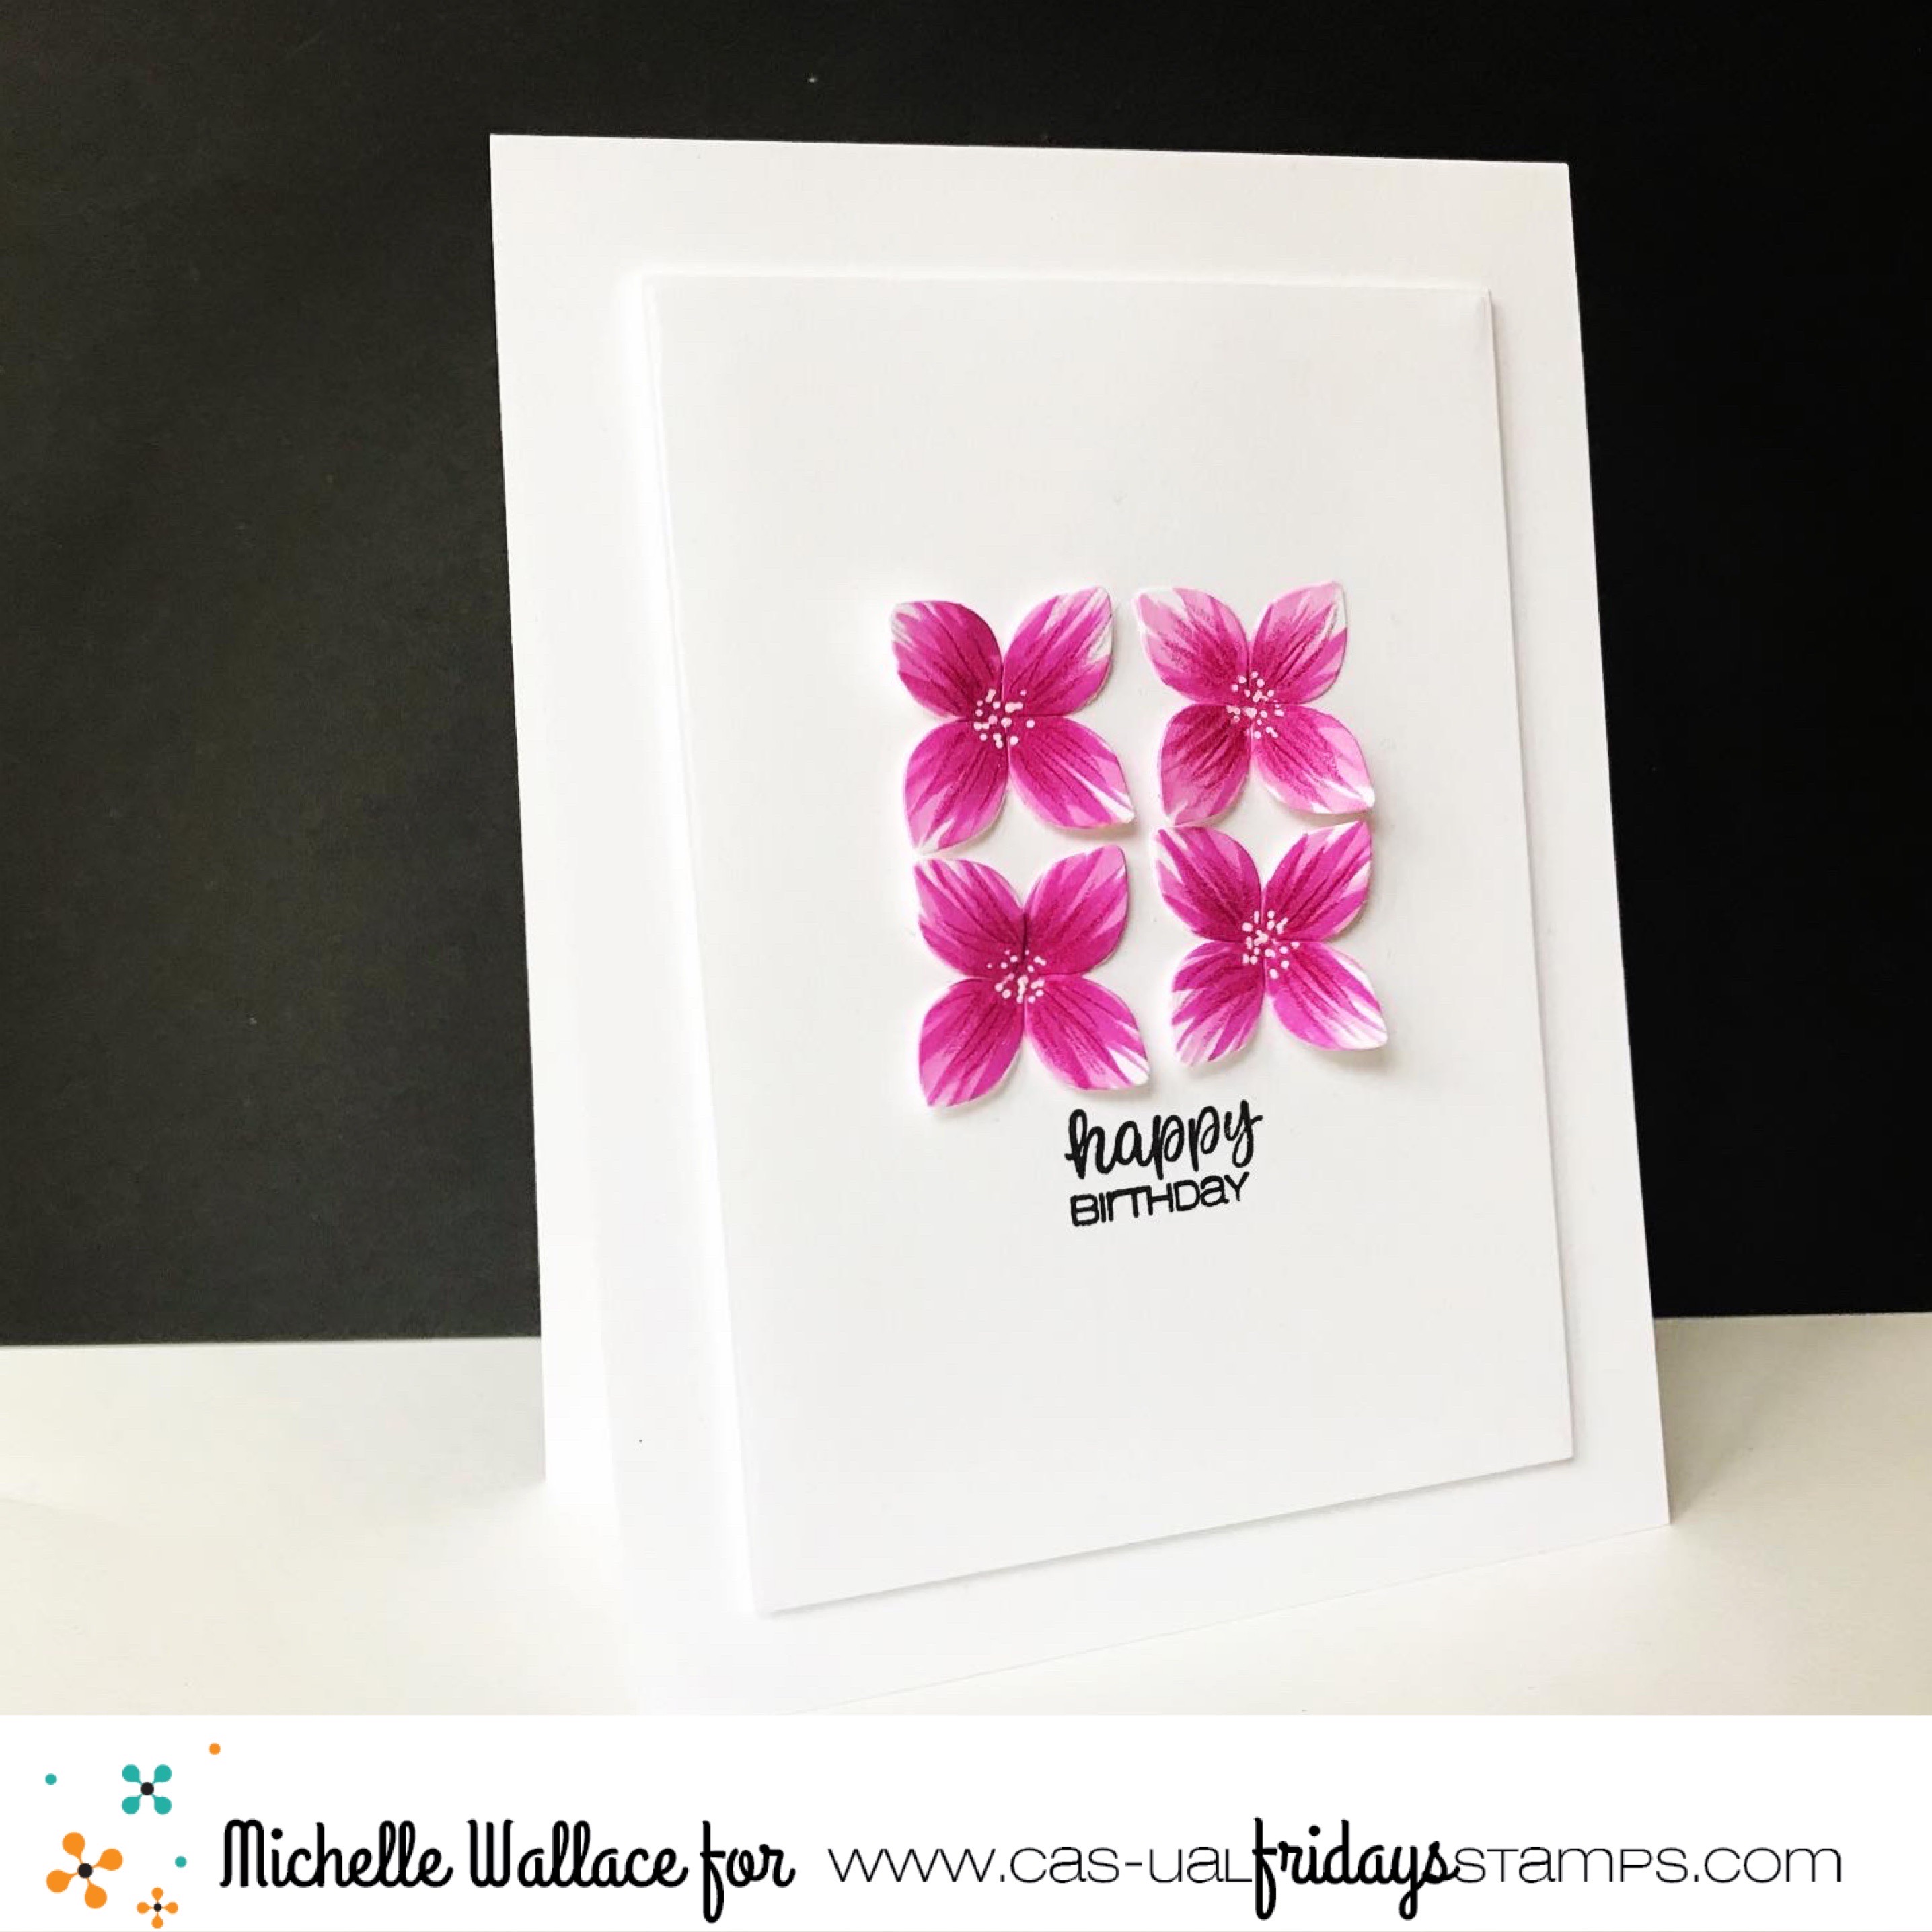
Hello, it's Michelle here today with two clean and simple birthday cards!

I've made two birthday cards using the  4 Petals die along with a sentiment from the Love Notes stamp set.  
I started by die cutting the petals from white card stock.  I colored them in with some Copic Markers and added some white gel pen to the middle.  Next I adhered them to a card panel and stamped the Happy Birthday directly underneath.  I adhered the panel onto a top folding card base using some foam tape.  I couldn't decide which size petal I wanted to use on my clean and simple card so I made one with the small petals and one with the larger petals.



Thanks so much for stopping by and if you are interested in purchasing the products I've used today or anything else, you can click the "let's go shopping" link below to take you over to the shop! 

I have used my affiliate link which means at no extra cost to you I can make a small commission on any purchase you make.

You can also use my special discount code MICHELLESENTME for an additional 15% discount.


Friday, July 22, 2022

Happy Birthday


Hi all it's Vicki here to today from All I Do Is Stamp.  Today I used a few products that are on sale!  It wasn't intentional, but a win for you if you are interested!

I started with a mini slimline base [3.5x6].  I so enjoy this size!  The fact that it fits into a regular letter size envelope is a major win too! [Especially since postage has gone up again!] I stenciled the back panel with the fun Bubbly Stencil.  I went on to cut out a few flowers using the 4 Petal Die Set, and the leaves and dies from the Flower Duo Set.

My sentiment is from Shenanigans Stamp Set that I heat embossed with some WOW Embossing Powder.  [It looks blotchy in the photo, but IRL you can tell it's embossed.]

Another successful card completed!  Don't forget, my code is good for an additional 15% off your purchase of ANYTHING in the store, including Sale items!


Thanks for stopping by~

ps - I have used affiliated links in this post at no additional cost to you. Thanks for the support! 


Friday, May 27, 2022

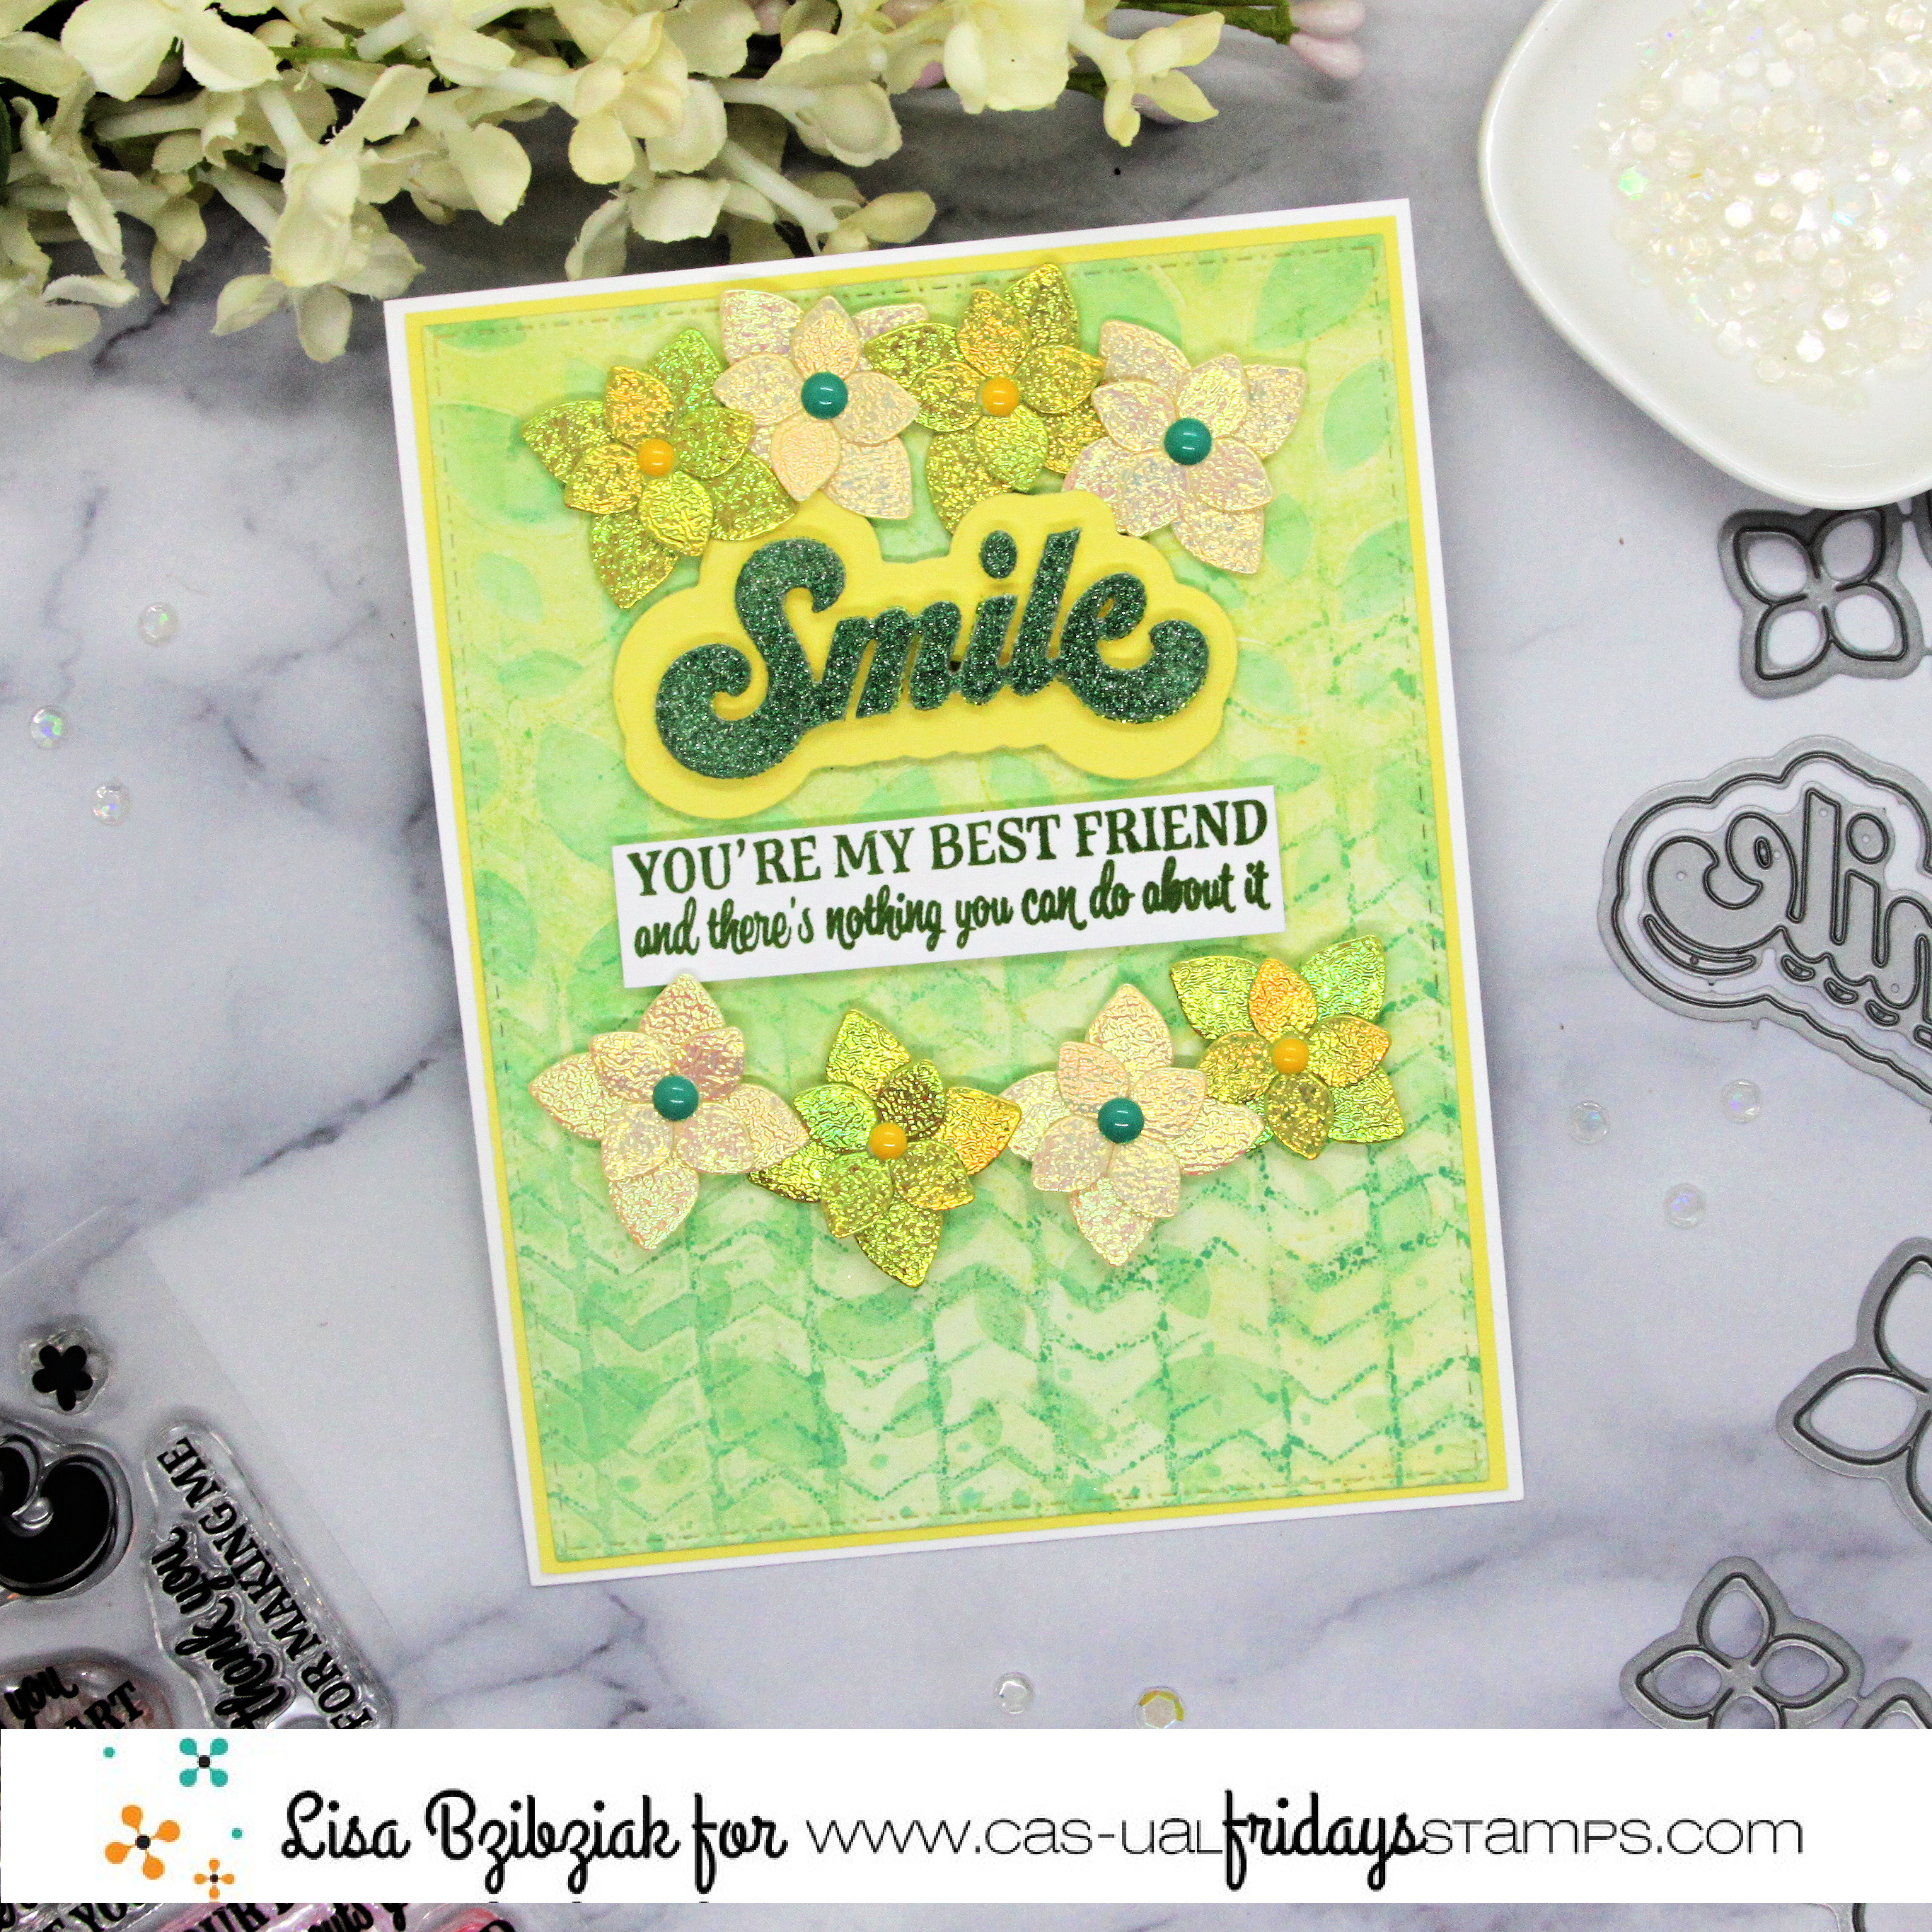
Nothing You Can Do


Well hello!  Lisa here and today I've got a fun one for you using a couple stencils and some dies!


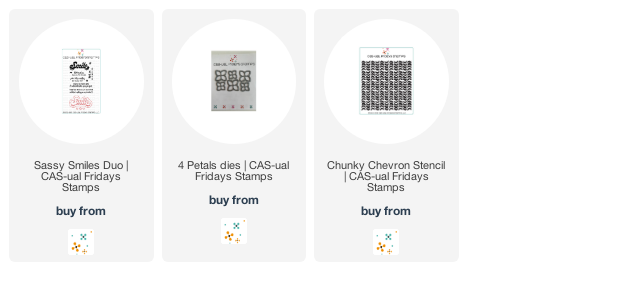
I created the background with my gel press and some inks using both the Chunky Chevron and Falling Leaves Stencil.

I cut a bunch of the 4 Petals die cuts from some shimmery paper and glued the smaller ones over the larger ones and then added a center.


I cut the smile word from green glitter and the base using the same yellow for my border, stamped the sentiment from the Sassy Smiles Duo stamp set and then arranged everything over the top of the background and adhered it in place.

That's me for today!  I hope you enjoyed it and you'll come again soon!


Saturday, February 19, 2022

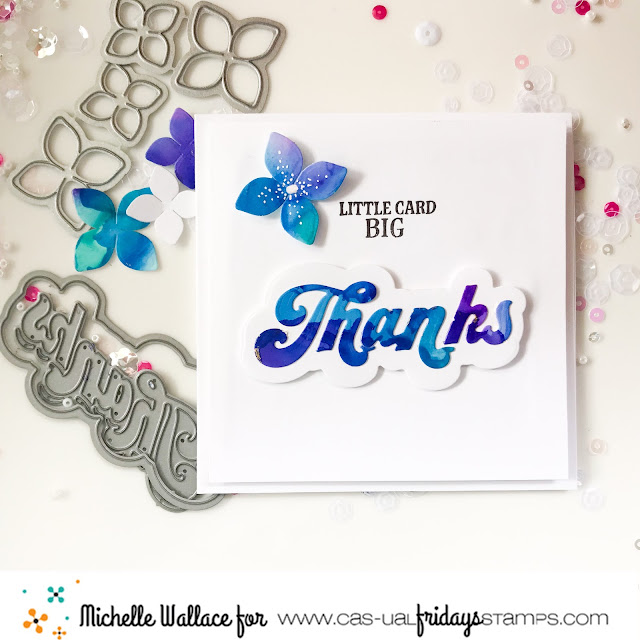
Little card, big thanks.

Hi everyone, it’s Michelle here today sharing a  4” x 4” card!
Sometimes I like to add a little card directly to a gift without putting it into an envelope and I find this size perfect for that.  

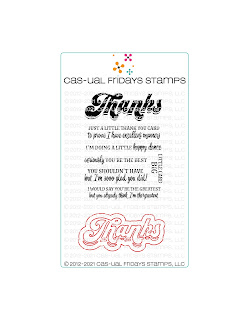
I've used the Big Thanks Duo set for my card today along with a single petal from 4 Petals dies.

I started by pulling out my alcohol inks and went to town!  I used that piece to die cut the Thanks and petals.  I stamped the sentiment directly onto a card panel cut to 3 3/4" x 3 3/4".  I adhered the thanks to the shadow die cut and then popped it up with foam tape.  I added some white gel pen to the petal and adhered that with foam tape.  The card panel is adhered with some foam tape to the 4 x 4 card base.


Thanks so much for stopping by and if you are interested in purchasing any of the products   I've used today or anything else, you can click the "let's go shopping" link below to take you over to the shop! There might just be a sale over there for the weekend!

I have used my affiliate link which means at no extra cost to you I can make a small commission on any purchase you make.

You can also use my special discount code MICHELLESENTME for an additional 15% discount.


Thursday, January 6, 2022

Happily Ever After


Hello it's Michelle here today and I'd like to wish you all a happy new year!

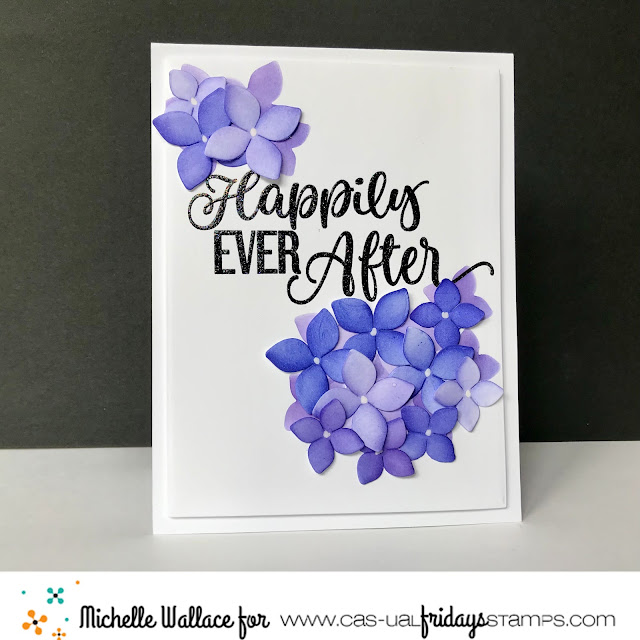
I'm starting off  my card making year with a wedding card because they make me happy.  I love a good wedding, it's always a happy occasion.
 
The stamp set and die that I have used on my card today are both on sale!

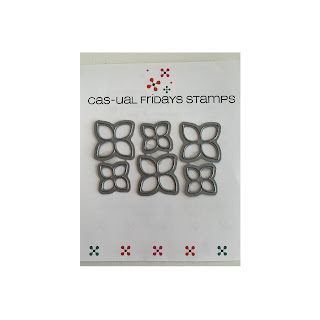
I stamped the sentiment from the Ever After stamp set with black pigment ink and heat embossed with some sparkly embossing powder.  Next I die cut a bunch of petals using the 4 Petals dies.   I love that  you get 3 of each size petals in this die set.  I ink blended the petals using Catherine Pooler ink and added a white dot in the center with a gel pen.  I used the leftover card stock from the die cutting as a stencil and ink blended some petals onto my card panel then adhered the petals over the top.


I also stenciled some of the petals on the inside of the card and stamped the sentiment with black ink.


Thanks so much for stopping by and if you are interested in purchasing the products I've used today or anything else, you can click the "let's go shopping" link below to take you over to the shop!

I have used my affiliate link which means at no extra cost to you I can make a small commission on any purchase you make.

You can also use my special discount code MICHELLESENTME for an additional 15% discount.


Wednesday, December 15, 2021

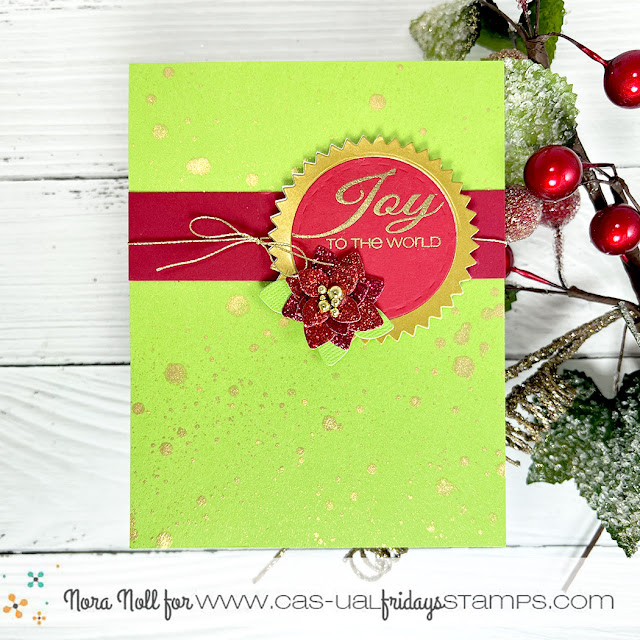
Joy to the World

Hello Crafty Friends!! It is Nora here from A Creative Touch with a Christmas card.


I began my card by flicking gold watercolor over a bright green card base. While that was drying, I used the Pinked Slimline dies to die cut a large pinked circle out of white and gold cardstock. 


I used the large stitched circle die from the same die set to die cut a red circle and a circle out of the middle of the gold, pinked circle.


I stamped and heat embossed a sentiment in gold from the Snowy Sayings stamp set onto the red cardstock circle. 


I then adhered both the gold frame and the red sentiment circle over the white pinked die cut.


I adhered a strip of red cardstock with some gold twine that I had tied into a bow over the card front. I used foam adhesive to adhere the sentiment over the cardfront.

On my November post, I had created poinsettia flowers out of the 4 Petal Die Cuts and I had extra. 


I used one of these poinsettias over the bottom left of my sentiment circle and my card was done. 


Have you gotten all your Christmas cards completed? I have to admit, I haven't even started to send them out yet. I have SO MUCH TO DO!!!

If you are interested in any of the products I used today, you can clink on this link or any of the links in this post. Use my code NORASENTME to get an extra 15% your total order!!!


I want to thank you for taking the time to stop by today!! Have a FABULOUS day!!


Monday, November 22, 2021

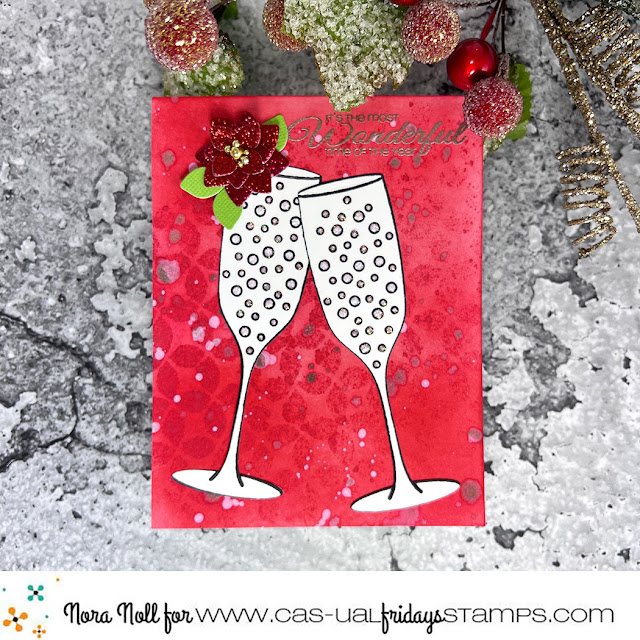
The Most Wonderful Time of the Year

Hello my Crafty Friends!!! Nora here today from A Creative Touch with a simple Christmas card created with CAS-Fridays Modern Petals Stencil, Snowy Sayings Stamp, Pop Fizz Clink Stamp Set and Champagne Flute dies.


I started off this card by inking up an A2 sized, white card front with two different colors of red ink. I then used the Modern Petals Stencil with red ink across the front.


Next I used a variety of spray stains and mica mists over the stenciled background.


While my card front was drying, I used the Pop Fizz Clink Stamp Set to stamp two champagne glasses with black ink. I then die cut them out using the Champagne Flute dies. 


To give the card some sparkle,  I used glitter glue inside the champagne bubbles.


While the bubbles were drying, I adhered my dried card front to an A2, white card base. I stamped and  heat embossed a sentiment from the Snowy Sayings stamp set in the top, right hand corner. I then added my champagne flutes as shown. 

I was going to stop here but my card was missing something. I pulled out the CAS-Fridays 4 Petal Die Set. I decided that I was going to try to make a poinsettia using these flower dies.

 I die cut two large flowers and two small flowers out of red glitter paper. I then die cut a large flower out of green paper.


To create my poinsettia, I adhered the two large flower die cuts together first. Then I adhered one of the small glitter flowers on top. For the last small flower, I used foam adhesive with some liquid glue to adhere it over the top flower. The glue helps to keep the foam adhered as I had trouble getting it to stick to the glitter paper without it. I then cut apart the green flower and adhered my "leaves" under the poinsettia. To complete the flower, I adhered gold gems to the center.


When my flower was completed, I adhered it to the top left of my card.


I hope you like my card as it was a lot of fun to create. CAS-ual Fridays is having a HUGE sale!!!! Please hop on over to the CAS-Fridays Shop.


Use my code NORASENTME to get an extra 15% off your total order-including sale items!!!


I want to thank you for taking the time to stop by today. Please be sure to check back to the blog this week to see some other FABULOUS projects by the CAS-Fridays Design Team.

Have a FABULOUS day!!