Translate

Showing posts with label Bubbly stencil. Show all posts

Monday, September 12, 2022

Spooky Boo

Hi All, Vicki here from All I Do Is Stamp.  I don't usually do Halloween cards - personally, I dislike the "holiday", but, that said, the fun set Spooky  was rather screaming at me, so I listened. 😀

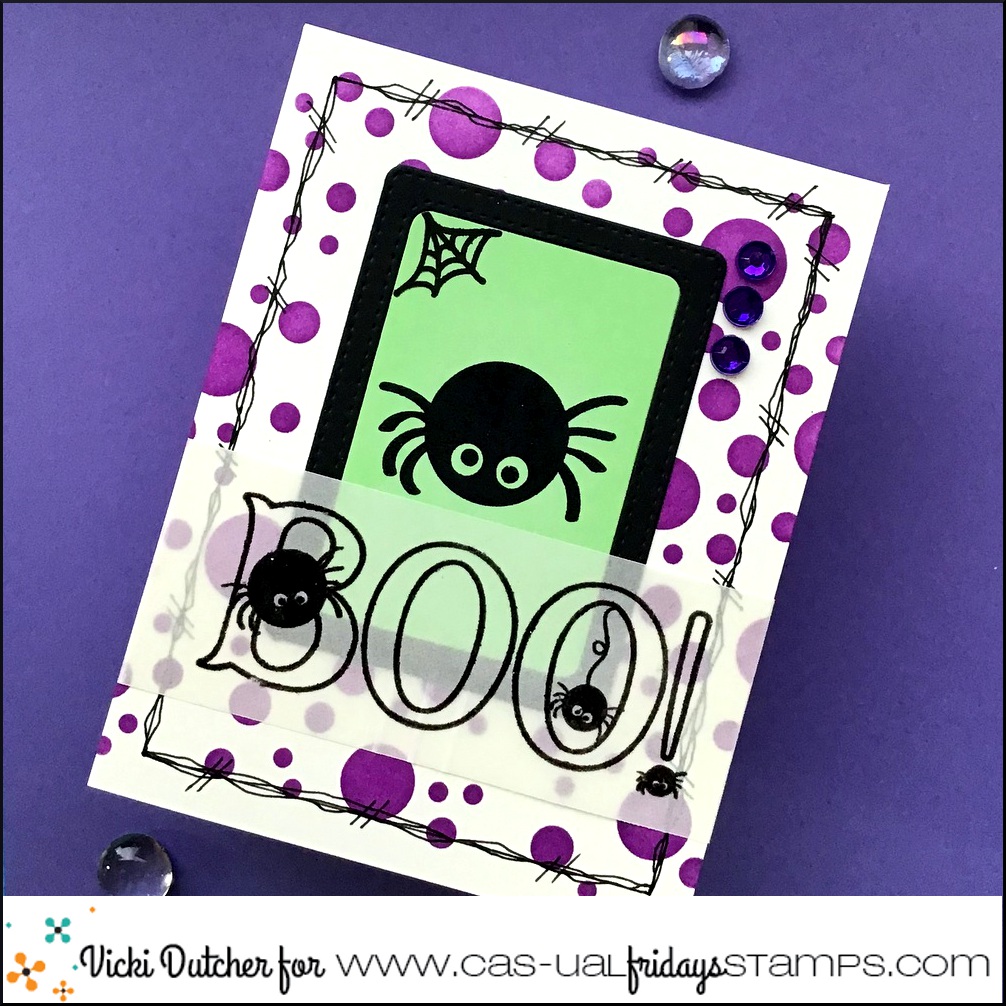
I do think this spider is cute!  I started with using the Bubbly Stencil for a fun stenciled background.  On a separate cut panel, I stamped Mr. Spidy along with the smaller web from the Spooky Stamp Set.

While I did intend to stamp the BOO directly on the bottom of the front, it wouldn't fit. So, I grabbed some vellum, and stamped and embossed the sentiment. Lastly, I hand drew on the wavy framing.

He just makes me smile!

Do you send out Halloween cards?  I'll probably mail this to my nephew and his family - they are avid H Day fans!

On a sad side note, I'm not sure if you saw the notice, but after 10 years, Michele has decided to close down CAS-ual Fridays. Everything must go and it will be limited to supplies on hand, there will be no restocks on the products.  You can still use my code VICKISENTME to save an additional 15% off your purchase. I'm sure there will be some very low prices as she sells out her remaining stock.  It will be worth it to check it out HERE. I have been designing for CFS from March 2016!  It's been a great ride and I am really sad to see the end of another great company.


Thanks for stopping by~
ps - I have used affiliated links in this post at no additional cost to you. Thanks for the support! 


Friday, August 19, 2022

Classy, Bubbly, Drunk


I've got some Bubbly fun for you today!


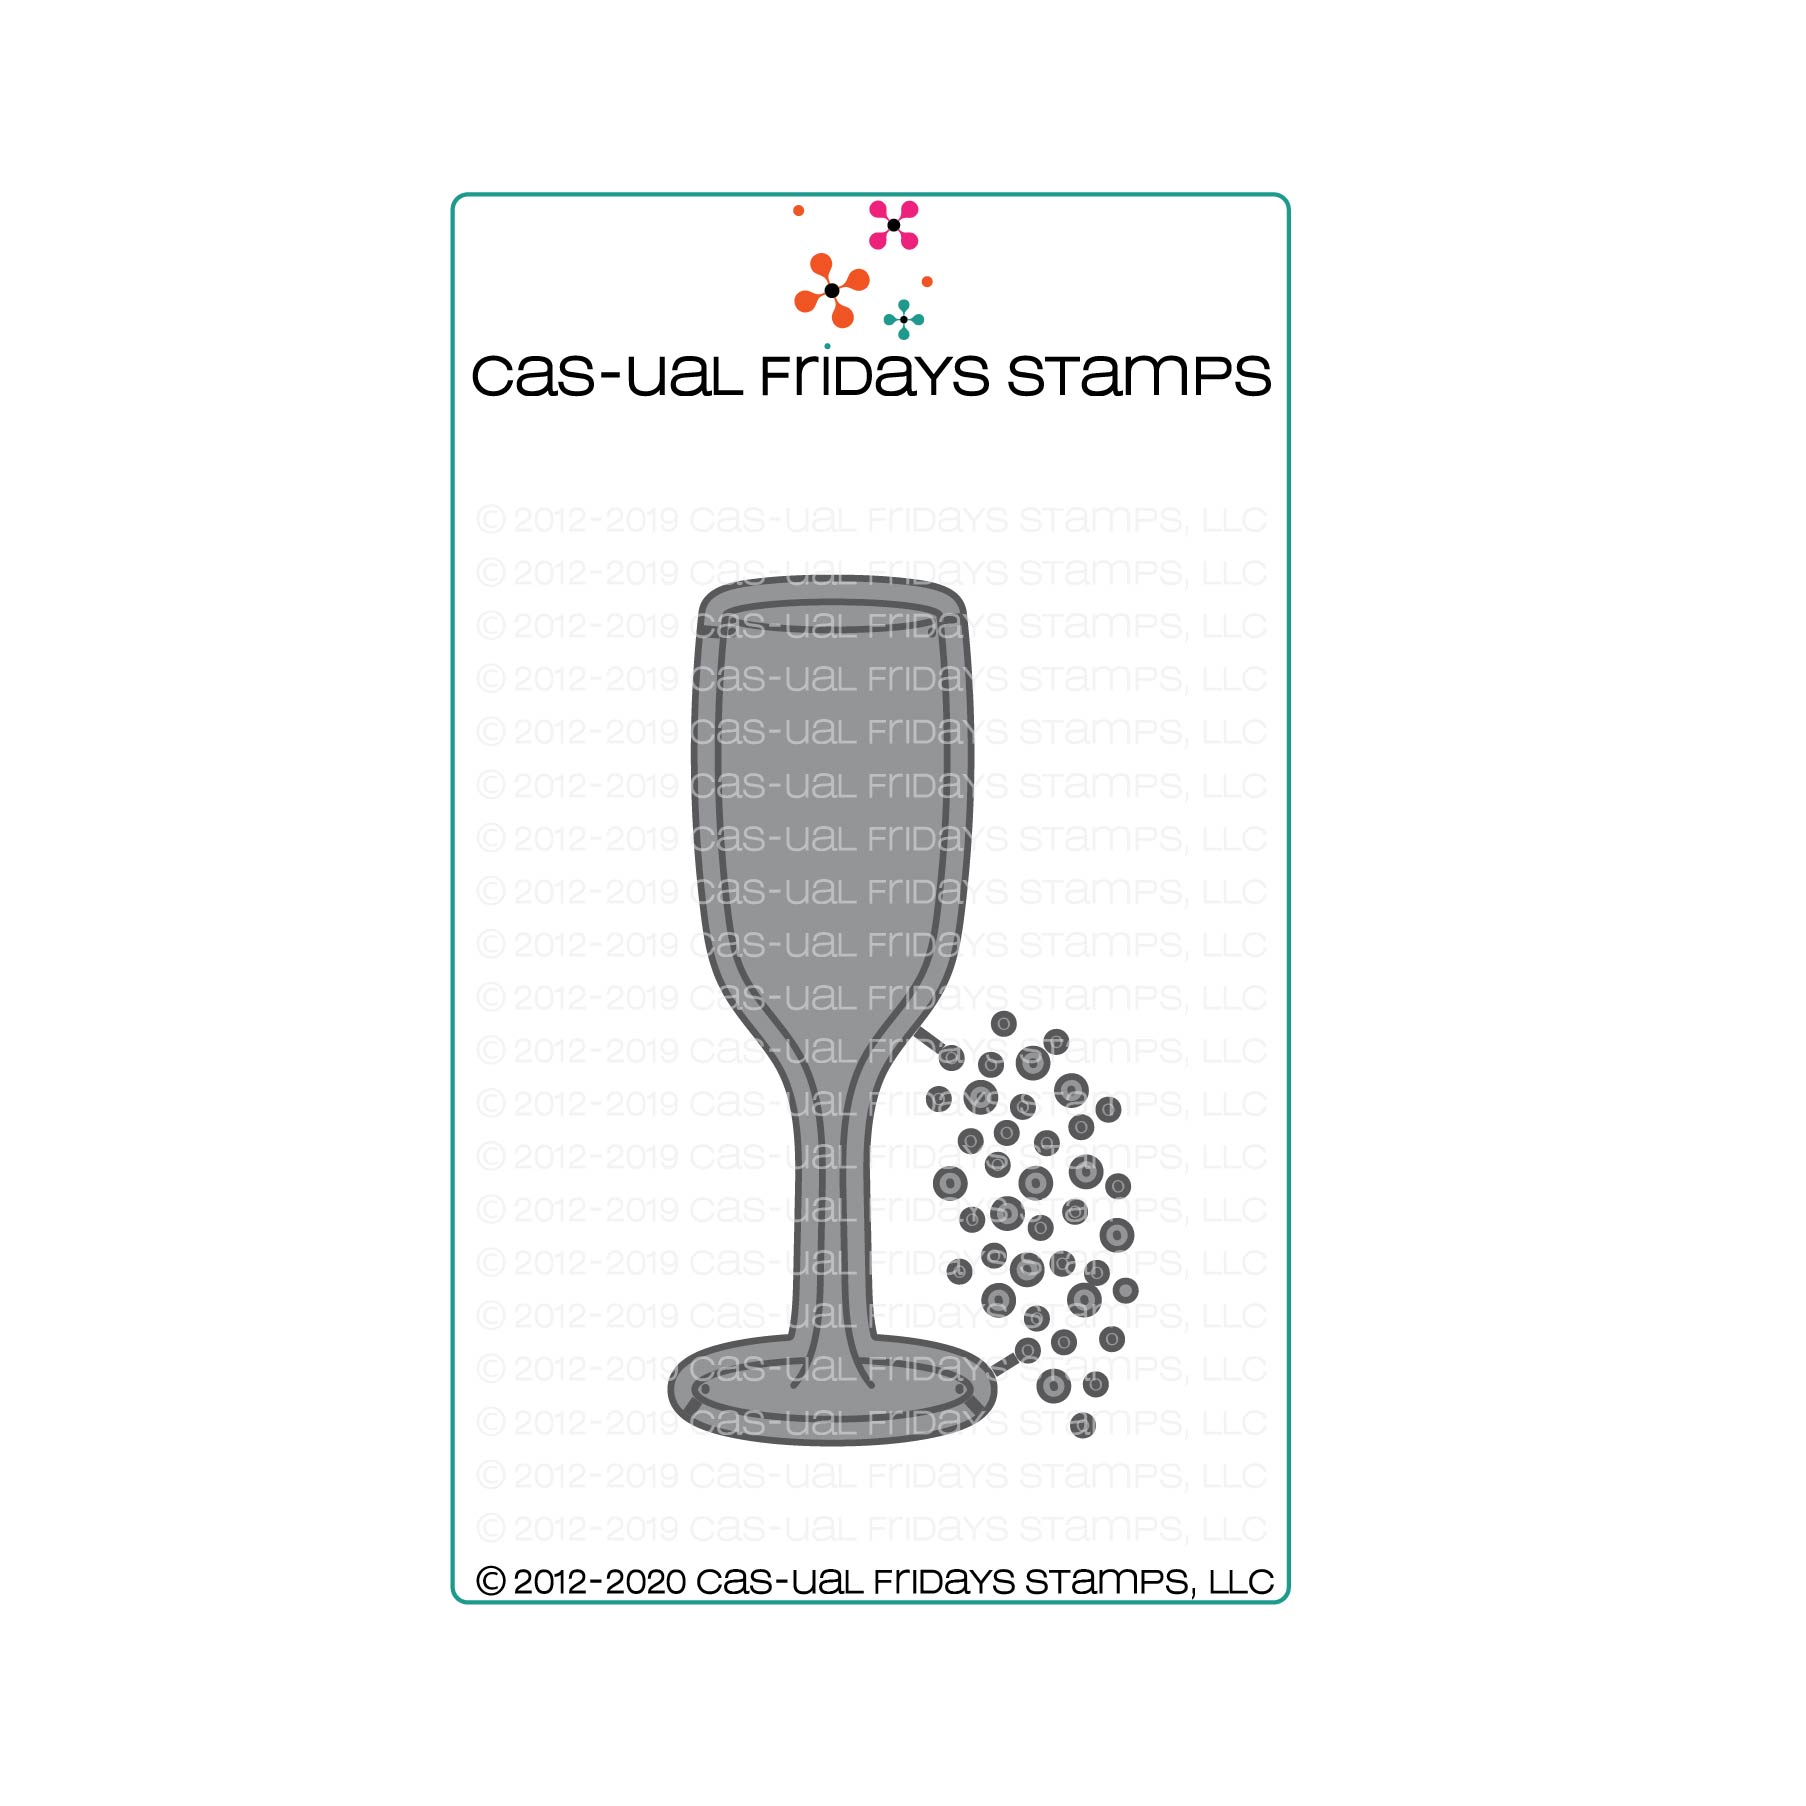
I started with a background I created with my Gel Press and the Bubbly Stencil.  I added more "bubbles" using the stencil and some gold Glitz Glitter Gel.  While that dried, I diecut a frame for the Champagne Flute from Gold Glitter Paper by using both Champaign dies together and then cut just the center of flute from vellum using the inside die.


Finally I stamped the sentiment onto a banner and popped it up over the top.

That's me for today!  Thanks so much for stopping and hope you'll come again soon.


I have links below to the CAS-ual Fridays Stamps products I used today.  Should you choose to purchase using these links I will receive a small compensation at no additional cost to you:


Friday, July 22, 2022

Happy Birthday


Hi all it's Vicki here to today from All I Do Is Stamp.  Today I used a few products that are on sale!  It wasn't intentional, but a win for you if you are interested!

I started with a mini slimline base [3.5x6].  I so enjoy this size!  The fact that it fits into a regular letter size envelope is a major win too! [Especially since postage has gone up again!] I stenciled the back panel with the fun Bubbly Stencil.  I went on to cut out a few flowers using the 4 Petal Die Set, and the leaves and dies from the Flower Duo Set.

My sentiment is from Shenanigans Stamp Set that I heat embossed with some WOW Embossing Powder.  [It looks blotchy in the photo, but IRL you can tell it's embossed.]

Another successful card completed!  Don't forget, my code is good for an additional 15% off your purchase of ANYTHING in the store, including Sale items!


Thanks for stopping by~

ps - I have used affiliated links in this post at no additional cost to you. Thanks for the support! 


Wednesday, June 8, 2022


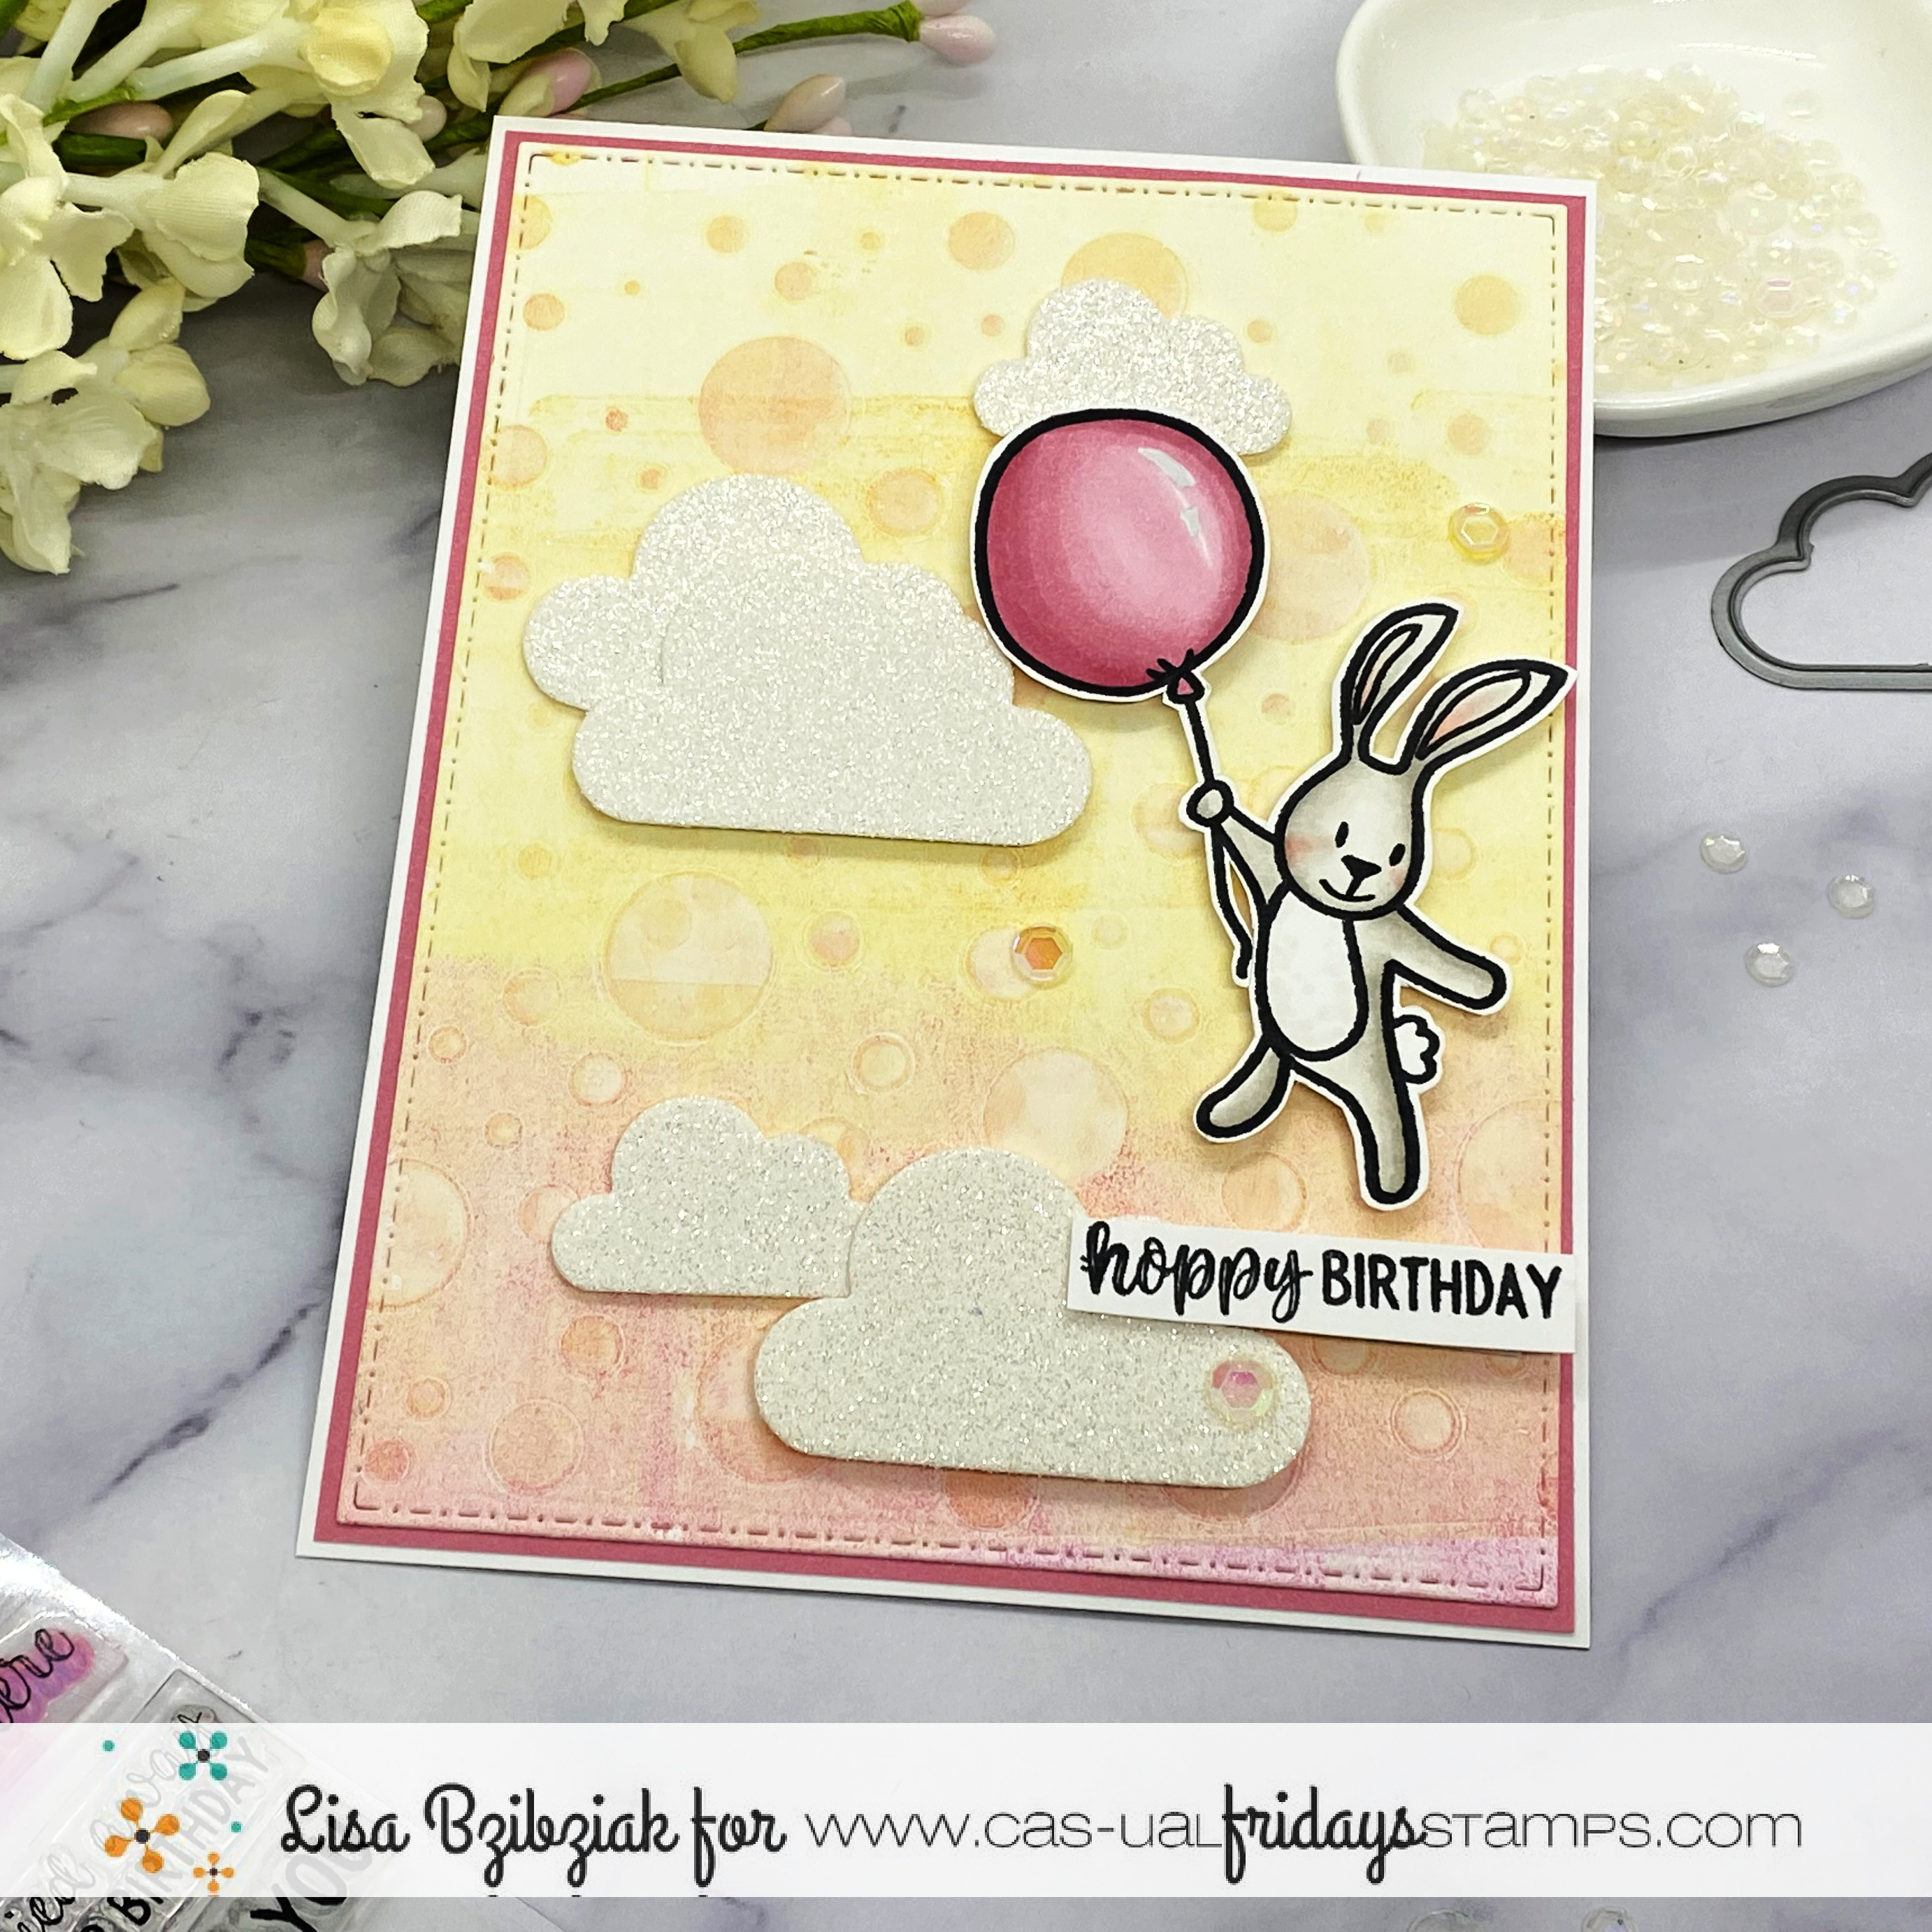
Hello!  I've got one today with a watercolored background I created on my Gel Press using some Distress Oxides and water along with the Bubbly Stencil.


I cut a few clouds from the Raindrops Duo out of white glitter paper and stamped and cut the bunny and sentiment from Somebunny.


Finally I popped everything up onto the watercolored background.

That's me for today!  I hope you enjoyed it and you'll come again soon!


Thursday, April 28, 2022

Pop Fizz Clink Cheers!


Welcome back!  I've got some more fun with the Pop Fizz Clink set!

I started this one with a panel I created using the Bubbly stencil and watercolors using some Distress Oxide Inks.


I stamped and embossed the glass directly onto the background and then used the coordinating die to cut the bubbles from some iridescent paper and then glued them over the stamped bubbles.


I stamped and heat embossed all of the sentiments.. the Pop Fizz Clink on pink cardstock with white embossing powder and then stamped the Cheers on white with Raspberry ink and embossed with clear powder.  I fussy cut the Cheers and popped it up onto the two circles from the Pinked Slimline set and trimmed the Pop Fizz Clink to strips and popped them up onto the background.

That's me for today!  I hope you enjoyed it and you'll come again soon!


Monday, April 25, 2022

Champagne anyone!

Hello, it’s Michelle here today with a fun card using the Pop Fizz Clink Stamp Set.

I started by stenciling a background using the Bubbly stencil and some Catherine Pooler Inks.
I stamped the sentiments from the Pop Fizz Clink stamp set directly over my stenciled background.  I die cut the champagne flute and ink blended some pink CP ink then I stenciled over the top.  

I have the perfect person to send this card to.


Thanks so much for stopping by and if you are interested in purchasing the products I've used today or anything else, you can click the "let's go shopping" link below to take you over to the shop! 

I have used my affiliate link which means at no extra cost to you I can make a small commission on any purchase you make.

You can also use my special discount code MICHELLESENTME for an additional 15% discount.


Sunday, January 16, 2022

Masked and stenciled Backgrounds.

Hello, it's Michelle here today sharing two cards I made with some fun masked and stenciled backgrounds.

I made a mask by die cutting a circle from a piece of card stock.   I placed that over a another piece of card stock and ink blended some Catherine Pooler ink.  I left the mask in place, placed the stencil over the top and ink blended a darker shade of ink.  These would look great using different shapes too.  
I stamped the cute Boston Terrier from the Nate & Friday stamp set and cut him out using my scan n cut.  How adorable is that face!  
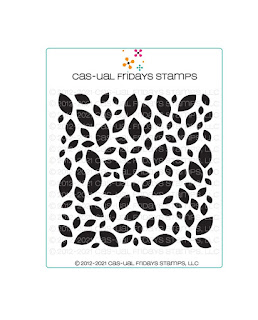
My first card is using the Falling Leaves stencil.


I used the Bubbly Stencil for my second card.


Thanks so much for stopping by and if you are interested in purchasing the products I've used today or anything else, you can click the "let's go shopping" link below to take you over to the shop!

I have used my affiliate link which means at no extra cost to you I can make a small commission on any purchase you make.

You can also use my special discount code MICHELLESENTME for an additional 15% discount.


Wednesday, November 24, 2021

Pop, Fizz, Clink!! Cheers to Thanksgiving 2021!!

Hello Crafty Friends!! 

I'm here today to share a Cheers Card I thought woud be PERFECT for the "Cheering" to Thanksgiving Day and the Weekend!!
Today I'm combining the Pop Fizz Clink Stamp Set and Champagne Flute Dies!! I LOVE these Sets and ALL of the Possibilities, especially with the upcoming Holidays and Weddings Celebrated this time of Year!! 
Here's a look at the Sets, just incase you've MISSED them!!  

So FUN right!!?? 
Here's what I've created for today!!

LOVE using Therm O Web Deco Foils on my Cards!! Especially for Special Occasion Cards!! Have you ever tried Foiling over your Stamped and Embossed Images!!??
Today I'm showing how you can add Deco Foils to your Stamped Images for a very Elegant Design!!
I Started by Stamping and Embossing the Champagne Flute Image from the Pop Fizz Clink Stamp Set with Versa Fine Black Onyx Ink and Embossing with WoW Clear Gloss Embossing Powder!! Then I heat set it and then let it cool!! Then I used Copic Markers to Color in the Image!! I was going for a Light Champagne Color!! 
 I used Champagne: Y11 & Y21   Flute Glass: BG00, BG10
Then I Cut a Piece of Therm O Web Deco Foil in Champagne large enough to cover the Image and Ran it through my Laminating Machine on the #1 Setting!! You don't want it too hot when doing this Technique or it will distort the Image some!! Sometimes that's the look you want, but that wasn't the look I was going for on this Card!! 
SWOON!! I LOVE pulling back the Foil Sheet to reveal the Foiled Image!! It NEVER gets old!! PS Save that Negative Foil Piece as I'll be using it for another Card later in the weeks to come!! 😉 I LOVE being able to use ALL of the Foil so there's NO WASTE!! SQUEAL!! I can't wait to share it with you!! I Die Cut the Champagne Flute Image out using the coordinating NEW Champagne Flute Dies!! 
To create my Card Panel I Die Cut the Stitched Rectangle and then Inked the Background with some Tumbled Glass Distress Oxide Ink!! I wanted to add some Text to the Background so I Stamped the Words "Fizz, Pop & Clink" using Tumbled Glass Distress Ink!! It's Subtle, but that's the look I was going for!! In real Life it really adds a neat touch to the Background!! 

I added some Water Splatters and then heat set it!! Then I took the
 Bubbly Stencil with some Therm O Web Pixie Spray on the back to help keep it in place!! Then I adhered it over the Inked Background and applied more of the Tumbled Glass Distress Oxide Ink!! I wanted a random design so I didn't cover the entire Stencil!! Just concentrated on the right hand side of the Card Panel!! 
I wanted to add some more Champagne Deco Foil to my Card, but didn't want it to take away from the Main Focal Image!! So I took the Deco Foil Adhesive Pen and pressed down the Tip of the Pen onto a Plastic Lid repeatedly until I got enough of the Adhesive out in order to Splatter onto my Card Panel with a Paint Brush!! I let it Dry completely!! 
Once it was Dry I took the Negative Foil Piece and rubbed it over the Splatters of Deco Foil Adhesive on my Card Panel!! SWOON!! I LOVE not on the extra touch of Shine, but the adhesive also dries with some Dimension, so it adds a FUN dimension to the Card too!! To finish the Card Panel I added some Black Soot Distress Paint Splatters and I LOVE how it turned out!! 
I Stamped and Embossed the "Cheers" sentiment with Versa Fine Black Onyx Ink and Embossed it with WoW Clear Gloss Embossing Powder!! Then I Fussy Cut around the Sentiment!! I Adhered the Champagne Flute to my Card Panel with some Foam Tape and then I adhered the Sentiment also with Foam Tape just on the ends of the Sentiment to keep it the same dimension as the Champagne Flute!! I added a Few TE Gold Pearls to finish off the Design!!  
LOVE the way it turned out and I hope it gives you some Ideas on ways to use these Sets!!??
THANKS SO MUCH for stopping by today and I hope you'll all be ENJOYING a few Cheers tomorrow with LOVED ones and Friends!!
If you feel like Shopping please use my CODE: LARISSASENTME for 15% off your Order!! 
I using products from the CAS-ual Fridays Stamps Shop!! 

Have a FABULOUS & BLESSED Thanksgiving Day/Weekend!! 
Stay Safe and Healthy and ENJOY your time with LOVED ones whether it's Family or Friends or a mixture of both!!  

COUNTRY HUGS-N-KISSES
LARISSA   🍷