Translate

Showing posts with label Champagne Flute Dies. Show all posts

Friday, August 19, 2022

Classy, Bubbly, Drunk


I've got some Bubbly fun for you today!


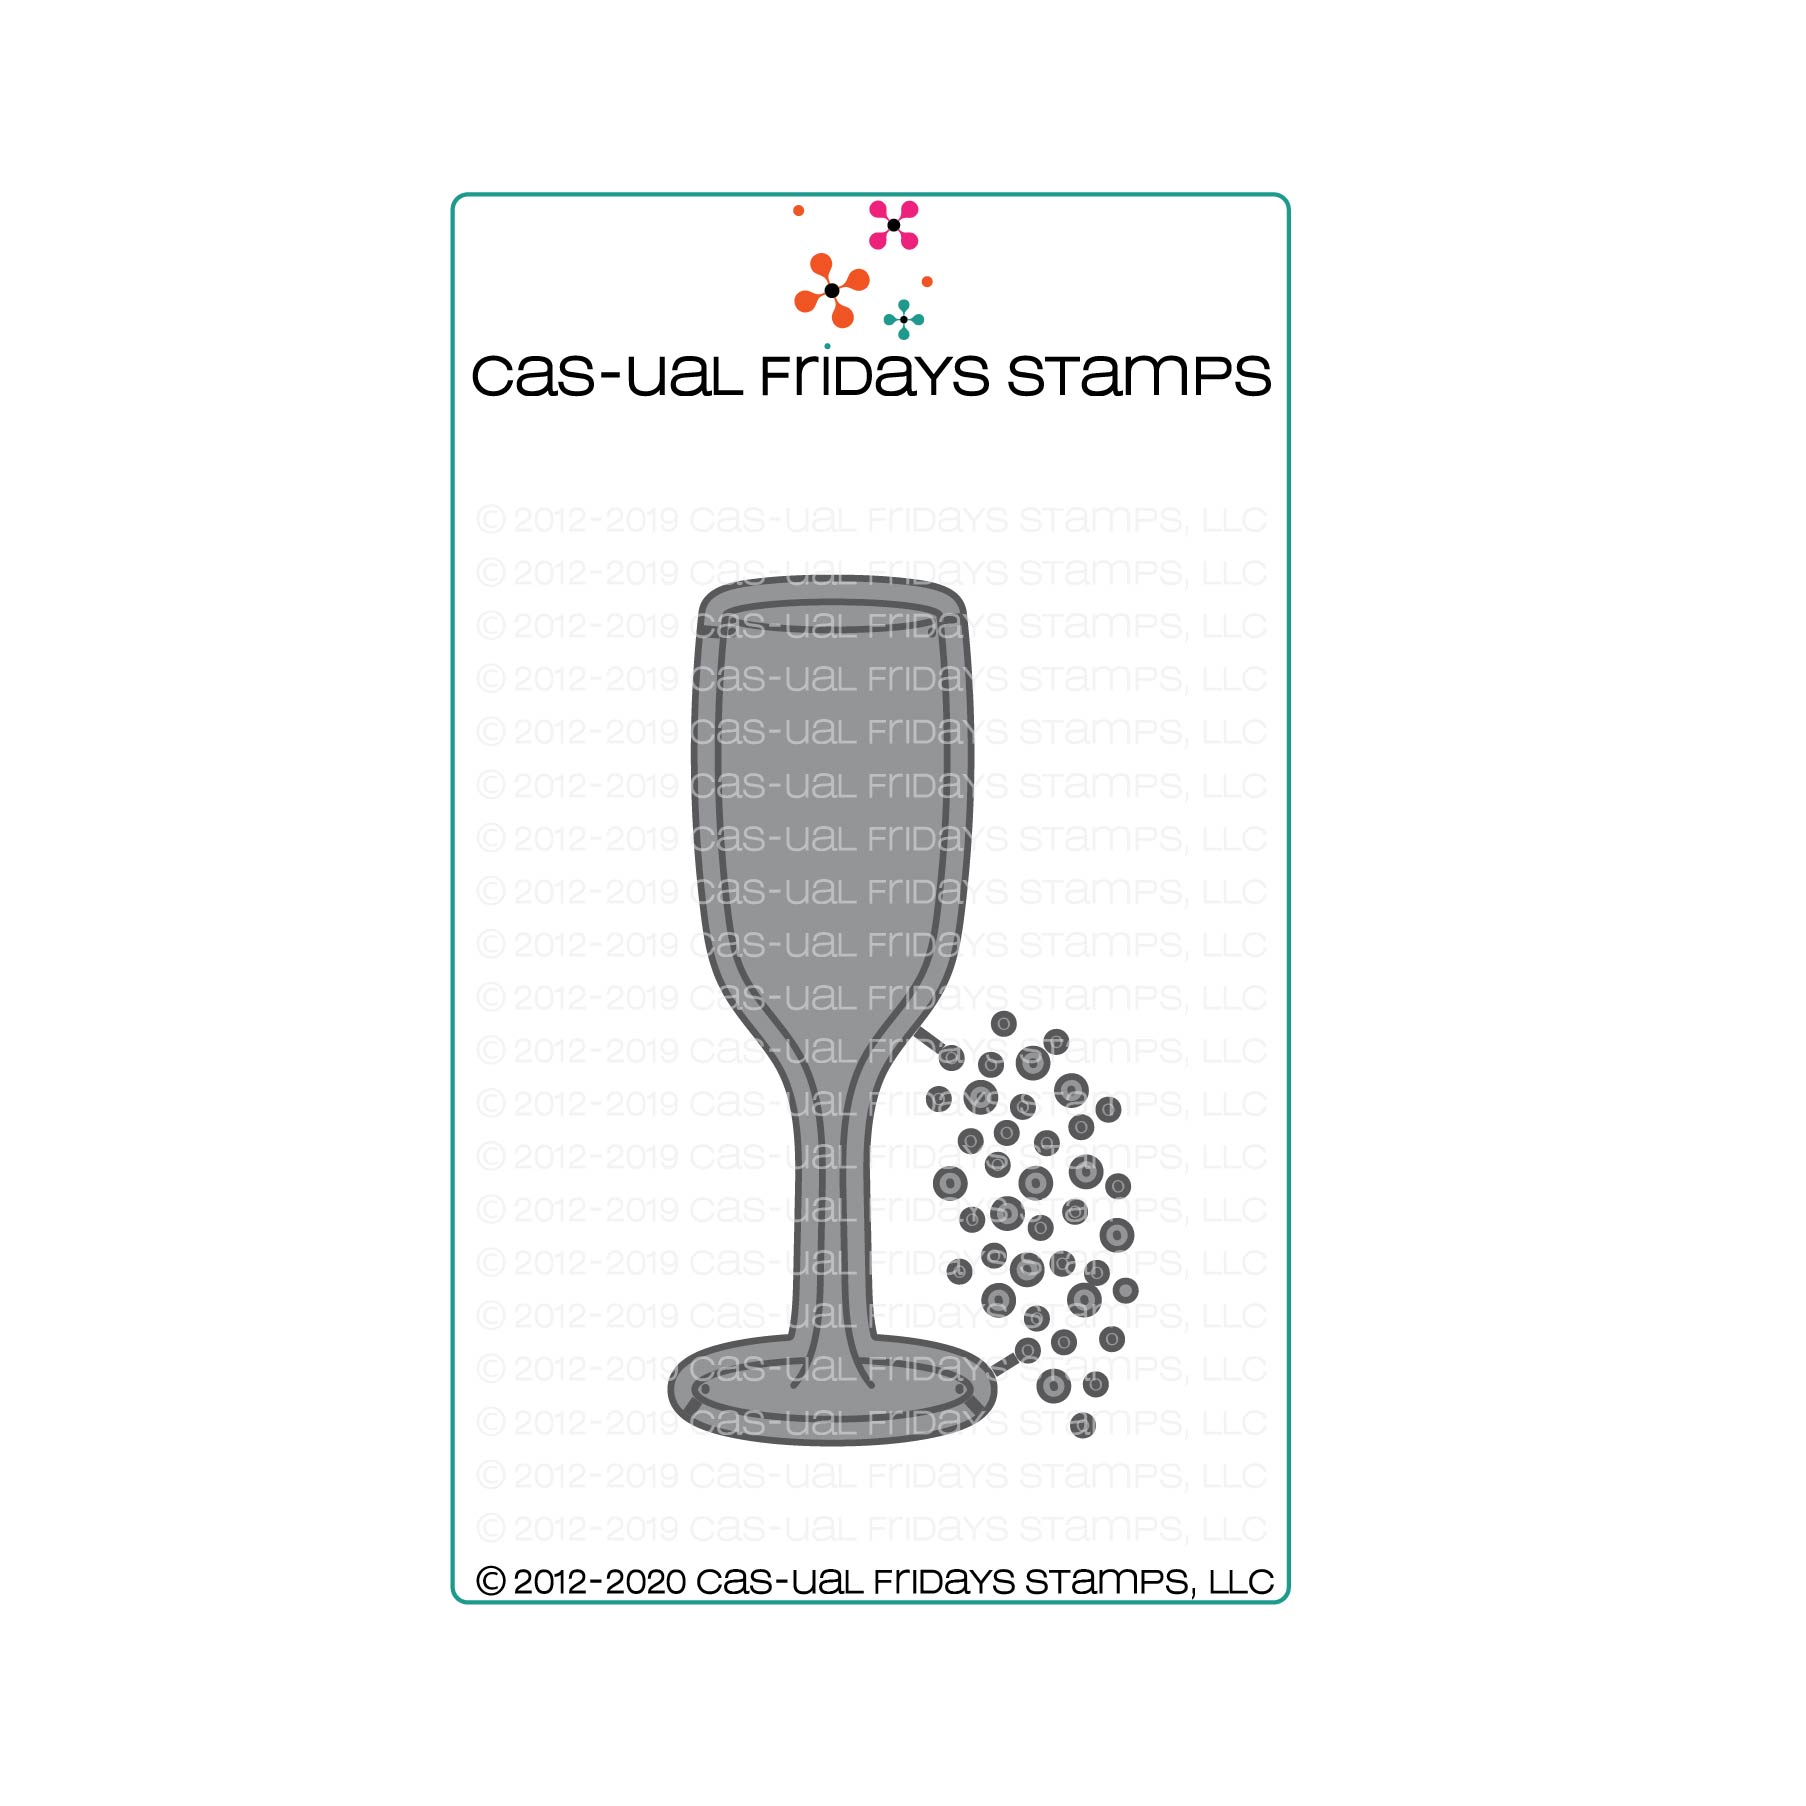
I started with a background I created with my Gel Press and the Bubbly Stencil.  I added more "bubbles" using the stencil and some gold Glitz Glitter Gel.  While that dried, I diecut a frame for the Champagne Flute from Gold Glitter Paper by using both Champaign dies together and then cut just the center of flute from vellum using the inside die.


Finally I stamped the sentiment onto a banner and popped it up over the top.

That's me for today!  Thanks so much for stopping and hope you'll come again soon.


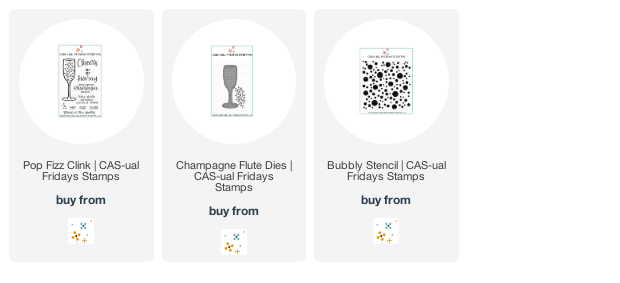
I have links below to the CAS-ual Fridays Stamps products I used today.  Should you choose to purchase using these links I will receive a small compensation at no additional cost to you:


Friday, June 3, 2022

Hooray!

Hi all, it's Vicki from All I Do Is Stamp. Today I made a congrats card I needed. I pulled out Pop Fizz Clink Stamp Set [and the matching Champagne Flute Dies] to make my card.

An easy card actually.  Using the dies, I cut the outline in card stock, and the glass in vellum.  I then stamped and embossed the bubbles.

I stamped the sentiment with Versafine Onyx Black ink [totally LOVE this black ink!], cut down the panel, and adhered it the card base.  A nice CAS card that filled my needs perfectly.

If you are interested, you can save 15% off your purchase by using my code below.
 

See you later this month with another post.


Thanks for stopping by~
ps - I have used affiliated links in this post at no additional cost to you.Thanks for your support!


Monday, April 25, 2022

Champagne anyone!

Hello, it’s Michelle here today with a fun card using the Pop Fizz Clink Stamp Set.

I started by stenciling a background using the Bubbly stencil and some Catherine Pooler Inks.
I stamped the sentiments from the Pop Fizz Clink stamp set directly over my stenciled background.  I die cut the champagne flute and ink blended some pink CP ink then I stenciled over the top.  

I have the perfect person to send this card to.


Thanks so much for stopping by and if you are interested in purchasing the products I've used today or anything else, you can click the "let's go shopping" link below to take you over to the shop! 

I have used my affiliate link which means at no extra cost to you I can make a small commission on any purchase you make.

You can also use my special discount code MICHELLESENTME for an additional 15% discount.


Wednesday, November 24, 2021

Pop, Fizz, Clink!! Cheers to Thanksgiving 2021!!

Hello Crafty Friends!! 

I'm here today to share a Cheers Card I thought woud be PERFECT for the "Cheering" to Thanksgiving Day and the Weekend!!
Today I'm combining the Pop Fizz Clink Stamp Set and Champagne Flute Dies!! I LOVE these Sets and ALL of the Possibilities, especially with the upcoming Holidays and Weddings Celebrated this time of Year!! 
Here's a look at the Sets, just incase you've MISSED them!!  

So FUN right!!?? 
Here's what I've created for today!!

I LOVE using Therm O Web Deco Foils on my Cards!! Especially for Special Occasion Cards!! Have you ever tried Foiling over your Stamped and Embossed Images!!??
Today I'm showing how you can add Deco Foils to your Stamped Images for a very Elegant Design!!
I Started by Stamping and Embossing the Champagne Flute Image from the Pop Fizz Clink Stamp Set with Versa Fine Black Onyx Ink and Embossing with WoW Clear Gloss Embossing Powder!! Then I heat set it and then let it cool!! Then I used Copic Markers to Color in the Image!! I was going for a Light Champagne Color!! 
 I used Champagne: Y11 & Y21   Flute Glass: BG00, BG10
Then I Cut a Piece of Therm O Web Deco Foil in Champagne large enough to cover the Image and Ran it through my Laminating Machine on the #1 Setting!! You don't want it too hot when doing this Technique or it will distort the Image some!! Sometimes that's the look you want, but that wasn't the look I was going for on this Card!! 
SWOON!! I LOVE pulling back the Foil Sheet to reveal the Foiled Image!! It NEVER gets old!! PS Save that Negative Foil Piece as I'll be using it for another Card later in the weeks to come!! 😉 I LOVE being able to use ALL of the Foil so there's NO WASTE!! SQUEAL!! I can't wait to share it with you!! I Die Cut the Champagne Flute Image out using the coordinating NEW Champagne Flute Dies!! 
To create my Card Panel I Die Cut the Stitched Rectangle and then Inked the Background with some Tumbled Glass Distress Oxide Ink!! I wanted to add some Text to the Background so I Stamped the Words "Fizz, Pop & Clink" using Tumbled Glass Distress Ink!! It's Subtle, but that's the look I was going for!! In real Life it really adds a neat touch to the Background!! 

I added some Water Splatters and then heat set it!! Then I took the
 Bubbly Stencil with some Therm O Web Pixie Spray on the back to help keep it in place!! Then I adhered it over the Inked Background and applied more of the Tumbled Glass Distress Oxide Ink!! I wanted a random design so I didn't cover the entire Stencil!! Just concentrated on the right hand side of the Card Panel!! 
I wanted to add some more Champagne Deco Foil to my Card, but didn't want it to take away from the Main Focal Image!! So I took the Deco Foil Adhesive Pen and pressed down the Tip of the Pen onto a Plastic Lid repeatedly until I got enough of the Adhesive out in order to Splatter onto my Card Panel with a Paint Brush!! I let it Dry completely!! 
Once it was Dry I took the Negative Foil Piece and rubbed it over the Splatters of Deco Foil Adhesive on my Card Panel!! SWOON!! I LOVE not on the extra touch of Shine, but the adhesive also dries with some Dimension, so it adds a FUN dimension to the Card too!! To finish the Card Panel I added some Black Soot Distress Paint Splatters and I LOVE how it turned out!! 
I Stamped and Embossed the "Cheers" sentiment with Versa Fine Black Onyx Ink and Embossed it with WoW Clear Gloss Embossing Powder!! Then I Fussy Cut around the Sentiment!! I Adhered the Champagne Flute to my Card Panel with some Foam Tape and then I adhered the Sentiment also with Foam Tape just on the ends of the Sentiment to keep it the same dimension as the Champagne Flute!! I added a Few TE Gold Pearls to finish off the Design!!  
I LOVE the way it turned out and I hope it gives you some Ideas on ways to use these Sets!!??
THANKS SO MUCH for stopping by today and I hope you'll all be ENJOYING a few Cheers tomorrow with LOVED ones and Friends!!
If you feel like Shopping please use my CODE: LARISSASENTME for 15% off your Order!! 
I using products from the CAS-ual Fridays Stamps Shop!! 

Have a FABULOUS & BLESSED Thanksgiving Day/Weekend!! 
Stay Safe and Healthy and ENJOY your time with LOVED ones whether it's Family or Friends or a mixture of both!!  

COUNTRY HUGS-N-KISSES
LARISSA   🍷


Monday, November 22, 2021

The Most Wonderful Time of the Year

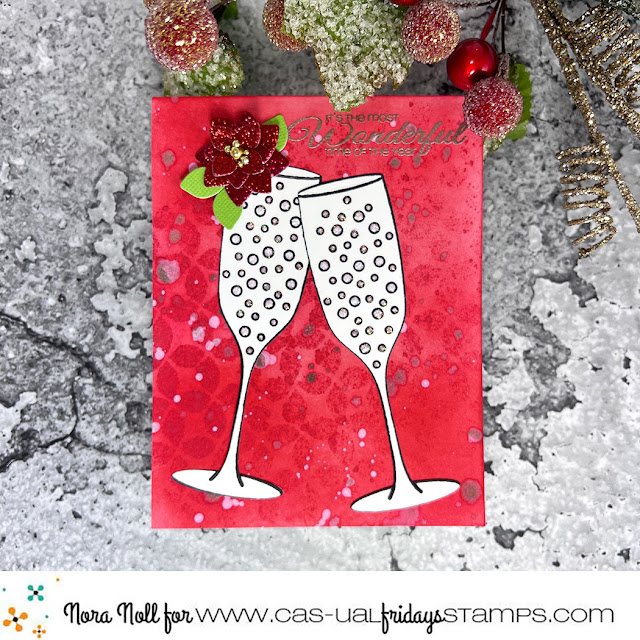
Hello my Crafty Friends!!! Nora here today from A Creative Touch with a simple Christmas card created with CAS-Fridays Modern Petals Stencil, Snowy Sayings Stamp, Pop Fizz Clink Stamp Set and Champagne Flute dies.


I started off this card by inking up an A2 sized, white card front with two different colors of red ink. I then used the Modern Petals Stencil with red ink across the front.


Next I used a variety of spray stains and mica mists over the stenciled background.


While my card front was drying, I used the Pop Fizz Clink Stamp Set to stamp two champagne glasses with black ink. I then die cut them out using the Champagne Flute dies. 


To give the card some sparkle,  I used glitter glue inside the champagne bubbles.


While the bubbles were drying, I adhered my dried card front to an A2, white card base. I stamped and  heat embossed a sentiment from the Snowy Sayings stamp set in the top, right hand corner. I then added my champagne flutes as shown. 

I was going to stop here but my card was missing something. I pulled out the CAS-Fridays 4 Petal Die Set. I decided that I was going to try to make a poinsettia using these flower dies.

 I die cut two large flowers and two small flowers out of red glitter paper. I then die cut a large flower out of green paper.


To create my poinsettia, I adhered the two large flower die cuts together first. Then I adhered one of the small glitter flowers on top. For the last small flower, I used foam adhesive with some liquid glue to adhere it over the top flower. The glue helps to keep the foam adhered as I had trouble getting it to stick to the glitter paper without it. I then cut apart the green flower and adhered my "leaves" under the poinsettia. To complete the flower, I adhered gold gems to the center.


When my flower was completed, I adhered it to the top left of my card.


I hope you like my card as it was a lot of fun to create. CAS-ual Fridays is having a HUGE sale!!!! Please hop on over to the CAS-Fridays Shop.


Use my code NORASENTME to get an extra 15% off your total order-including sale items!!!


I want to thank you for taking the time to stop by today. Please be sure to check back to the blog this week to see some other FABULOUS projects by the CAS-Fridays Design Team.

Have a FABULOUS day!!


Tuesday, October 12, 2021

9th Birthday Celebrations!

Hello, it’s Michelle here today and I have a special birthday card to share with you!

CAS-ual Fridays is 9 years old!

Can you believe that!!  Let's pop the champagne to celebrate.

For my card today I have used the Champagne Flute Die along with the Birthday Dies and the Happy Birthday stamps.


I started by die cutting the champagne flute out using an alcohol inked piece I had in my stash.


I stamped the Happy Birthday sentiment onto a card panel and adhered the champagne flute over the top with liquid glue.


I die cut the Happy Birthday sentiment in black card stock and adhered that over the top of the stamped sentiment so it was showing on top of the glass.


I saved the little dots from the die cut bubbles and adhered them randomly.


Thanks for visiting and I hope I have inspired you to make a celebratory birthday card and be sure to come back to see what the rest of the Design Team have for you!

If you are interested in purchasing any of the products I've used today you can click the "let's go shopping" link below to take you over to the shop!
I have used my affiliate link which means at no extra cost to you I can make a small commission on any purchase you make.

You can also use my special discount code MICHELLESENTME for an additional 15% discount.