Translate

Showing posts with label Falling Leaves Stencil. Show all posts

Friday, September 30, 2022

Affogato Your Birthday


Yesterday was National Coffee Day and tomorrow is International Coffee Day.  I thought I'd celebrate a bit with a coffee card.  And the Coffee'isms stamp set that I used for that sentiment is in the shop at a deeply discounted price .. as are the Heart Note Dies that I used today.


As you know, the shop is closing soon and there are currently very limited items left and all are on clearance at a price that you just can't say no to!


It's a bittersweet day.  This will be my last post for CAS-ual Fridays.  But there are many CFS products that will stay in my stash for always because I just love them.  These are a few of the items I won't be able to let go of.

I've really enjoyed creating for Michele and helping her show off her products each month.  Thank you Michele for being one of the first to have faith in me and love what I do and thank you for all of your fun and sassy crafty stamps and dies and stencils over the years.  Onward!

Before I go, I'll share some things I made using some of the products left in the shop.  Don't miss out!


Here are all of the Heart Note Dies and I used the Snowflake Stencil on the background.
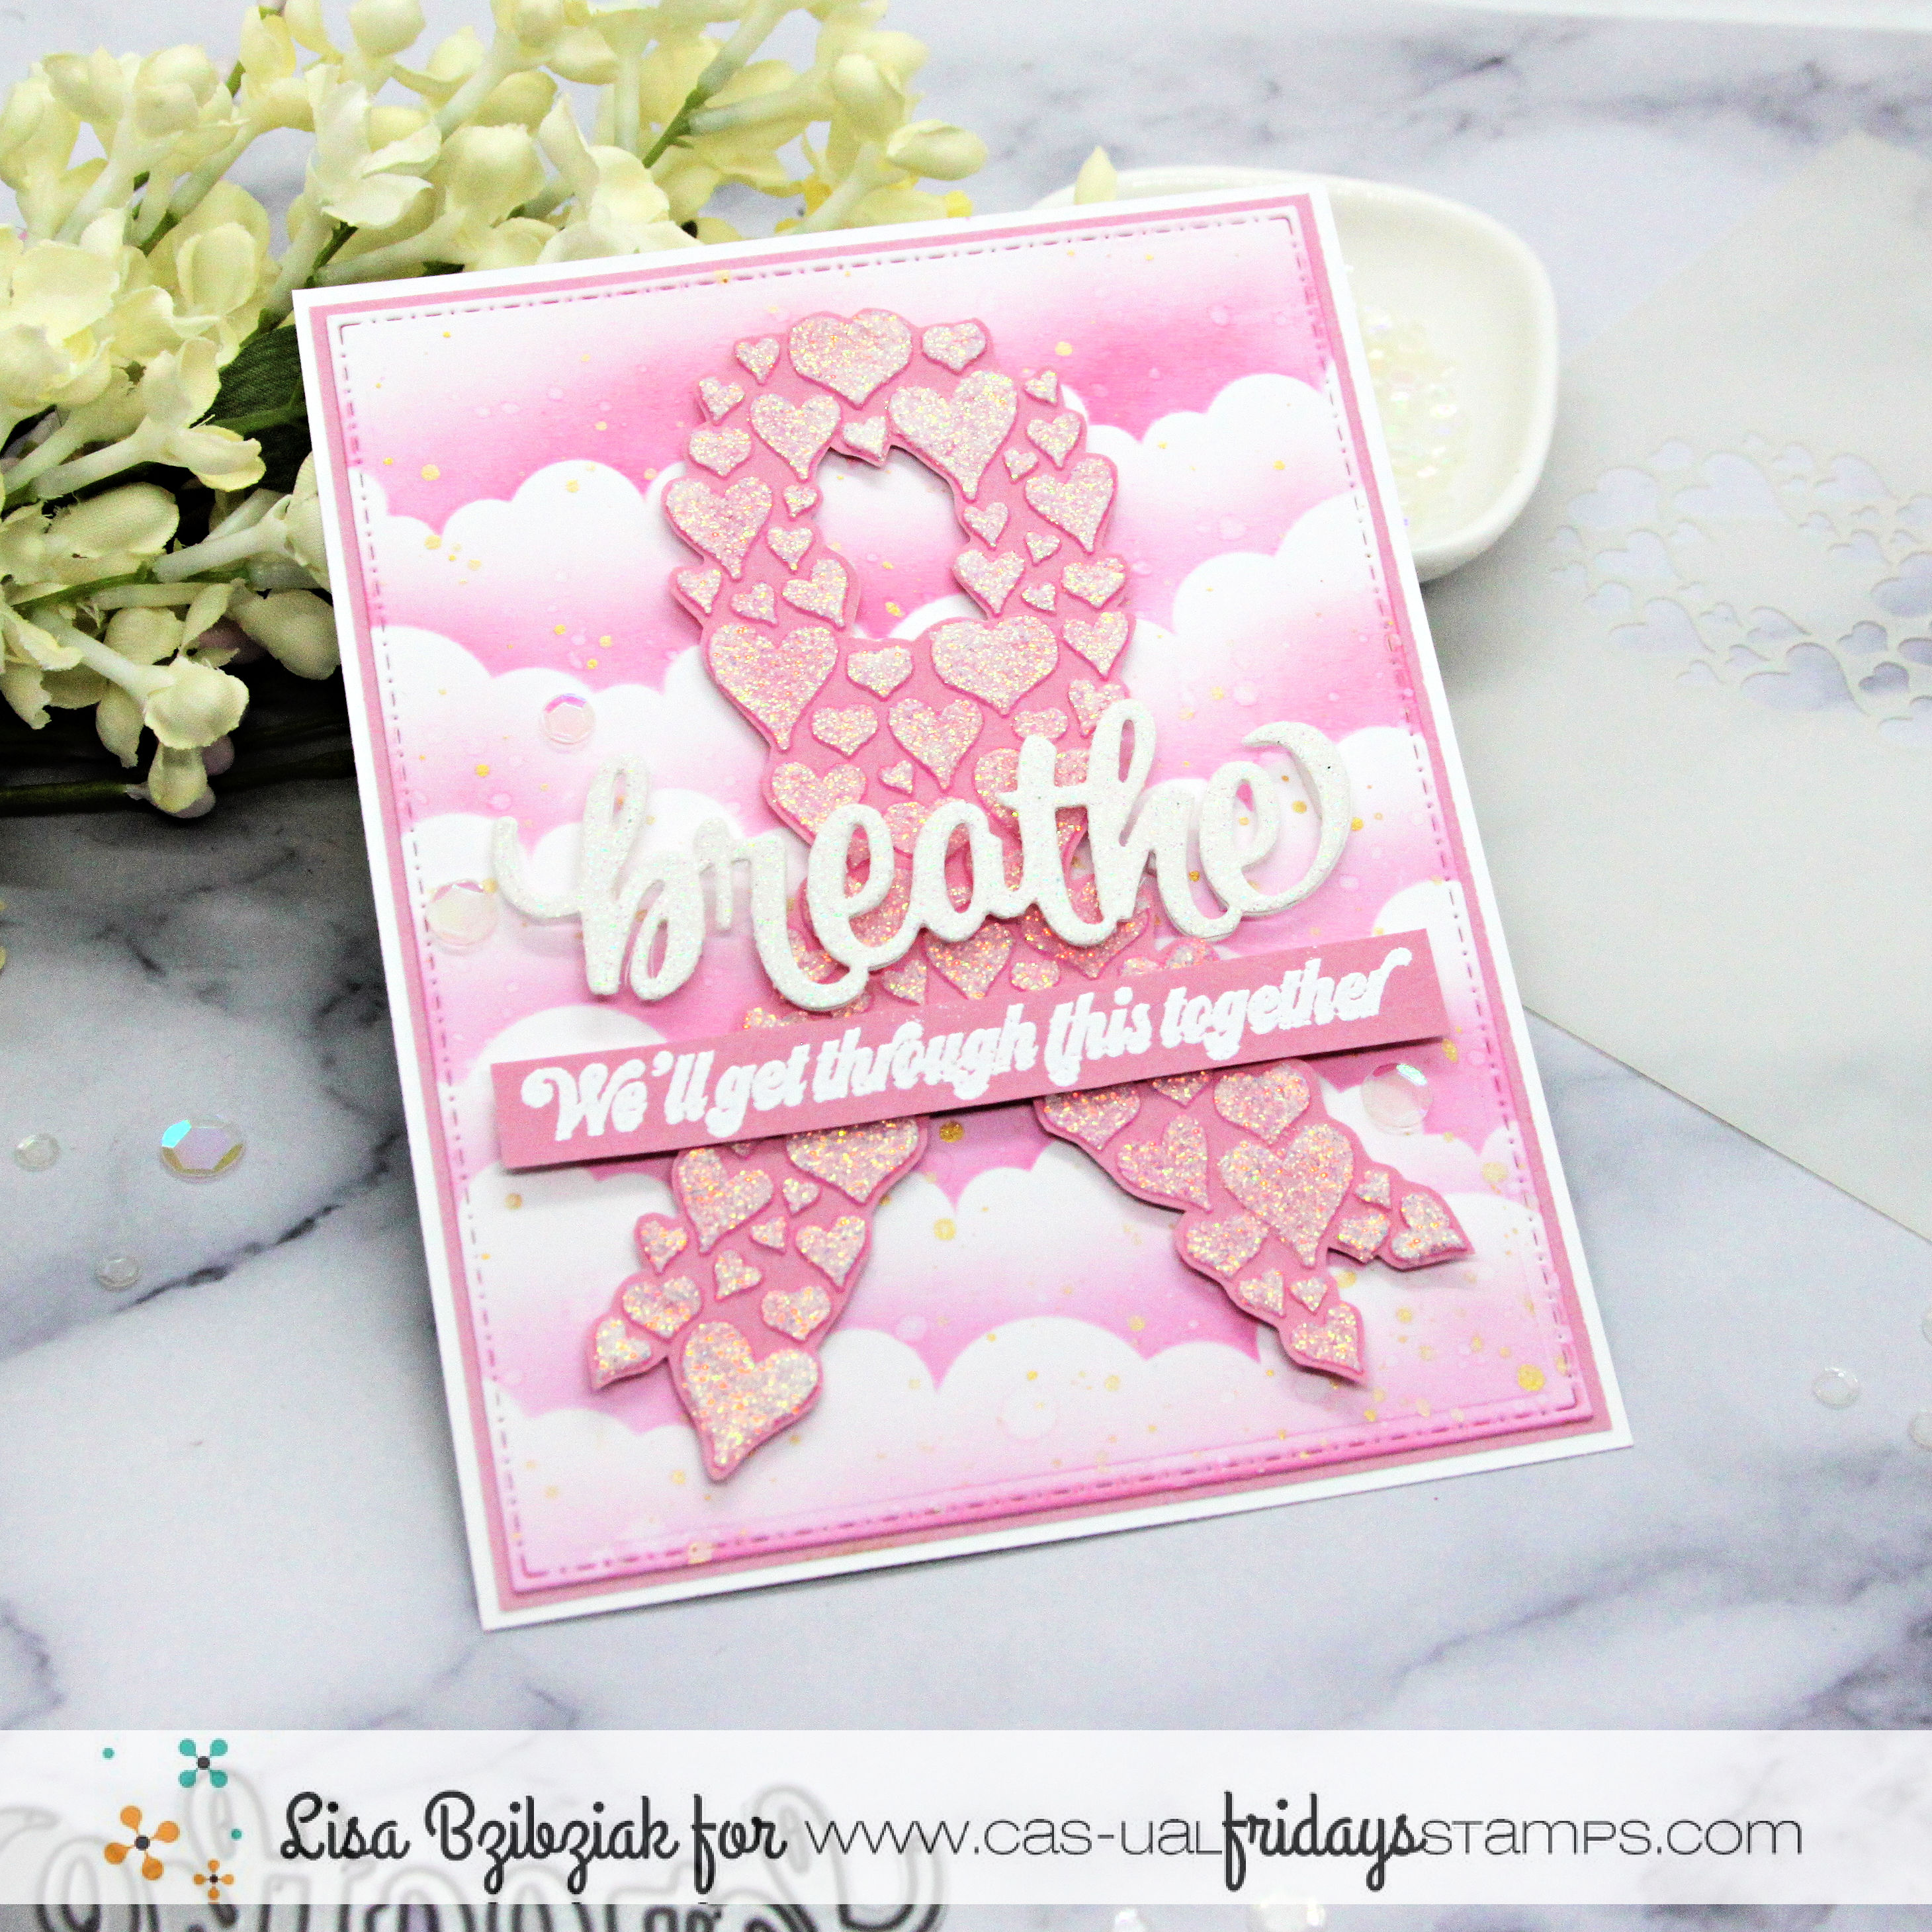

I used the Heart Ribbon Stencil for this one and fussy cut it out.


I used the Partly Cloudy Stencil for that rainbow and those clouds...


And the Heart Ribbon Stamps for this one.

All of the items I've mentioned and linked to here as of the writing of this post are still available in the shop at a deep discount along with a handful of other items... get them while you can!  And over there you'll find more inspiration for each one.

Thank you for all of your visits and the love over the years!  I had a lot of fun and I'll be seeing you all around the Interwebs!


Friday, September 16, 2022

Fall Wedding Card


Welcome back!  I needed a wedding card and it will be Fall in rural New York so I decided an autumn feeling background would be perfect.  The leaves will just be starting to turn and the wedding is in a location that is nestled in a very woodsy setting.


I decided to make a 5x7 card.  I used the Falling Leaves stencil by taping off the edges and then moving the stencil around on the panel and applied varying fall colors.  Finally I topped it off with some gold texture paste.


I added a topper with the Happily Ever After sentiment from the Ever After stamp set embossed on it.  I added some fabric, paper and a hand crocheted flower along with some embellishments and twine.  I think this one is just right!

Check out the shop to see what you can get at 40% off before it's all gone!  Thanks for stopping!  Hope you enjoyed it!


Friday, May 27, 2022

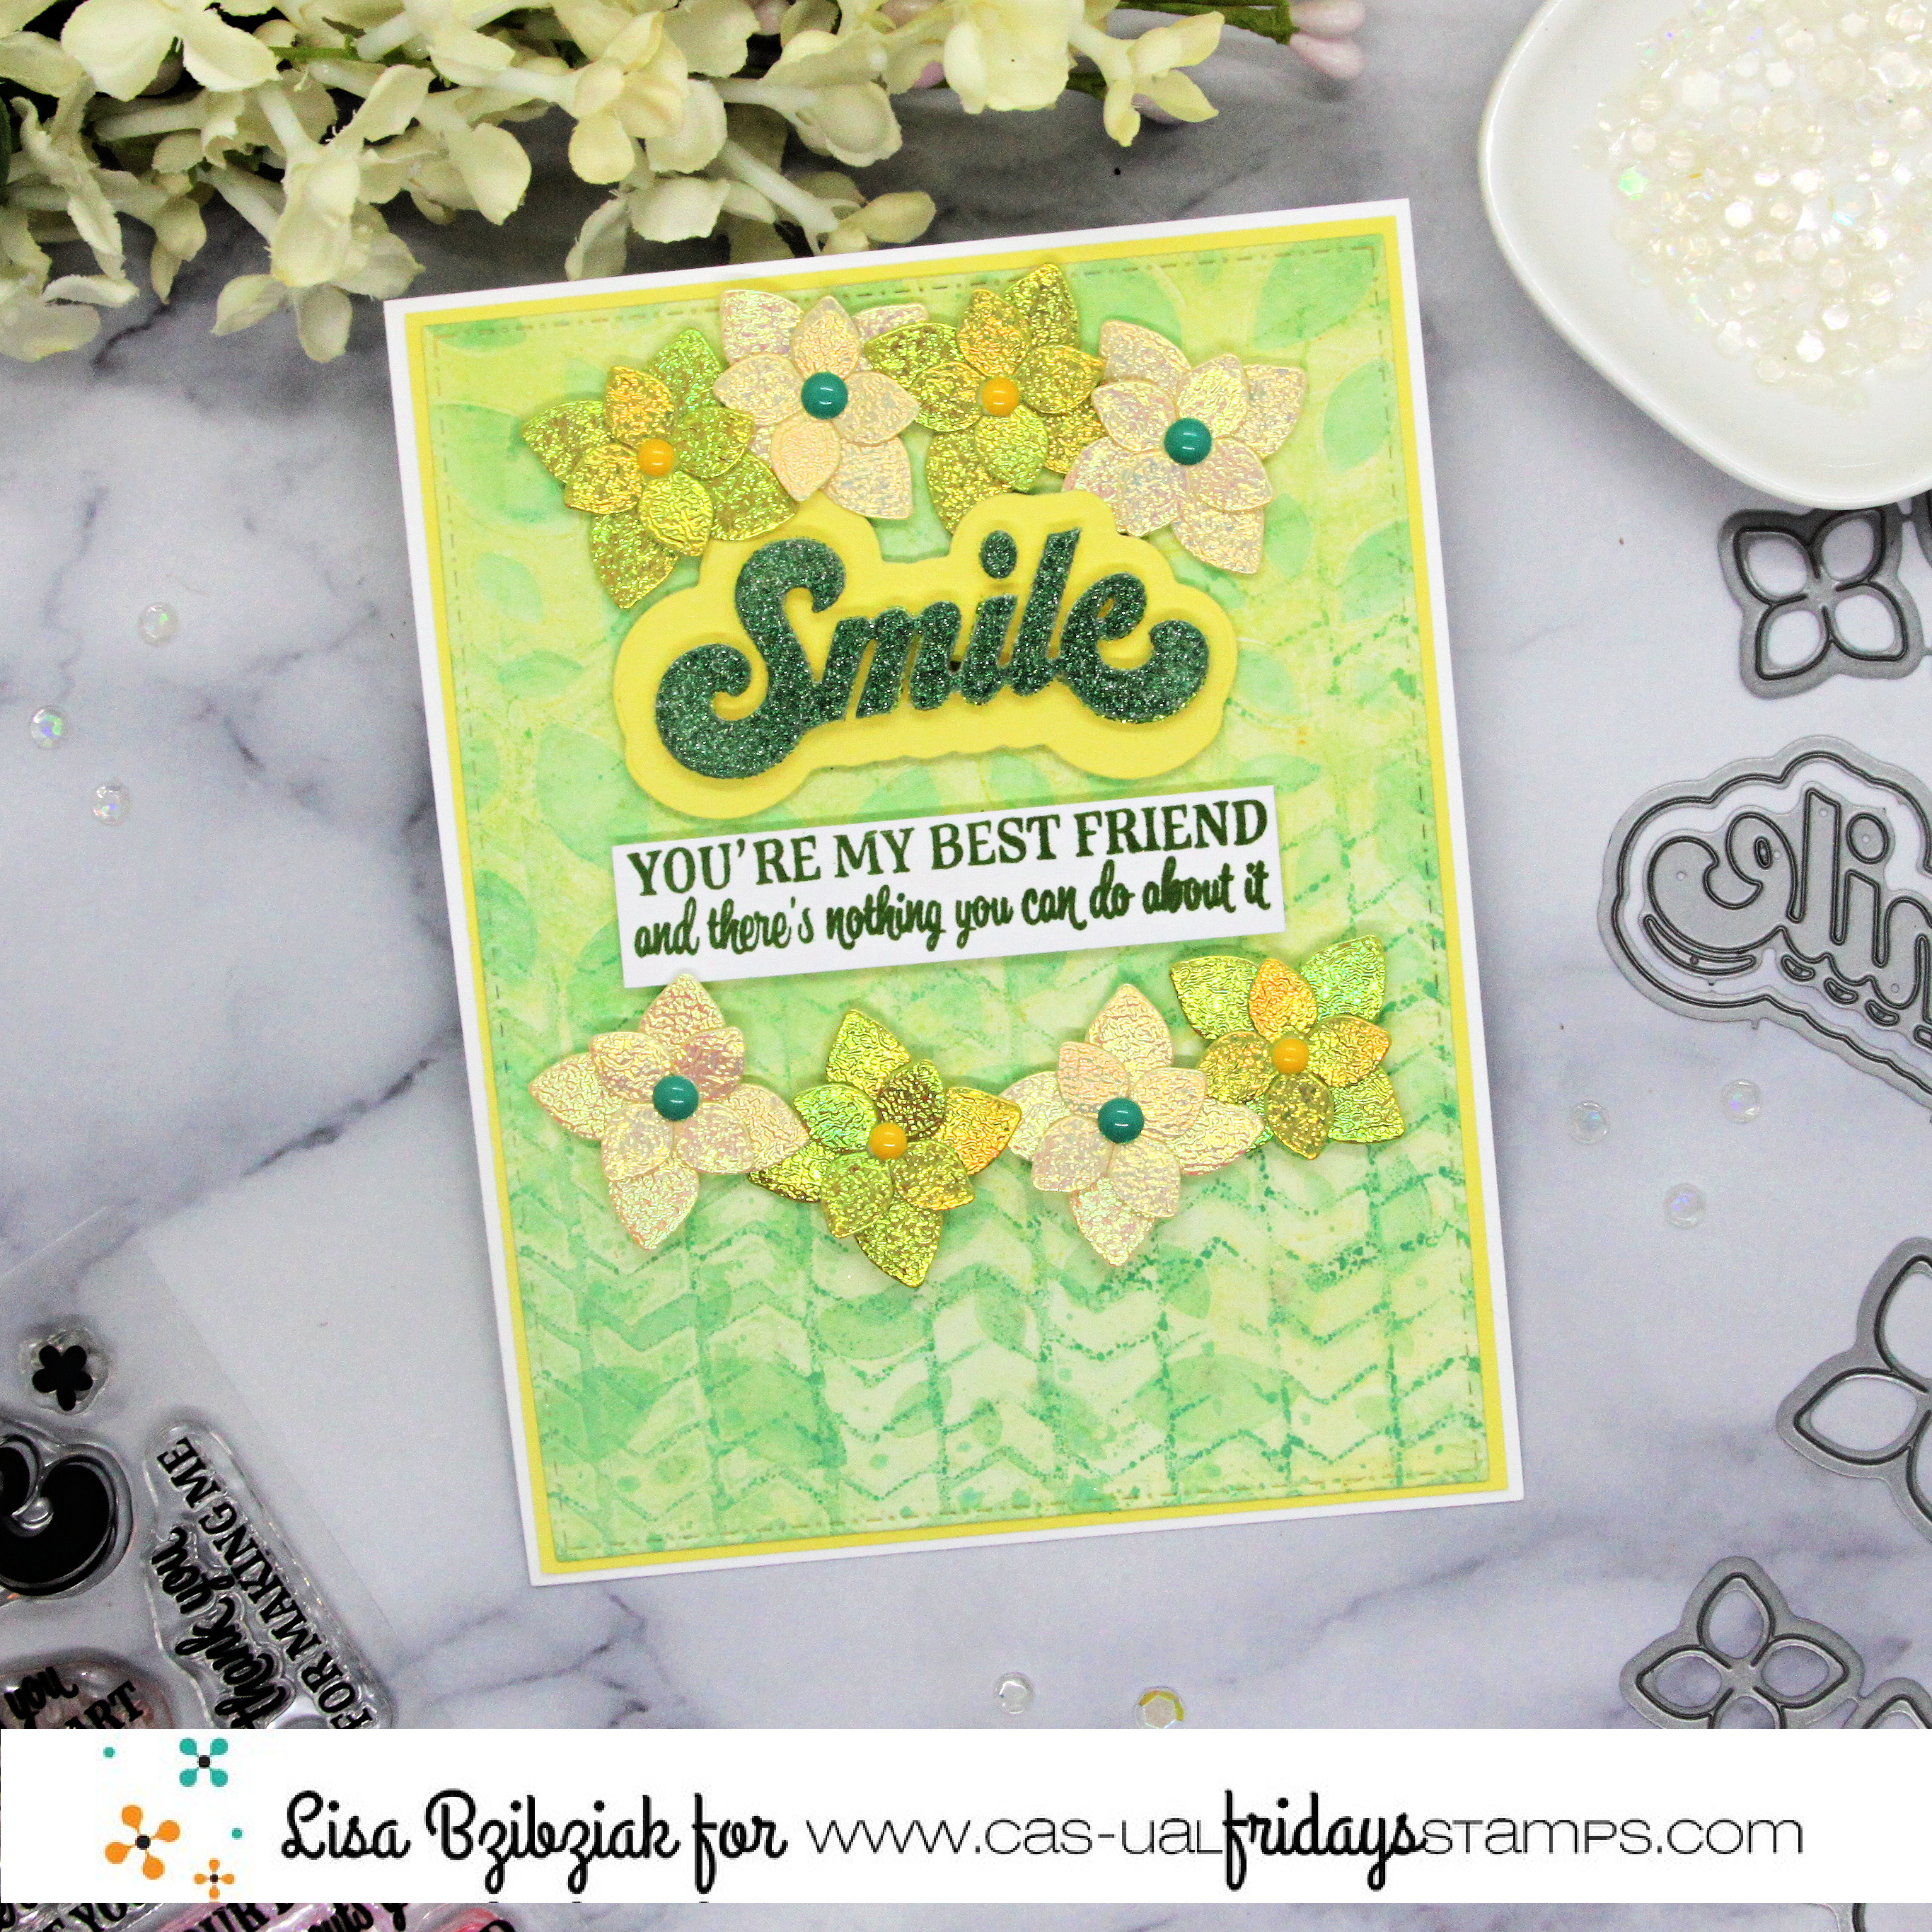
Nothing You Can Do


Well hello!  Lisa here and today I've got a fun one for you using a couple stencils and some dies!


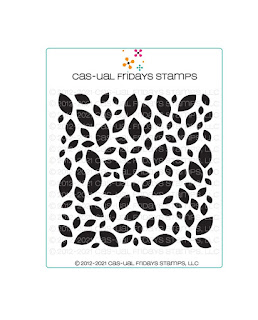
I created the background with my gel press and some inks using both the Chunky Chevron and Falling Leaves Stencil.

I cut a bunch of the 4 Petals die cuts from some shimmery paper and glued the smaller ones over the larger ones and then added a center.


I cut the smile word from green glitter and the base using the same yellow for my border, stamped the sentiment from the Sassy Smiles Duo stamp set and then arranged everything over the top of the background and adhered it in place.

That's me for today!  I hope you enjoyed it and you'll come again soon!


Wednesday, May 18, 2022

Silent Scream


Welcome Back!  Today I'm sharing another coffee card with a watercolored background using the Falling Leaves stencil!


I stamped, cut and colored the pretty flowers from the Flowers Duo and tucked them inside the Coffee Cup after stamping the sentiment from Coffee talk.  Then I cut the Coffee word die from green glitter paper and then popped it up at the bottom to complete the sentiment!


That's me for today!  I hope you enjoyed your visit and you'll come back again soon!


Wednesday, February 16, 2022

A Fresh Gel Print Using the Falling Leaves Stencil


Welcome back!  I've got another gel print today that I made with some acrylic paints and the Falling Leaves Stencil!


I decided a light and fresh color palette was perfect so I stamped and embossed the largest flower from the Mon Ami set in gold.  I used my Zig markers to add a little bit of color.  Then I die cut the breathe die from white glitter paper and twice more from white cardstock and stacked and adhered them together.  I popped the word die cut and flower onto the card and added a few sequins!


Thanks so much for stopping!  Hope you enjoyed it and you'll come again soon!  And should you feel like shopping, here's a discount code for you:


Sunday, January 16, 2022

Masked and stenciled Backgrounds.

Hello, it's Michelle here today sharing two cards I made with some fun masked and stenciled backgrounds.

I made a mask by die cutting a circle from a piece of card stock.   I placed that over a another piece of card stock and ink blended some Catherine Pooler ink.  I left the mask in place, placed the stencil over the top and ink blended a darker shade of ink.  These would look great using different shapes too.  
I stamped the cute Boston Terrier from the Nate & Friday stamp set and cut him out using my scan n cut.  How adorable is that face!  
My first card is using the Falling Leaves stencil.


I used the Bubbly Stencil for my second card.


Thanks so much for stopping by and if you are interested in purchasing the products I've used today or anything else, you can click the "let's go shopping" link below to take you over to the shop!

I have used my affiliate link which means at no extra cost to you I can make a small commission on any purchase you make.

You can also use my special discount code MICHELLESENTME for an additional 15% discount.


Monday, November 8, 2021

Fall Cheers!!

Hello Crafty Friends!! 
 
Today I'm sharing a Card using the Salty Stamp Set & Margarita Glass Die Set!! I LOVE these Sets and ALL of the Possibilities with mixing them with other CAS-ual Fridays Stamp Products!! 
SUPER FUN Right!!?? The Sentiments are PERFECT for either the Outside or the Inside of your Cards!! 
Here's what I've created for today!!
I Started by Stamping and Embossing the Margarita Glass Image from the Salty Stamp Set using Versa Fine Black Onyx Ink and WoW Embossing Powder in Clear Gloss!! 
I personally LOVE me a Blended Strawberry Margarita so that was the Look I was going for!! I Colored the Image with Copic Markers!! Margarita Glass: C00, C1 & C3   Blended Margarita: R000, R00, R11 & R32   Lime: G20, YG11 & YG17
Then I used the Margarita Glass Die Set to Die Cut the Image out!! 
For my Background I Inked with Tumbled Glass Distress Oxide Ink and just behind where the Margarita Glass was going to go!! I added some Water Splatters and some Black Soot Distress Paint Splatters for some Texture!! Then I Masked off the Table with some Therm O Web Purple Tape and Inked with Hickory Smoke Distress Oxide Ink!! Then I used the Falling Leaves Stencil
and Inked with Tumbled Glass Distress Oxide Ink for a Tone on Tone Design!! I Stamped and Embossed the "Cheers" Sentiment from the Pop Fizz Clink Stamp Set!!
I wanted to add some Sparkle to my Card, so I added some SSS Unicorn Confetti Glitter after I applied some Therm O Web Ultra Bond Adhesive to each of the Sugar Cubes on the Edges of the Margarita Glass!! I LOVE the FUN and SPARKLE touch it adds to the Blended Strawberry Margarita Image!! 
I set it aside to dry and then I added some Tonic Studios Opal Quartz Shimmer Pen Splatters and Black Soot Distress Paint Splatters to the Background of the Card Panel!! I LOVE the Iridescent Shimmer and it coordinates well with the Iridescent Shimmer of the SSS Unicorn Confetti Glitter I added to the Sugar Cubes on the Edge of the Glass!! 
A few Trinity Stamps Fairy Rocks Rhinestones finishes off the Design of the Card Panel!! I paired it with a Taylored Expressions Salt Water Taffy Envelope and its ready to send to a Dear Friend for her Birthday!! 

If you feel like Shopping please use my CODE: LARISSASENTME for 15% off your Order!! 
THANKS SO MUCH for stopping by today and I hope you have a FABULOUS Week!!  

LARISSA 🍹


Sunday, October 24, 2021

You Make My Heart Smile!


Welcome back!  I've got some watercoloring for you today!  I've used some liquid watercolor this time.

I started by die cutting a panel using the stitched die from the Slimline Pinked set.  I heat embossed the beautiful Flowery Background onto it in gold.  The background covers a regular card base panel so was short for the slimline, but I decided instead of stamping it again, I'd leave it blank and do something different with it.  Then I dropped a couple drops of the yellow and orange watercolors into wells of a paint pallete and water in a couple of the wells.  I started with a yellow wash and then started adding the two colors to the flowers sometimes heavier on the yellow and others the orange.


I love the variations I got and it reminds me of the Fall Mums I'd always plant in the fall in NY.

When that was dry, I blended some yellow and orange Distress Oxides onto the blank end of the panel and then added some texture paste through the Falling Leaves stencil and added gold embossing powder over it and heated that up.

I used some gold Glitter Tape across the area where the two designs came together and then added the sentiment with the word die and sentiment from the Sassy Smiles Duo at the bottom.


Finally, I cut the pinked panel in white and layered the watercolored panel over a yellow; then layered that over the white pinked panel and finally an orange base and a few sequins to finish it off!

That's me for today!  I hope you enjoyed it and I hope you've been enjoying all of the birthday inspiration we've been having here lately!

Come back again soon!