Translate

Showing posts with label Ever After Stamp Set. Show all posts

Thursday, January 6, 2022

Happily Ever After


Hello it's Michelle here today and I'd like to wish you all a happy new year!

I'm starting off  my card making year with a wedding card because they make me happy.  I love a good wedding, it's always a happy occasion.
 
The stamp set and die that I have used on my card today are both on sale!

I stamped the sentiment from the Ever After stamp set with black pigment ink and heat embossed with some sparkly embossing powder.  Next I die cut a bunch of petals using the 4 Petals dies.   I love that  you get 3 of each size petals in this die set.  I ink blended the petals using Catherine Pooler ink and added a white dot in the center with a gel pen.  I used the leftover card stock from the die cutting as a stencil and ink blended some petals onto my card panel then adhered the petals over the top.
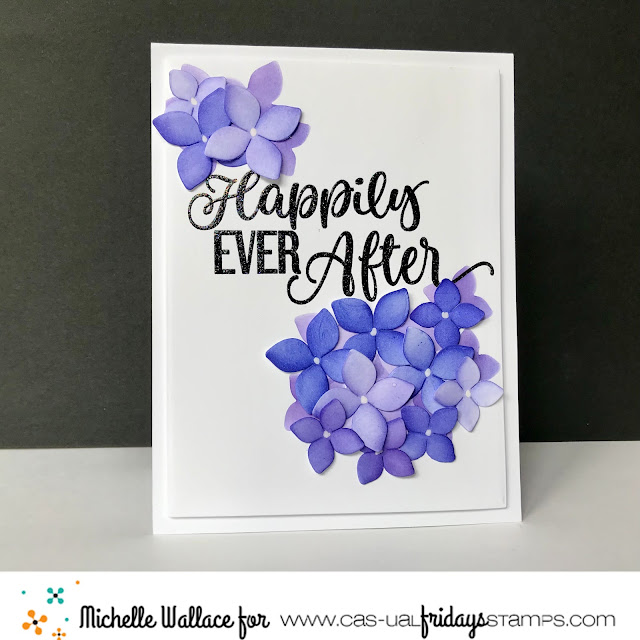


I also stenciled some of the petals on the inside of the card and stamped the sentiment with black ink.


Thanks so much for stopping by and if you are interested in purchasing the products I've used today or anything else, you can click the "let's go shopping" link below to take you over to the shop!

I have used my affiliate link which means at no extra cost to you I can make a small commission on any purchase you make.

You can also use my special discount code MICHELLESENTME for an additional 15% discount.


Tuesday, March 23, 2021

Oh how I LOVE You Coffee Card w/ Spring/Summer Coffee Lovers Blog Hop!!


HELLO CRAFTY FRIENDS!!

Larissa here today joining in on the FUN Spring/Summer Coffee Lovers Blog Hop!! I'm using some of my FAVORITE Cas-ual Fridays Stamps Products today!! These Products are ALL on SALE this Week too, PLUS there's also a Chance to WIN!! Visit the BLOG POST HERE for your chance to WIN!! 
      We have a great Prize Package valued at over $50 that                              one lucky duck is gonna win!!
I Started my Card by creating an Inked Circle Background!! I created a Mask and then inked with Tumbled Glass Distress Oxide Ink and Hickory Smoke Distress Oxide Ink!! 
Then I Created my Coffee Cup!! I Die Cut 4 of the Coffee Cups Fri-Dies that I die cut from some White Cardstock and adhered them together!! Then I die cut a FUN Spring Floral Patterned Paper and adhered that to the top of the Stacked  Coffee Cups!! I Inked the Coffee for the inside of the Cup using some Gathered Twigs Distress Oxide ink and then coated it with some Morning Dew Nuvo Drops to help make it appear to be Coffee!! I wanted to add some Darker Shading so after the Nuvo Drops were completely dry I added some E49 Copic Marker to the outside edges of the Coffee!! 
LOVE the way it turned out!! 
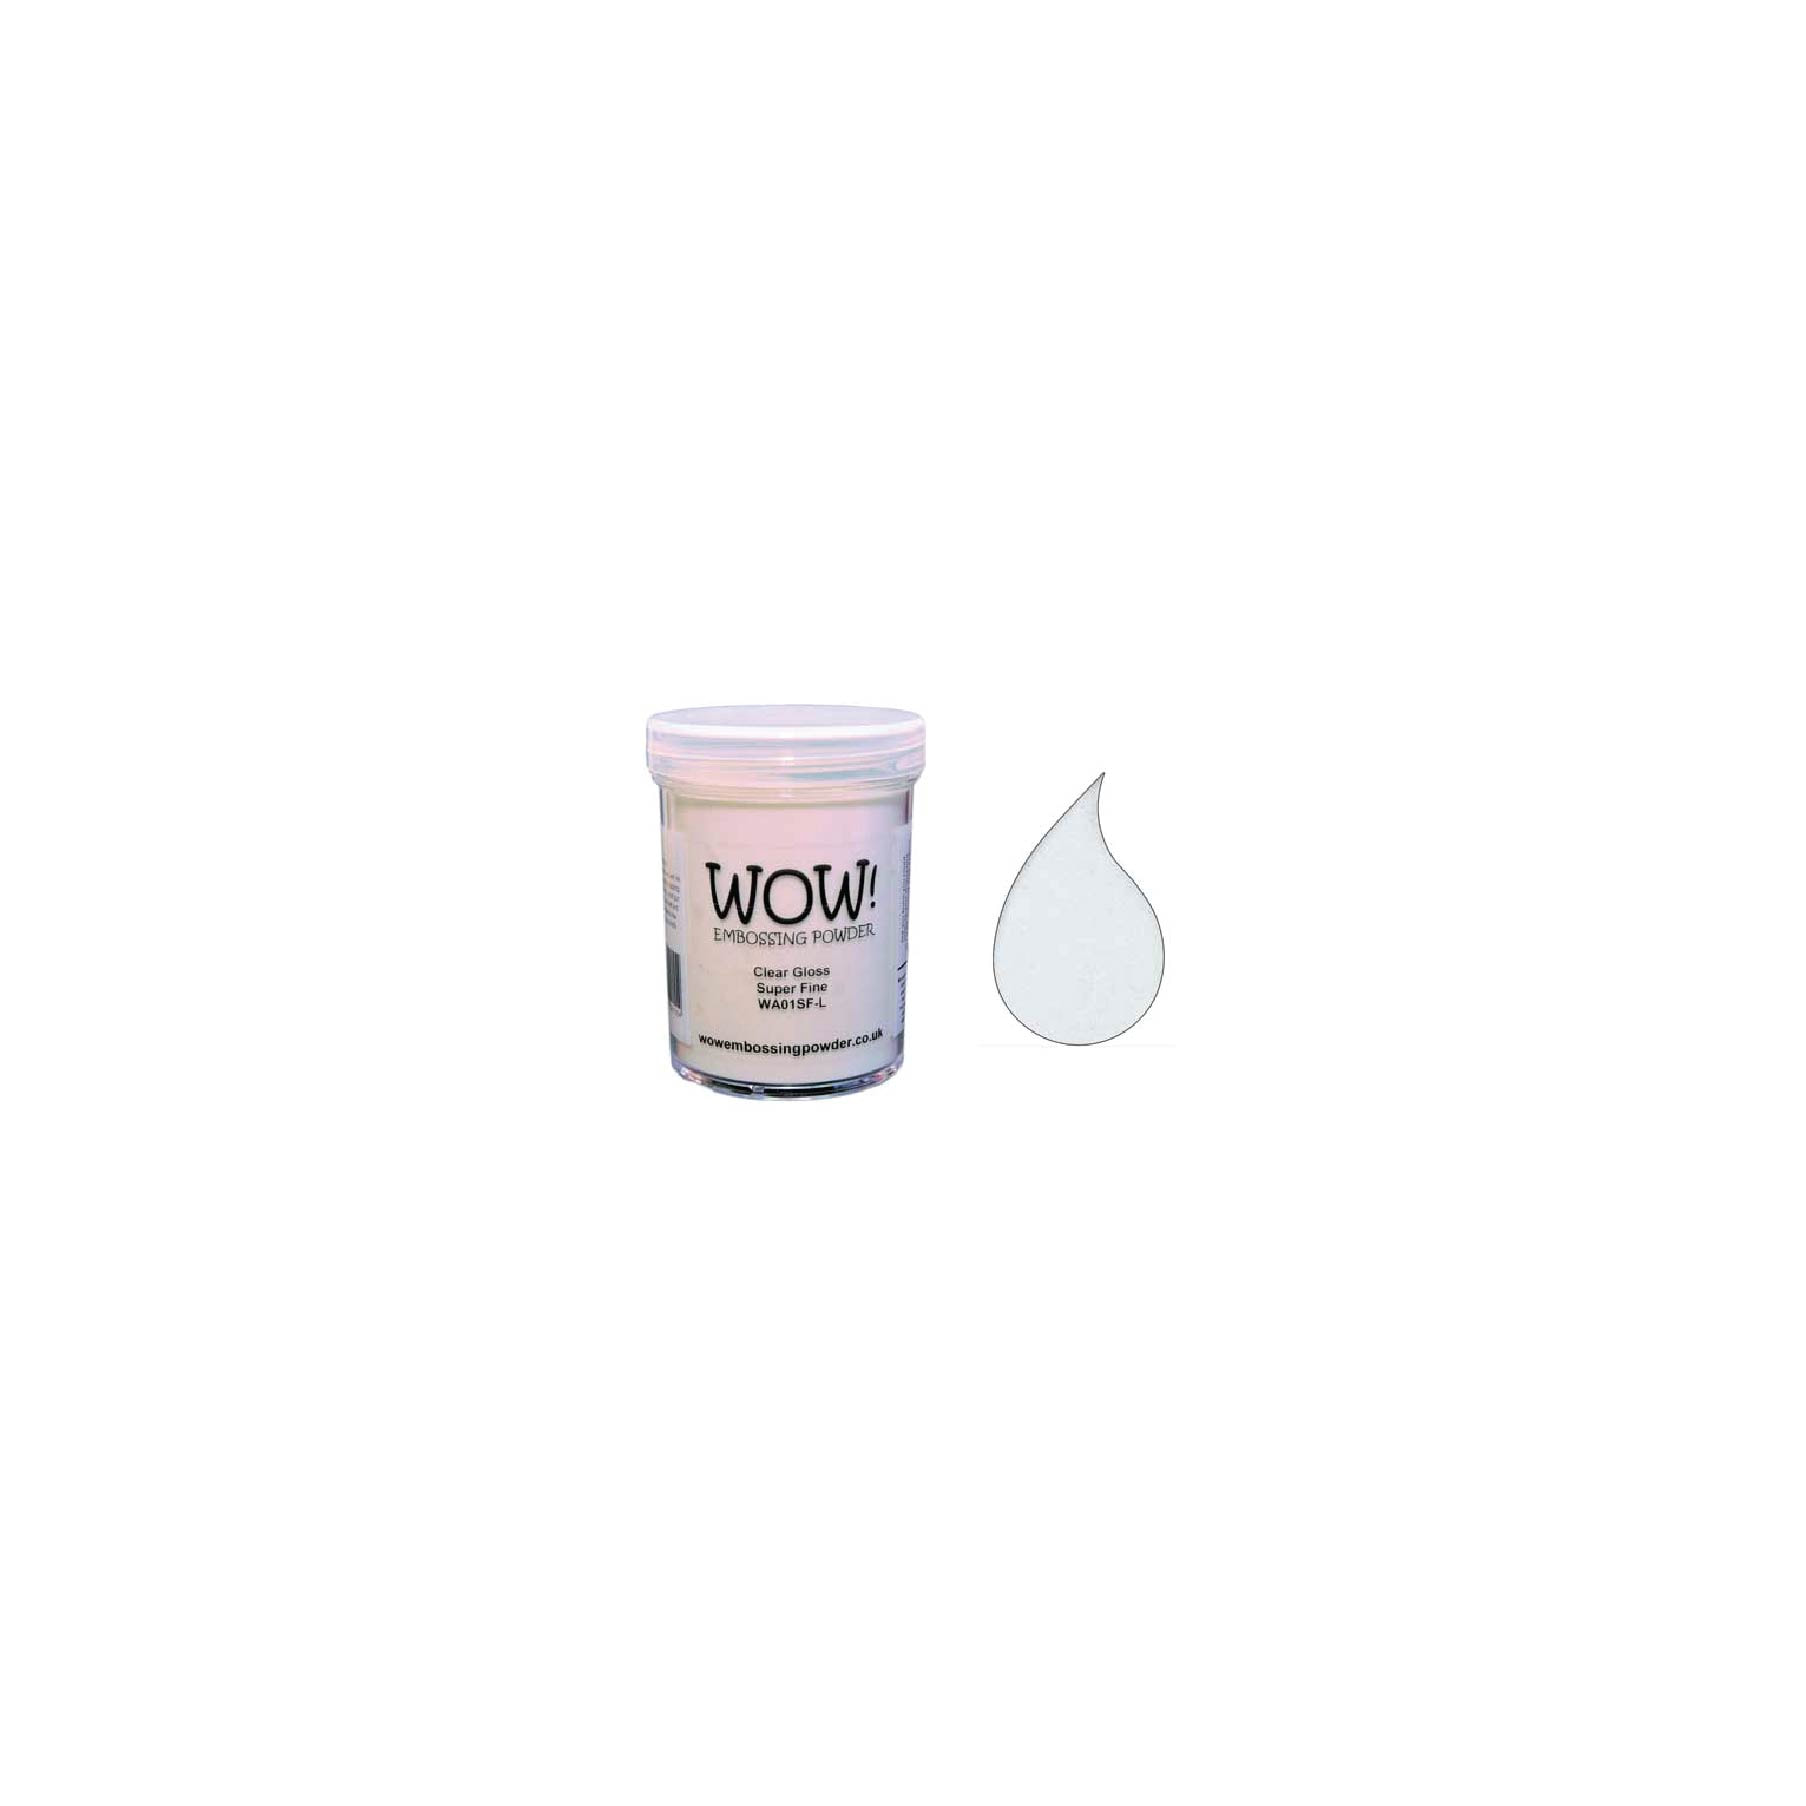
I Stamped and Embossed the Sentiment from the Ever After Stamp Set and Stamped it in Versa Fine Black Onyx Ink and Embossed with WoW Clear Gloss Embossing Powder!! Then I added some Black Soot Distress Paint Splatters and then set it aside to Dry!! I adhered the Coffee Cup to my Card Panel using some Ultra Bond Adhesive!! This Card could be used for SO MANY Occasions!! Just by changing out the Colors/Patterns of the Coffee Cup Fri-Die and the Background this Card could have a completely different feel!! Some Fairy Rocks Rhinestones were added for some Sparkle and I LOVE the way they finish off the Design!! 
For TONS of AMAZING Inspiration make sure to visit the CAS-ual Fridays Stamps Blog and shop the NEW, Old and Sale Products in the CFS Shop!! You can also use my discount code LARISSASENTME to SAVE 15% off anything in the Shop!! WHOOP WHOOP!! 

THANKS SO MUCH for stopping by and I hope you have a FABULOUS WEEKEND!! 

Larissa Heskett  ☕


Sunday, February 14, 2021

Happy Valentine's Day With an I Love You Card

Happy Valentine's Day!!! Nora here from A Creative Touch on the blog today with a love card to celebrate the day. 


I started off this card by stamping the Heart to Heart Stamp onto white cardstock with WOW! Clear Embossing Ink. I then heat embossed the hearts with WOW! Superfine White Embossing Powder


I then used Distress Spray Stain in pinks and reds over the front of the embossed card front. When the front was dry, I die cut the front into a rectangle. I adhered the negative and positive onto a white card front.


I die cut a tag using the Tag Buddies Fri-dies out of white cardstock. I used foam adhesive to adhere the tag to the card front.


I pulled out some foam glitter hearts that I had in my stash and adhered them to the card front. You could use the Heart Board Fri-dies to die cut embellishments instead. 


To finish off my card, I masked off a sentiment from Ever After Stamp Set and stamped it with WOW! Clear Embossing Ink. I heat embossed the sentiment using pink Distress Embossing Glaze. I fussy cut the sentiment and adhered it under the glitter hearts with foam adhesive. 

I had so much fun making this card and LOVE how it came out. That is it for me today. If you want any of these FUN products, use my code NORASENTME for 15% off your total order. 


Be sure to stop by to see some other fabulous creations by the Design Team. 
Have a GREAT day!!


Thursday, November 26, 2020

Celebrate Slimline Card!!

HAPPY THANKSGIVING!! 
Today I've created a Slimline Card using the 
NEW Pinked Slimline Fri-Die Set!! SWOON!! I LOVE ALL of the possibilities with this Set alone, but add it along with a Die and a Stamp Set and you have a whole new set of possibilities!!
 
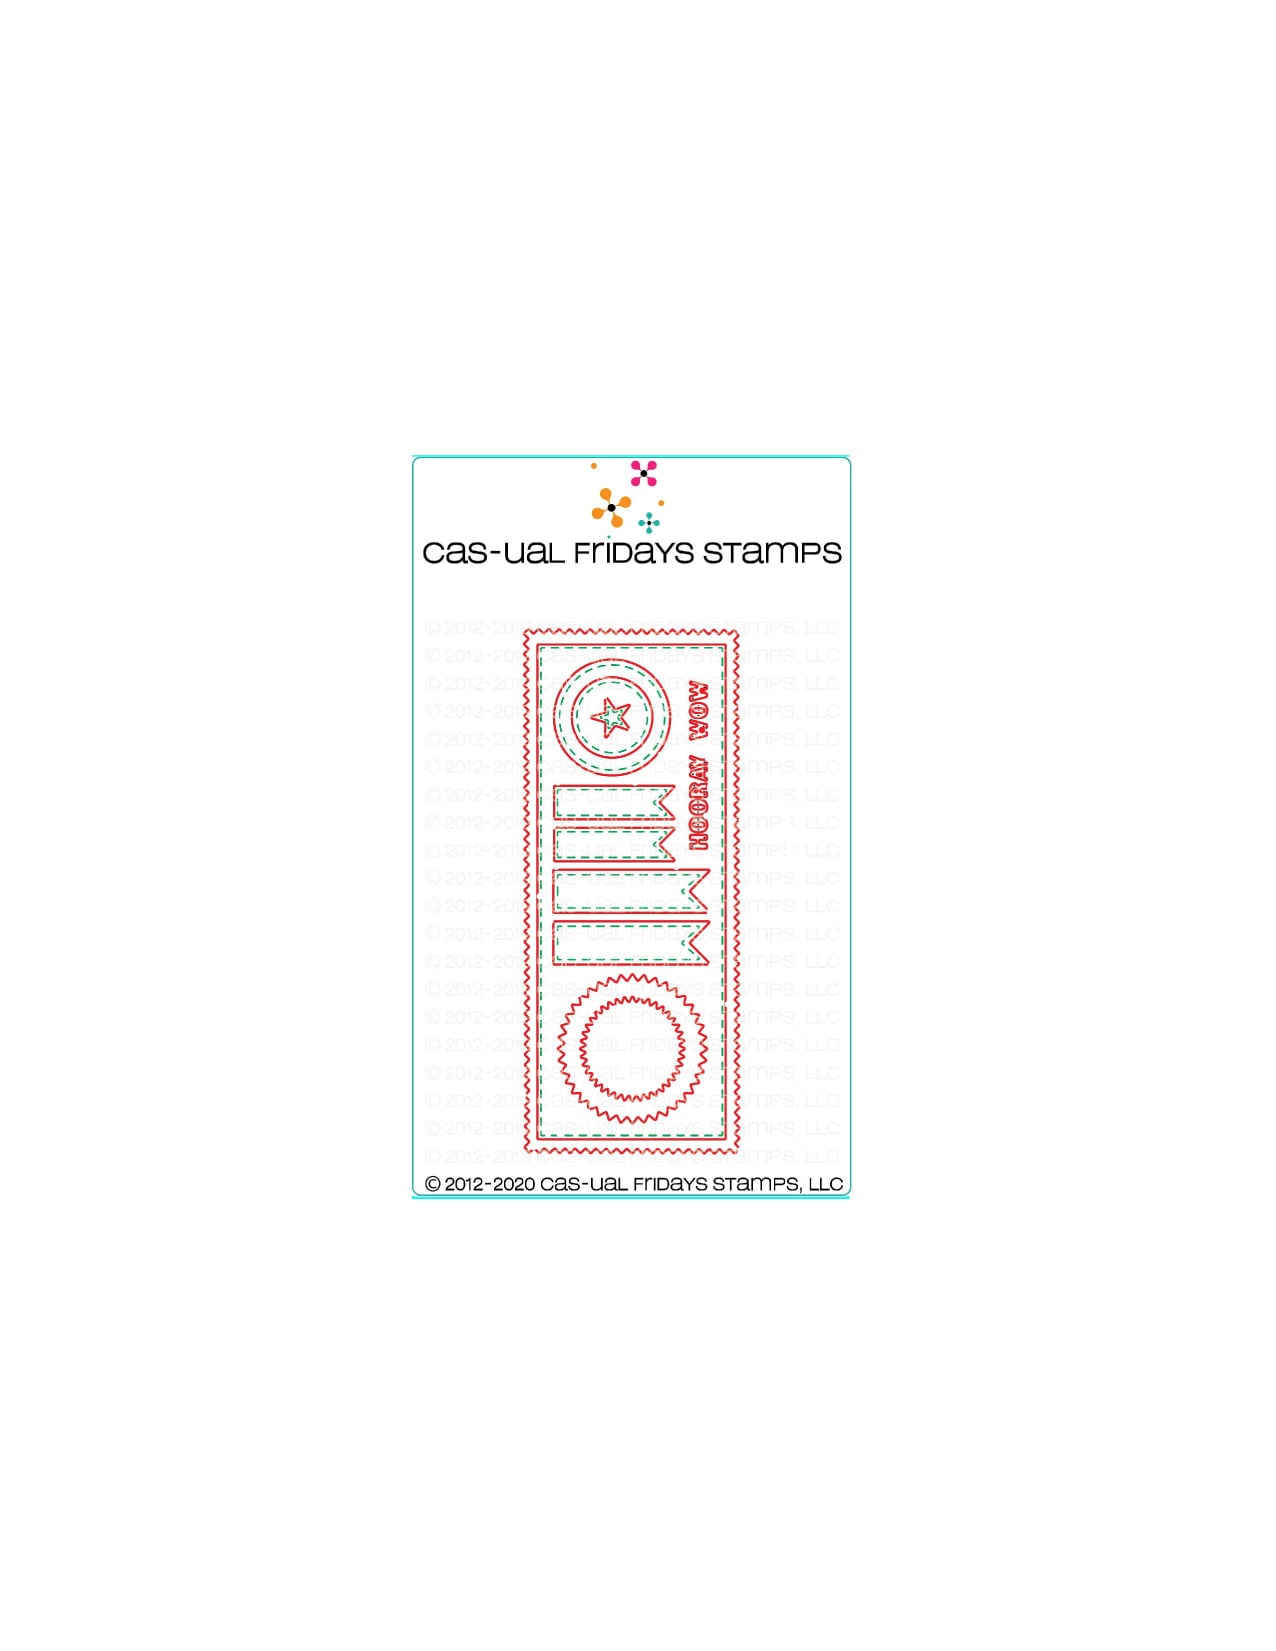
I Started by creating my Embossed Cardstock in order to create my Die Cut Word "Celebrate" which is the Focal point of my Card!! I added the WoW Embossing Ink to the Cardstock and then added the WoW Embossing Provincal Powder to the Cardstock!! I Heat Set it to the Cardstock from the bottom side of the Cardstock using the WoW Dual Speed Heat Tool!! Then I Die Cut the NEW Hooray Fri-Dies from the Embossed Cardstock using the Celebrate Word!! I wanted a thicker Word so I Die Cut it 3 more times from some Kraft Cardstcok and stocked them all together to create a 3D Dimensional Sentiment!!  
Next I Die Cut the Slimline Stitched Rectangle Die from some White Cardstock and then I Stamped and Embossed the "Oh How I Love You" Sentiment from the Ever After Stamp Set with Versa Fine Black Onyx Ink and Embossed with WoW Clear Gloss Embossing Powder!! I Heat Set it with my WoW Dual Speed Heat Embossing Tool!! Next I inked the Background with some Peacock Feathers & Tumbled Glass Distress Oxide Ink using an Ink Blender Brush!! Then I added some Black Soot Distress Paint Splatters and some Midas Touch Shimmer Pen Splatters!! 

I Die Cut 3 of the Stars from the Embossed Cardstock I created using the Star Die from the NEW Pinked Slimline Fri-Die Set!! Added them to the Card Panel using some Ultra Bond Adhesive!! Then I added a 3-D Iridescent Star Jewel from Studio Katia to the center of the Die Cut Stars using Ultra Bond Adhesive!! Iridescent Star Confetti were added too for even more Sparkle!! I LOVE the way the Colors Dance in the light on the Card!!
I Die Cut the Slimline Pinked Die from some Gingham Patterned Paper and then added the Card Panel to it adhering the entire Panel to a White Slimline Cardbase!! I've paired my Card with a SSS Black Slimline Envelope!! 
I hope I've INSPIRED you today!!?? 

For TONS of AMAZING Inspiration make sure to visit the CAS-ual Fridays Stamps Blog and shop the NEWOld and Sale Products in the CFS Shop!! You can also use my discount code LARISSASENTME to SAVE 15% off anything in the Shop!! WHOOP WHOOP!! 
 
PLUS Shop the SALE!! 

THANKS SO MUCH for stopping by today and I hope you have a FABULOUS & BLESSED Thanksgiving Day/Week!! 

LARISSA ðŸ’—


Friday, July 17, 2020

Happy Anniversary Card


Hello my crafty friends! Maria here on the blog with you today.  A friend of mine asked me to create an anniversary card for his wife so it's all about flowers and anniversaries today!  

For today's card, I am showcasing the Pretty Posies stamp set and Posies Fri-Die.


I started by stamping the images on some vellum with versamark ink.  I sprinkled some white embossing powder and heat-set with my heating tool.

I die-cut the flowers using the coordinating dies.  I flipped the cut images on the other side and used my alcohol markers to color them in.  I set them aside to dry and started working on my background.

I die-cut an A2 size panel of white card stock and used some dye inks and blending brush to lightly color the background.  I pressed the same ink pad onto an acrylic block and added some water.  I used my paint brush to splatter some color on my background for a more cohesive look, and added texture.


 I adhered the vellum flowers on the card using my Xyron sticker maker and some foam adhesive for added dimension.

To finish my design, I stamped the sentiment with Versafine Onyx Black ink and added the Sparkling Hearts droplets on the card.  Here's another look:


Here are the supplies.  Don't forget to use my coupon code below to receive 15% off your order:


I hope you like my card today.  Thanks for stopping by and happy stamping!