Translate

Showing posts with label #casfridays. Show all posts

Wednesday, March 31, 2021

Mixing Old and New Supplies

Hello everyone! Nora here from A Creative Touch with a card that utilizes an older CAS-Friday stencil and one of the new stamp/die duos. I love pairing new collections with my older supplies to get more milage out of my hoarding!


I started off by using white embossing paste and the Modern Petals Stencil on a white piece of cardstock measuring 4" by 5 1/4." 


When the embossing paste was dry, I masked off portions of the background and created rainbow stripes with Distress Ink. I then mounted the panel over a black, A2 card base.


I die cut clouds and rain drops using the new Raindrops Duo stamp/die set. I used some gray Distress Ink to shade in the clouds and adhered them to the card front. I also applied dye ink to blend the blue on the raindrops. I adhered the precipitation underneath the clouds.


I stamped the sentiment onto a separate card panel in black dye ink. I used markers in rainbow colors to color in the word "rainbow." I adhered the sentiment to the card front using foam adhesive.


To punch these elements up a bit, I covered the clouds with clear shimmer, the raindrops with glitter and the rainbow sentiment with Glossy Accents. My card was complete!!


Now you may wonder why I used the Modern Petals Stencil when instead of the new Scattered Showers Stencil. Sometimes when I plan out my cards, I have a deeper meaning in mind. With this card, I used Modern Petals because April showers bring May flowers. I am so excited for spring and this was a kind of subliminal message. 

Need a pick me up during these gray days? Stop by the CAS-Fridays store to shop for some fabulous finds. Use my code NORASENTME to get an extra 15% off your total order.


I thank you for taking the time to stop by. Have a FABULOUS day!


CAS-ual Fridays Supplies that I used:


Monday, September 7, 2020

Thinking of you with Pretty Posies


Hello everyone!! Nora here from A Creative Touch with a fall card using ink blending. 

Once again I used my FAVORITE leaf from the Pretty Posies stamp set. I love to see how many cards I can make from the same stamp set and I decided that I wanted to create a fall card this month. 


I started off this card by stamping the leaf from Pretty Posies with Wow! Ultra Slow Drying Embossing Ink and using Wow! Opaque Super Fine White embossing powder to heat emboss the leaves onto 
white cardstock.


Next I used Distress Ink to blend red, orange and two different yellows onto the card front. 

I die cut the card front using a rectangle die and wrapped a piece of red twine around the card panel. I adhered the card front onto an A2, top folding card base. 


I then stamped and heat embossed the leaf using Wow! Gold Rich Pale Superfine embossing powder. 


I used the coordinating Posies Fri-Dies to die cut the leaf.


I blended the same red and orange Distress Ink that I used on the background on these die cut leaves.


I adhered the leaves underneath the red twine, using foam adhesive.


My final step was to stamp and heat emboss the sentiment, also from Pretty Posies, onto a white cardstock strip. I adhered it onto the card front, overlapping the white background.


This card took no time at all and I LOVE how it came out!!!

Here are the supplies that I used on today's card:


Don't forget to use my code, NORASENTME when shopping at CAS-ual Fridays for 15% off 
your total order!!


I thank you for taking the time to stop by. Please be sure to pop in again for more inspiration from the FABULOUS design team!!!


Sunday, August 16, 2020

Playing With Pattern


Hello everyone!! 
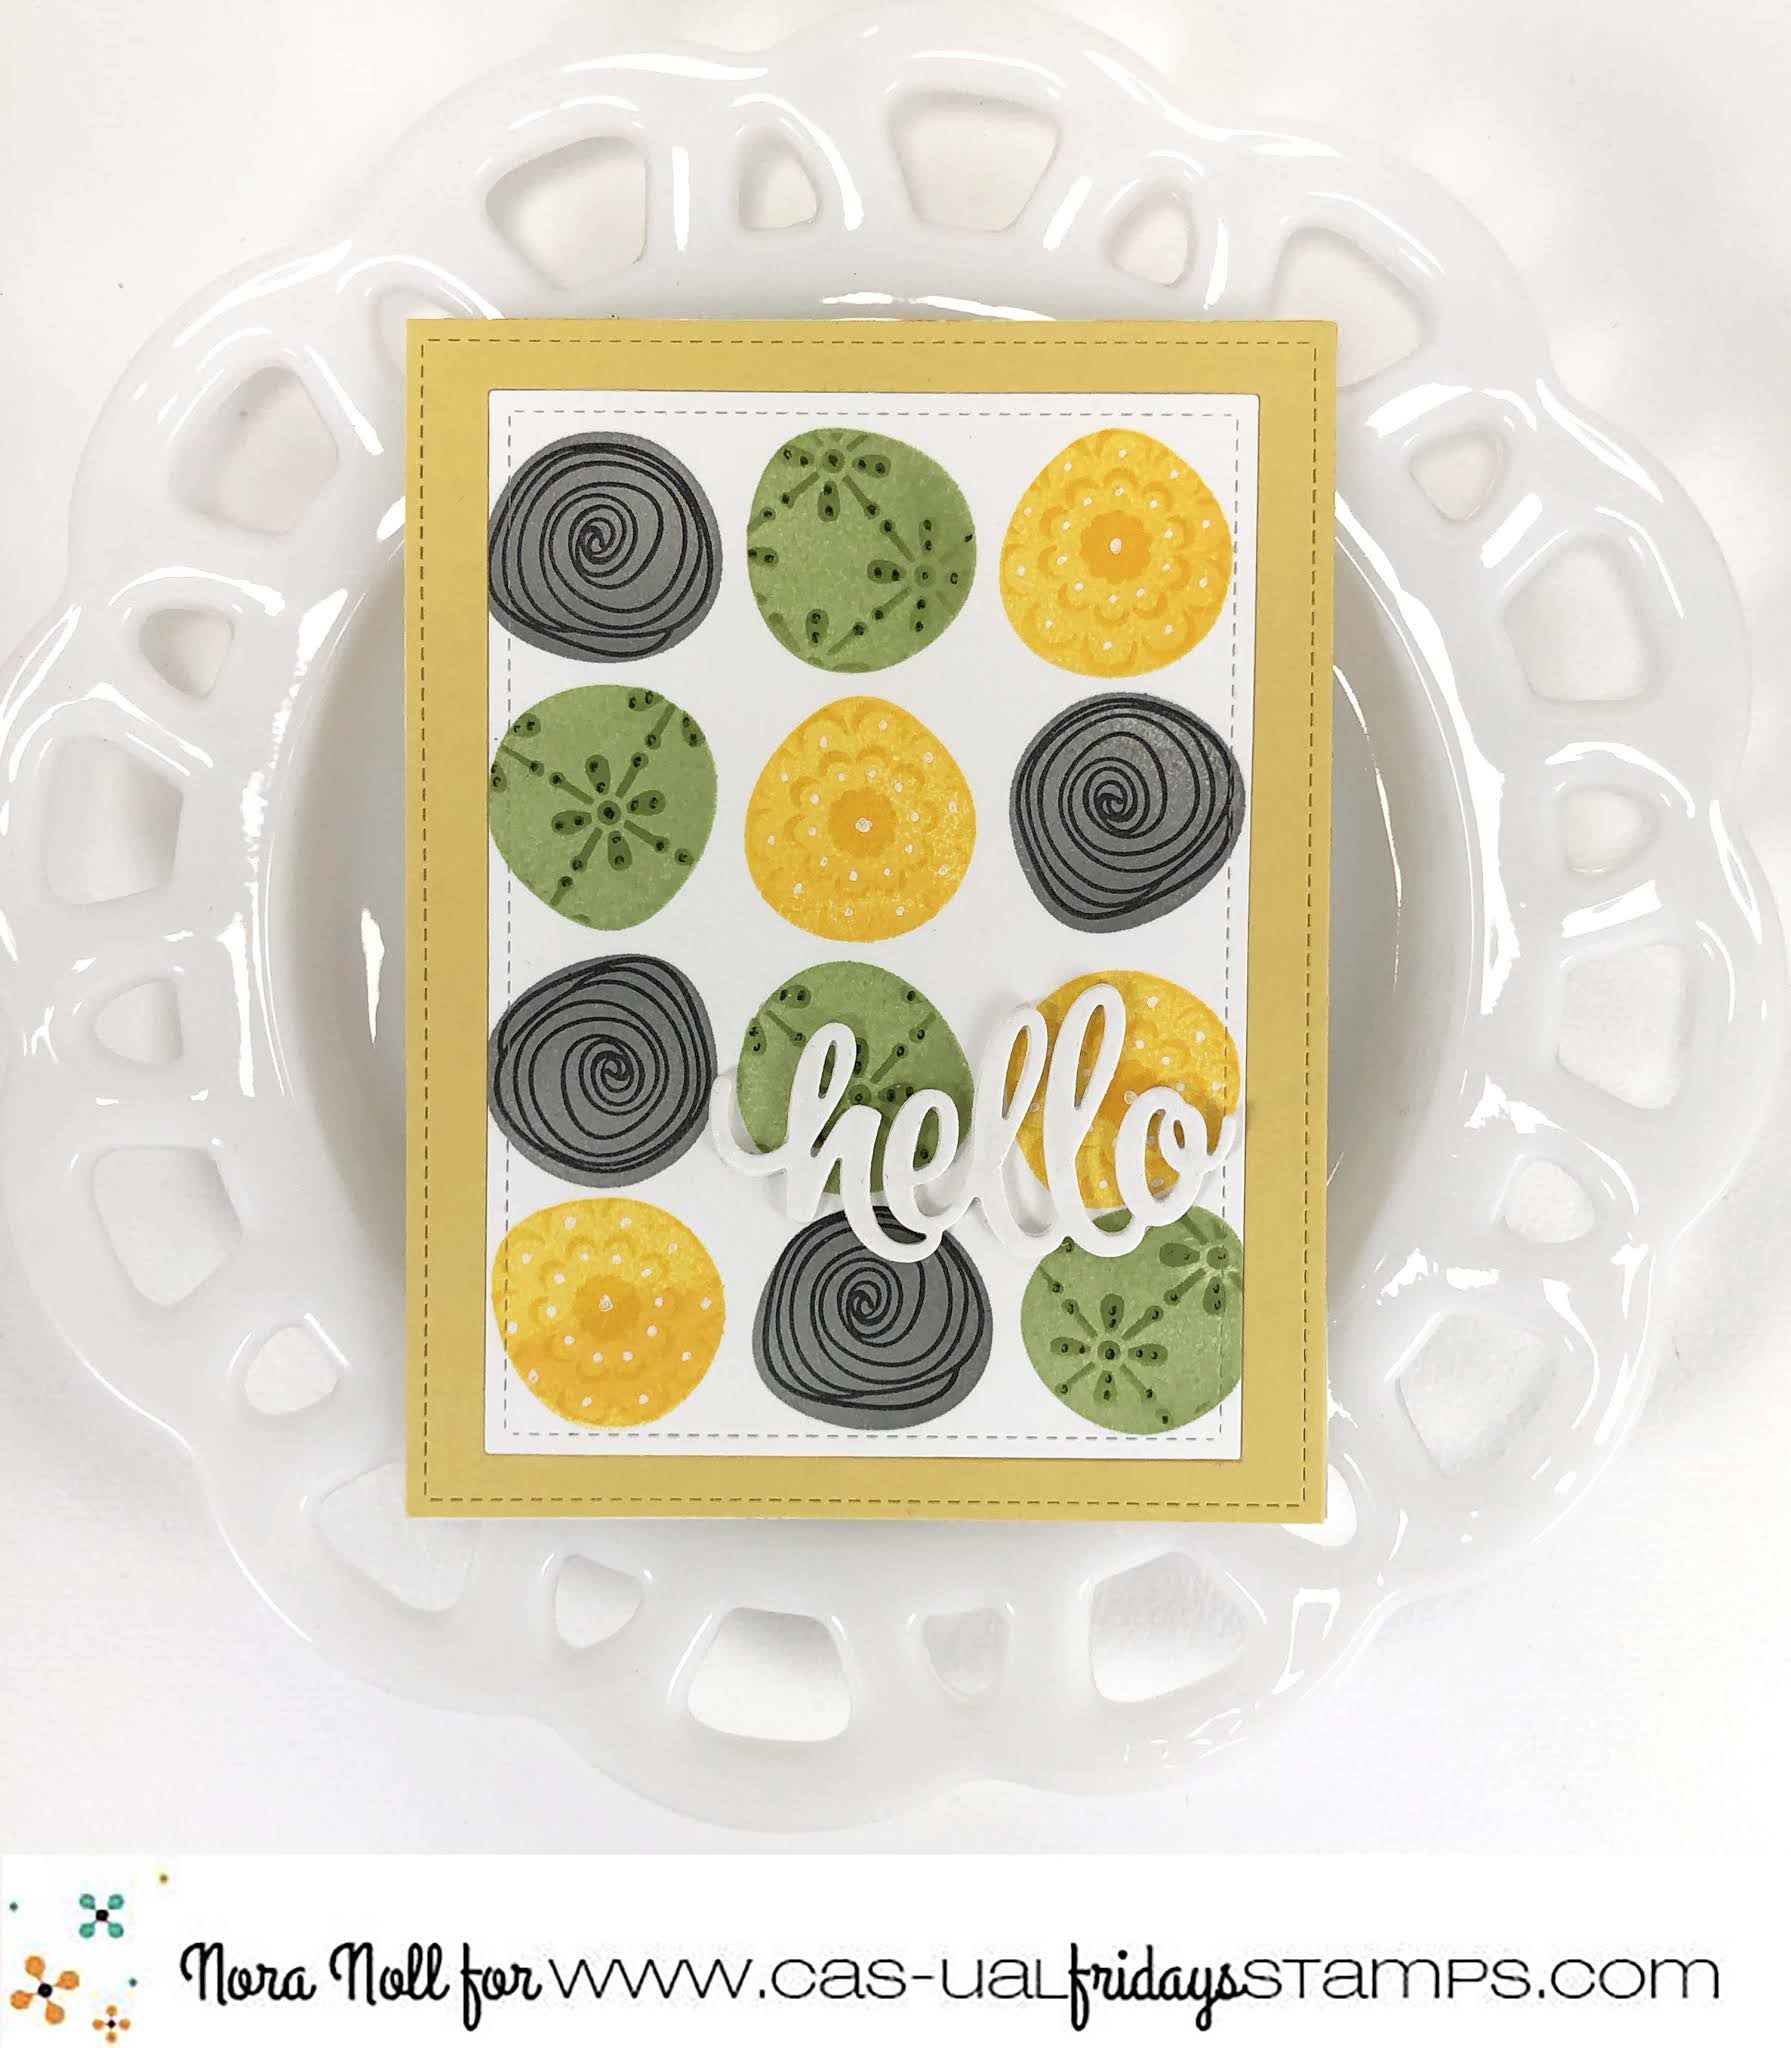
Nora here from A Creative Touch with a fun hello card inspired by a print I saw on Pinterest. 


I don't know about you but I am OBSESSED with patterns. I have a great Pattern Board on Pinterest and I constantly pin ideas that I think I can use to create a card. The print that inspired this card is one that can be found here.

I began this card by using scrap paper and stamping the solid flower stamp from Peaceful Garden using the three colors I thought I might use. 


When I got the design down how I wanted it, I started on my final version of the card.  Again, I used the solid colored flower from Peaceful Garden and stamped twelve solid images-four in yellow, four in green and four in gray-on a white piece of cardstock.


When that was complete, I then stamped the rose image from the same stamp set over the top of the gray using black dye ink. I thought the stamp was perfect for what I had planned.


To decorate the green and yellow solid circles I used stencils. 
I die cut a mask out of a post it using the Garden Fri-dies and used the Bold Flower Stencil with yellow ink to stencil over the solid yellow image.


I then used the Tin Roof Stencil with green dye ink to decorate the solid 
green stamped images.


I die cut my finished panel with a rectangle die and used gel pens in white and green to give the stenciled images a little bit more emphasis.


I added the panel to an A2 sized, top folding card front and framed it with a yellow 
cardstock frame.

 
I added a hello sentiment using the Sweet Friend Fri-dies that I had die cut four times out of white cardstock and adhered together. Adhering die cuts together makes the sentiment sturdier. My last step was to cover the sentiment with clear sparkle pen.

This card was so fun to create and I love that I used a TON of products. I don't know about you, but I tend to buy more than I use so when I can combine my love of stamping, stenciling and die cutting on one card, I always have a fun time. 

Speaking of shopping, use my code NORASENTME to get 15% off your TOTAL ORDER. 


There are some fun, new products that CAS-ual Fridays is stocking so be sure to take a look.

I want to thank you for taking the time to stop by. Have a FABULOUS day!!


CAS-ual Fridays Products Used:


Friday, August 14, 2020

Serendipi-Tea


Hello Cas-ual Fridays fans!  Maria Russell back on the blog with you today to share this very simple (but cute) card, showcasing the Serendipi-tea stamp set and Teapot Fri-Die.


I started by die-cutting the teapot and the cup using the Teapot fri-die.  I positioned the diecuts back into its place and secured it with some washi tape.  I stamped the images using Spectrum Noir Alcohol Proof ink in Rustic Brown and colored the images in with alcohol markers.

I adhered some patterned papers on an A2 size-card base.  I also die-cut the "table cloth" using a die from my collection and adhered on the card.  I added the colored images with some foam adhesive for more texture and dimension.


To finish my design, I added some sparkling clear jewels with liquid glue.  I also stamped the sentiment with Versafine Onyx black ink.  Quick and simple but I love how it turned out.  Here's another look:


Here are the supplies today in case you're interested.  


Please don't forget to use my coupon code below for 15% off your order.  Thanks for stopping by and happy stamping!