Translate

Showing posts with label Serendipi-tea. Show all posts

Tuesday, April 6, 2021

My Cup Runneth Over: A Multimedia Card

Happy Tuesday everyone!! I hope you all are having a nice morning. Nora here from A Creative Touch with a multimedia card utilizing the Serendipi-tea Stamp Set and Teapot Fri-dies.


I started off this card by creating my background. I first covered a piece of 4" x 5 1/2" piece of white cardstock with pink Distress Ink.


I covered the pink background with water and Distress Stains in three different colors: Walnut Stain, Vintage Photo and Picket Fence. I used a heat gun to dry everything and then used the Bubbly Stencil and Distress Ink over the card front. 


I adhered the panel to an A2, cream colored card base and then stamped a sentiment from the Seredipi-tea Stamp Set in black.


I set the card aside and die cut two of the smallest tags from the Tag Buddies Fri-dies set and the largest pinked circle from the Pinked Slimline die set. I lightly blended brown Distress Ink over the top to give all three pieces a vintage feel. I adhered the two tags underneath the scalloped circle on the card front as shown.


For the teapot, I did a bit of masking on the stamp. I loved the hearts but it just didn't go well with the pink, polka dot pattern paper I wanted to use.  I created a mask to go over a portion of the Teapot Die using the teapot stamp from the Seredipi-tea stamp set. 


I stamped the teapot with brown ink and blended some Distress Ink over the die cut. I added a pink heart die cut on the teapot cover and used some Glossy Accents over the heart. I used some foam adhesive to adhere the teapot onto the front of my card. 


I added some paper flowers that I had in my stash to the bottom of the teapot. My last step was to adhere some gems in the center of my flowers and randomly across the card front. 


This card was SO FUN to make and I LOVE how it turned out. Three of the products I used, the Tag Buddies, the Serendipi-tea stamp set and the Teapot dies, are all in the RETIRING sale section of the store. Use my code NORASENTME to get an extra 15% off your total order, including sale items!


That is all from me today. Be sure to pop in this week to see some projects from the other fabulous members of the design team!!! I thank you for taking the time to stop by!!


Products used on my card from the CAS-ual Fridays Stamp Store:


Friday, August 14, 2020

Serendipi-Tea


Hello Cas-ual Fridays fans!  Maria Russell back on the blog with you today to share this very simple (but cute) card, showcasing the Serendipi-tea stamp set and Teapot Fri-Die.


I started by die-cutting the teapot and the cup using the Teapot fri-die.  I positioned the diecuts back into its place and secured it with some washi tape.  I stamped the images using Spectrum Noir Alcohol Proof ink in Rustic Brown and colored the images in with alcohol markers.

I adhered some patterned papers on an A2 size-card base.  I also die-cut the "table cloth" using a die from my collection and adhered on the card.  I added the colored images with some foam adhesive for more texture and dimension.


To finish my design, I added some sparkling clear jewels with liquid glue.  I also stamped the sentiment with Versafine Onyx black ink.  Quick and simple but I love how it turned out.  Here's another look:


Here are the supplies today in case you're interested.  


Please don't forget to use my coupon code below for 15% off your order.  Thanks for stopping by and happy stamping!


Thursday, February 28, 2019

Serendipi-tea with Maria

Hello CAS-ual Fridays fans!  Maria here on the blog with you today.  I wanted to create a cheerful card for those of my crafty peeps out there still covered in snow!  For my project today, I am showcasing the Serendipi-tea stamp set and the Tea Pot Fri-Dies.  Here's what they look like:


I started out by inking up my Bristol smooth white card stock using distress oxide inks (Squeezed Lemonade and Fossilized Amber), with a sun stencil.  I cut a gingham patterned paper with some black card stock and adhered it onto my colored background.  I run this piece through my die-cutting machine with a stitched rectangle die.

On a piece of Neenah solar white card stock, I die-cut the tea pot and the cup using the Tea Pot Fri-Dies.  I used the negative piece and aligned it on my stamping tool so I can stamp my images from the Serendipi-tea stamp set.  I colored the images in with Copic markers, and adhered these on my card. 


I adhered some cloud silhouette die-cuts and stamped the sentiment on my card.  To finish my design, I added the Sparkling Clear Jewels.  Here's a closer look:


I think this card is so cheerful and can definitely brighten someone's day!  The sparkling clear jewels looked so pretty against the background.


I hope you like my card and got inspired to create something beautiful today!  Please don't forget to use my coupon code "MARIASENTME" for 15% off your order.  I hope you have an amazing day, and happy crafting!


Monday, February 18, 2019

Serendipi-tea and Zig Brush Markers

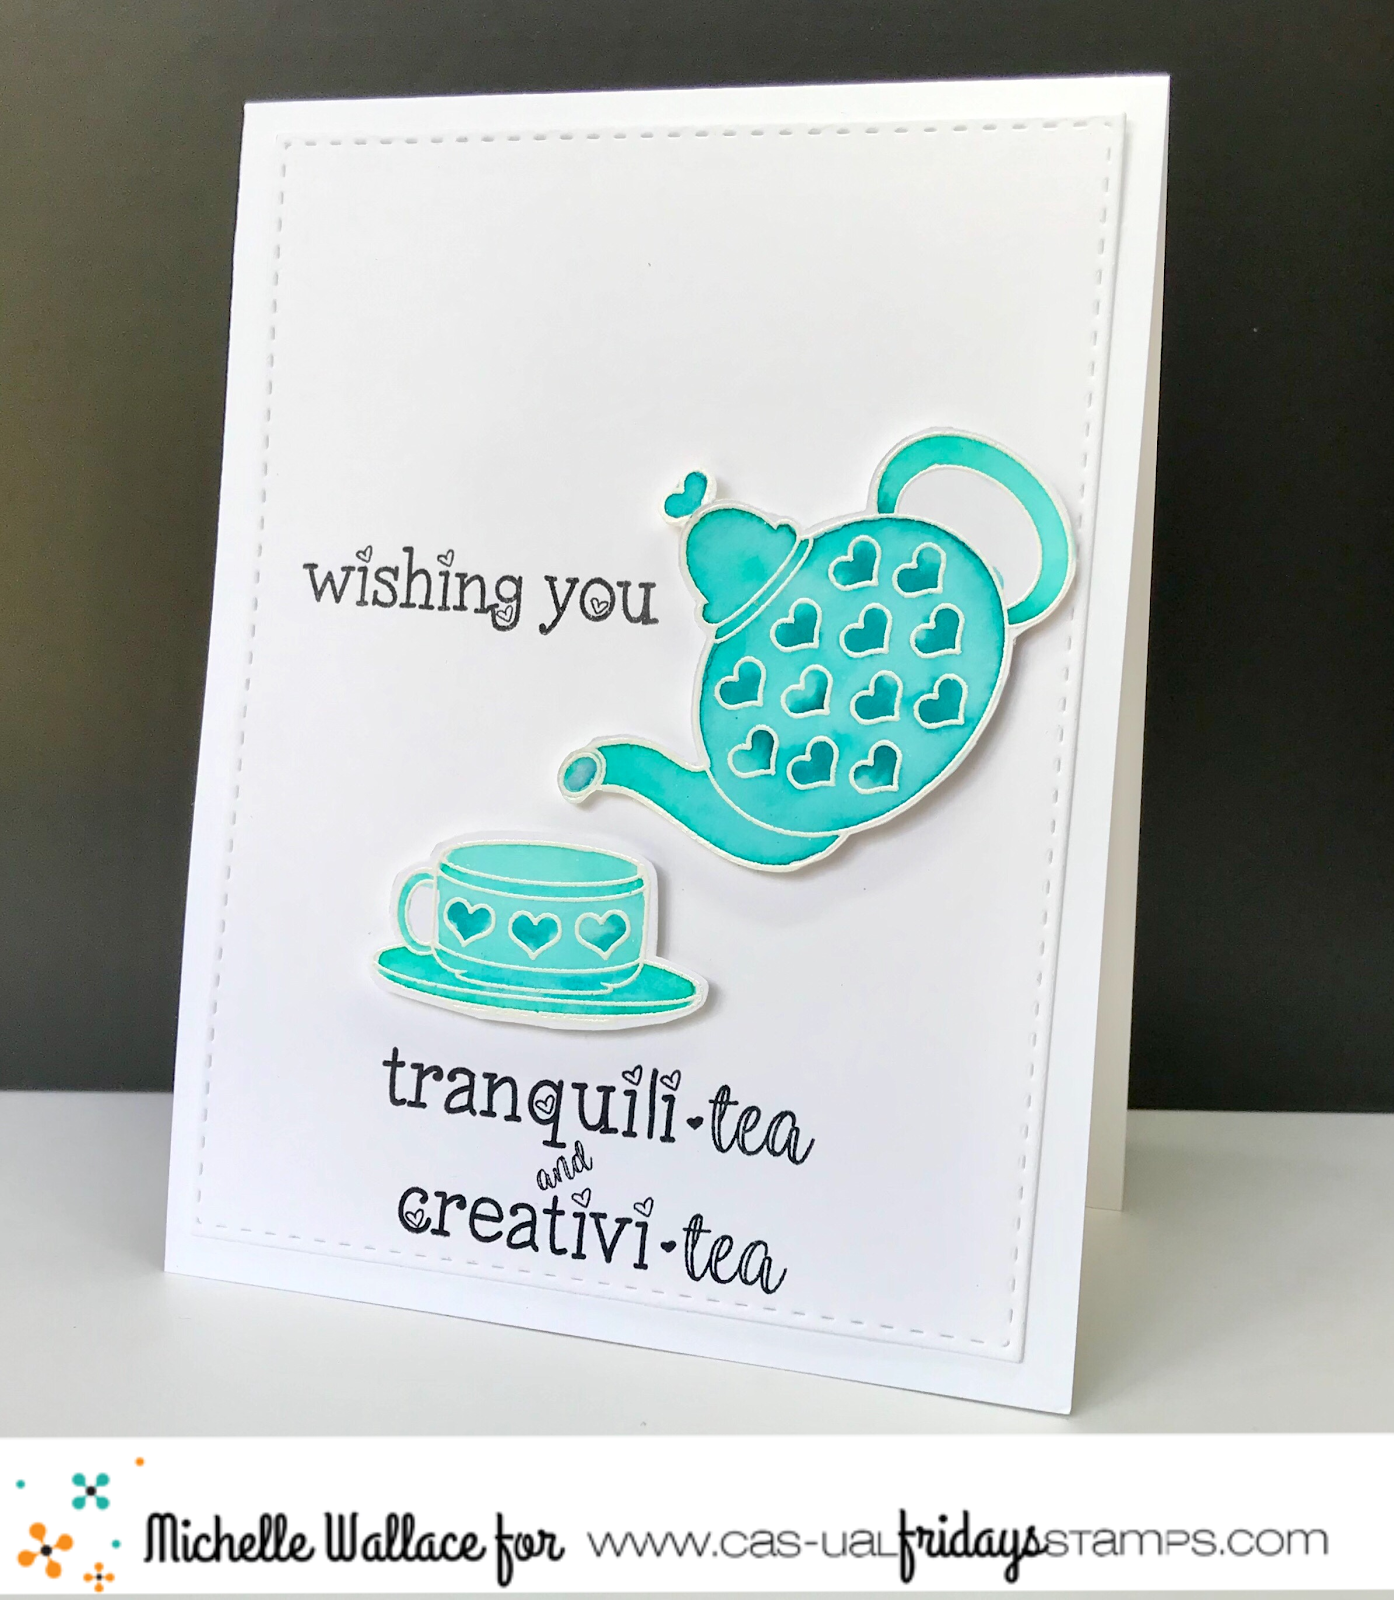
Hello, it's Michelle here today from Seashell Creations with a couple of cards I made using the ever so cute Serendipi-tea stamp set.  This is the first time I have inked this up and I had so much fun colouring those cute little teapots and cups with my Zig brush markers.  I wasn't sure which look I was going for at first so I stamped and heat embossed a few in different colours.  I heat embossed a few with rose gold embossing powder and some in white.  I think I like the white ones the most so I have used those for my two cards today.  Now I have plenty all ready to go for when I need a quick card!


First I took some Bristol card stock and prepped it with a powder tool.  I stamped my images with VersaMark ink and sprinkled with white embossing powder.  Then I took my heat tool to the images and melted the embossing powder.  Now they are ready to be coloured!


Next I coloured my images in with Zig Clean Color Brush Markers and a water brush.  I started by adding the colour to the outside of the image as seen in the photo below.  Then I blend that out with the water brush.  I filled the hearts in with the marker and did not add water so they stayed the true colour.


After all the colouring was done, I did some fussy cutting!  They are pretty straight forward to cut out and took no time at all.   Now comes the funny part!  There are matching Fri-Dies for this set and I have them!!  I forgot I had them and only remembered when I went to put the stamps away and there they were!


Finally I stamped the sentiments in black ink and adhered the teapot and cup using foam squares and adhered the card panel directly onto a top folding card base.  

Here's a link to the Stamp set and Fri-Dies and don't forget you can use my discount code below for 15% discount in the shop.


Thanks for looking and I'll see you next time.


Tuesday, July 3, 2018

Thank You For Your Generosi-tea!


Jeanne here today sharing a tea inspired thank you card! I'm not much of a coffee lover - don't get me wrong.. I adore the smell of it, but I've never craved the flavor. My "go to" is tea. In the summer I'll be dumping it over ice with some sugar and lemon and ahhhh... perfection!
I inked up the little teacup from Serendipi-tea to create a background. Using a stamping tool it's easy to repeat stamp the images and keep everything lined up perfectly.
To add color I inked up the solid floral images from the Peaceful Garden and Peace & Comfort stamp sets. The different irregular circles in bright colors adds a sense of whimsy to the design.
The stamp set has several sentiments to choose from. I send more thank you cards than anything else so this one was perfect. The sentiment is stamped on blue card stock to add even more color! 
I hope you find some time to make today!

Finished Size 4.25 x 5.5"
Peace & Comfort
Peace & Comfort

CAS
Peacefu Garden
Peaceful Garden

CAS
Serendipi-tea
Serendipi-tea

CAS