Translate

Showing posts with label Peace & Comfort. Show all posts

Friday, June 5, 2020

Happy Birthday Card FULL of Texture & Sparkle!!


Hello Crafty Friends!! 
Larissa here today and I've got a STUNNING Birthday Card FULL of Texture and Sparkle!! I LOVE being able to combine products and this design shows just how you can combine several for a very BEAUTIFUL Design!! 
I started by creating my background!! I LOVE that stencils can add interest, without distracting away from the Images!!  I added some Chipped Sapphire and Black Soot Distress Inks!! For some Shimmer, I added some Opalescent watercolor splatter along with some Wilted Violet and Turquoise Watercolor that I added Opalescent Watercolor too!! Its HARD to see in the photos, but in real life its SO BEAUTIFUL!! I think the BOLD background  REALLY makes the Flowers POP!! They are front and center!!  
After inking and adding the splatters, I used the Modern Petals Stencil that I sprayed the back with some Pixie Spray from Therm O Web to help hold it in place as I stenciled the design with some White Pigment Ink using an Ink Dauber!! I wanted a subtle Design so I applied the ink very light and I really LOVE the soft Blue hue that was left behind!!
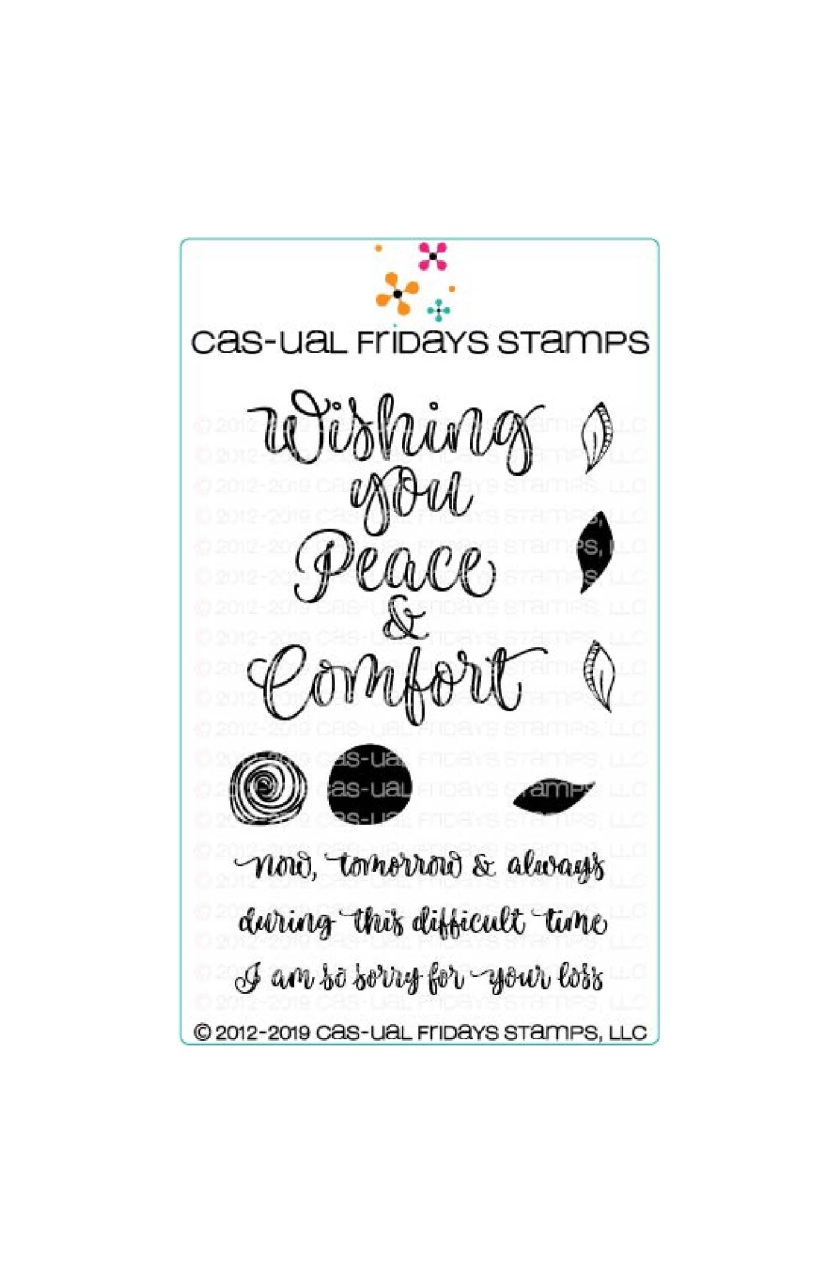
For the Flowers I Stamped and Embossed the Images from the Pretty Posies and Peace & Comfort Stamp Sets!! I used WoW Glitter Embossing Powders!! Using different Colors for all of the different Images so they'd all have their own Color!! Then I used the coordinating Posies Fri-Dies and the Garden Fri Dies to cut them out!! I colored the Images with Copic Markers (Flowers: V1, V04 & V09  RV00, RV09 & RV19  Leaves: G00 & G02   YG11 & YG13   Flower Centers: YR00 & YR02) I added some Tonic Studios Morning Dew to the Centers for some dimension!! I used iCraft 3-D Foam Squares to adhere the Flowers and Leaves to my Card Panel around the Circle Die Cut I Stamped and Embossed the Sentiment on!! I used the NEW Happy Birthday Stamp Set in Navy Metallic Embossing Powder!! To finish off my design, I added a few Studio Katia Iridescent Crystals!! I really LOVE the way it turned out and I hope I've INSPIRED you to try mixing several of your Products together to create a Card FULL of Texture and Sparkle too!! 


Use my CODE LARISSASENTME and receive another 15% off ALL the NEWOLD and SALE items!! WHOOP WHOOP!! 

       THANKS SO MUCH for stopping by today and I hope you have a FABULOUS WEEKEND!! 


LARISSA  💖

Friday, December 27, 2019

Maximizing Design Time

Hi everyone!!! I hope you all had a nice holiday. Nora here from A Creative Touch with four cards I created by splitting up a stamped panel. 

Fri-Dies: Garden Fri-dies


When I want to maximize my design time to make more than one card, I usually start with at sketch.


I then stamped my card fronts one right after the other. My first card front I used a teal and gray, the second card front a burnt orange and gray color scheme. The branch was from the stamp set Peaceful Garden and the sentiment was from Peace and Comfort.


When doing multiples of a card, it is easier to use a stamping tool, like the MISTI, but if you don't have one, you just create one card front and then duplicate it using different colors.


When the card fronts were complete, I cut a triangle off of the left side of the panel. I adhered a paper strip to the large piece and adhered it over a card base-the one above being gray.


For the second card, I adhered the triangle piece onto a different card front, adding stamped flowers using the Peaceful Garden stamp set. I then added some white die cuts that I cut using the Garden Fri-dies. Some of the die cuts were cut into pieces so that I could tuck them underneath the stamped triangle.


To kick the cards up a notch, on various branches I added some clear shimmer pen and Glossy Accents.


I used some Nuvo Crystal drops or Stickles in the flower centers of the tiny stamped flowers.

Next time you sit down to create a card, think outside of the box to see if you can maximize your supplies and create more than one card.

Have some Christmas money you would like to shop with? Hop on over the CAS-ual Fridays Stamps Store and use my code NORASENTME to get 15% off your total order.


I want to thank you for stopping by today. Have a FABULOUS day!!


Stamps and Dies I used:


Tuesday, August 13, 2019

Thinking of You Card and a VIDEO

Happy Tuesday everyone!! Nora from A Creative Touch on the blog today with a thinking of you card AND my first ever video tutorial! 

Dies: Garden Fri-Dies, Tag Buddies Fri-dies
Stencil: Modern Petals Stencil


I used the Modern Petals Stencil with some pink glitter paste for the background.


I added some flowers from Peaceful Garden and Peace and Comfort stamp sets in pink over some upside down tags as the embellishments for this card.


I stamped the sentiment using black ink from the Peace and Comfort set on a white strip and adhered it to the card front using foam adhesive.

To see how I created this card, click below or click here to see it in HD on YouTube!!!


I hope this inspires you to dig out those unused supplies and make a mess! Want to go on a shopping spree? Use my code NORASENTME for an extra 15% off your total order!!!


I want to thank you for stopping by. Until next time....


Friday, April 5, 2019

Looking at Your Supplies in a Different Way

Happy Friday everyone!! Nora on the blog today with a project that I mixed some old and new products from the store. 

Stencils: Modern Petals
Dies: Huggable Critters, Garden, and Fun-Fetti Fri-dies


I started off my card by using the new Modern Petals stencil to blend two colors of yellow on a white, A2 card front. I then adhered a yellow scalloped border and a piece of Kraft cardstock to the right side of the card.


Now it was time for me to make my embellishments. I created the butterfly by taking the dog ear dies from the Huggable Critters set and die cutting two of each out of white cardstock. 


If you have seen any of my previous posts, I often do this. I like to use the dies and stamps I have to create as many different things as I can. You can get more mileage out of your supplies that way. With the Huggable Critters dies, there are a TON of fun things that I cannot wait to make.

I used the same two colors of yellow that I used on the stencil to shade the butterfly wings and then I adhered them to the card front. 


I then took die cut hearts that I had die cut in black using the Fun-Fetti Fri-dies, and adhered them down the middle of the the "wings." I covered the whole thing with a clear sparkle pen and the black hearts with Glossy Accents. When the glaze dried, I added some antennae with a black marker.


I stamped a sentiment from the Peace and Comfort stamp set on a white strip of cardstock. I adhered the sentiment over the butterfly using foam adhesive.


Originally I was going to stop there but I thought it needed something more. I die cut two flowers and some leaves using the Garden Fri-dies, and shaded them in. I adhered the flowers and leaves above and below the sentiment strip.


This card seems like it has many steps to it but it came together in a half hour once I figured out what I wanted to do. I hope it inspires you to look at your supplies with a new eye.

If you want to buy the stamps and dies I used, hop on over to the store and use my code NORASENTME to get 15% off your total order.


I thank you for stopping by and will be back an a few weeks with another fun project.