Translate

Showing posts with label 4 Petals Fri-die. Show all posts

Sunday, August 22, 2021

Looking at Your CAS-Fridays Supplies in a Different Way

Hello my friends!!!

Nora here from A Creative Touch with simple a card I created using a partial stencil technique, some dies and a stamped sentiment.


I started off my card by using the new Falling Leaves Stencil to partially stencil some leaves on a 4 by 
5 1/4" white panel. 


You don't need any extra supplies to do this technique. No masking was required! I even have some partially stenciled leaves on my panel and for the design I was going for, this was okay.


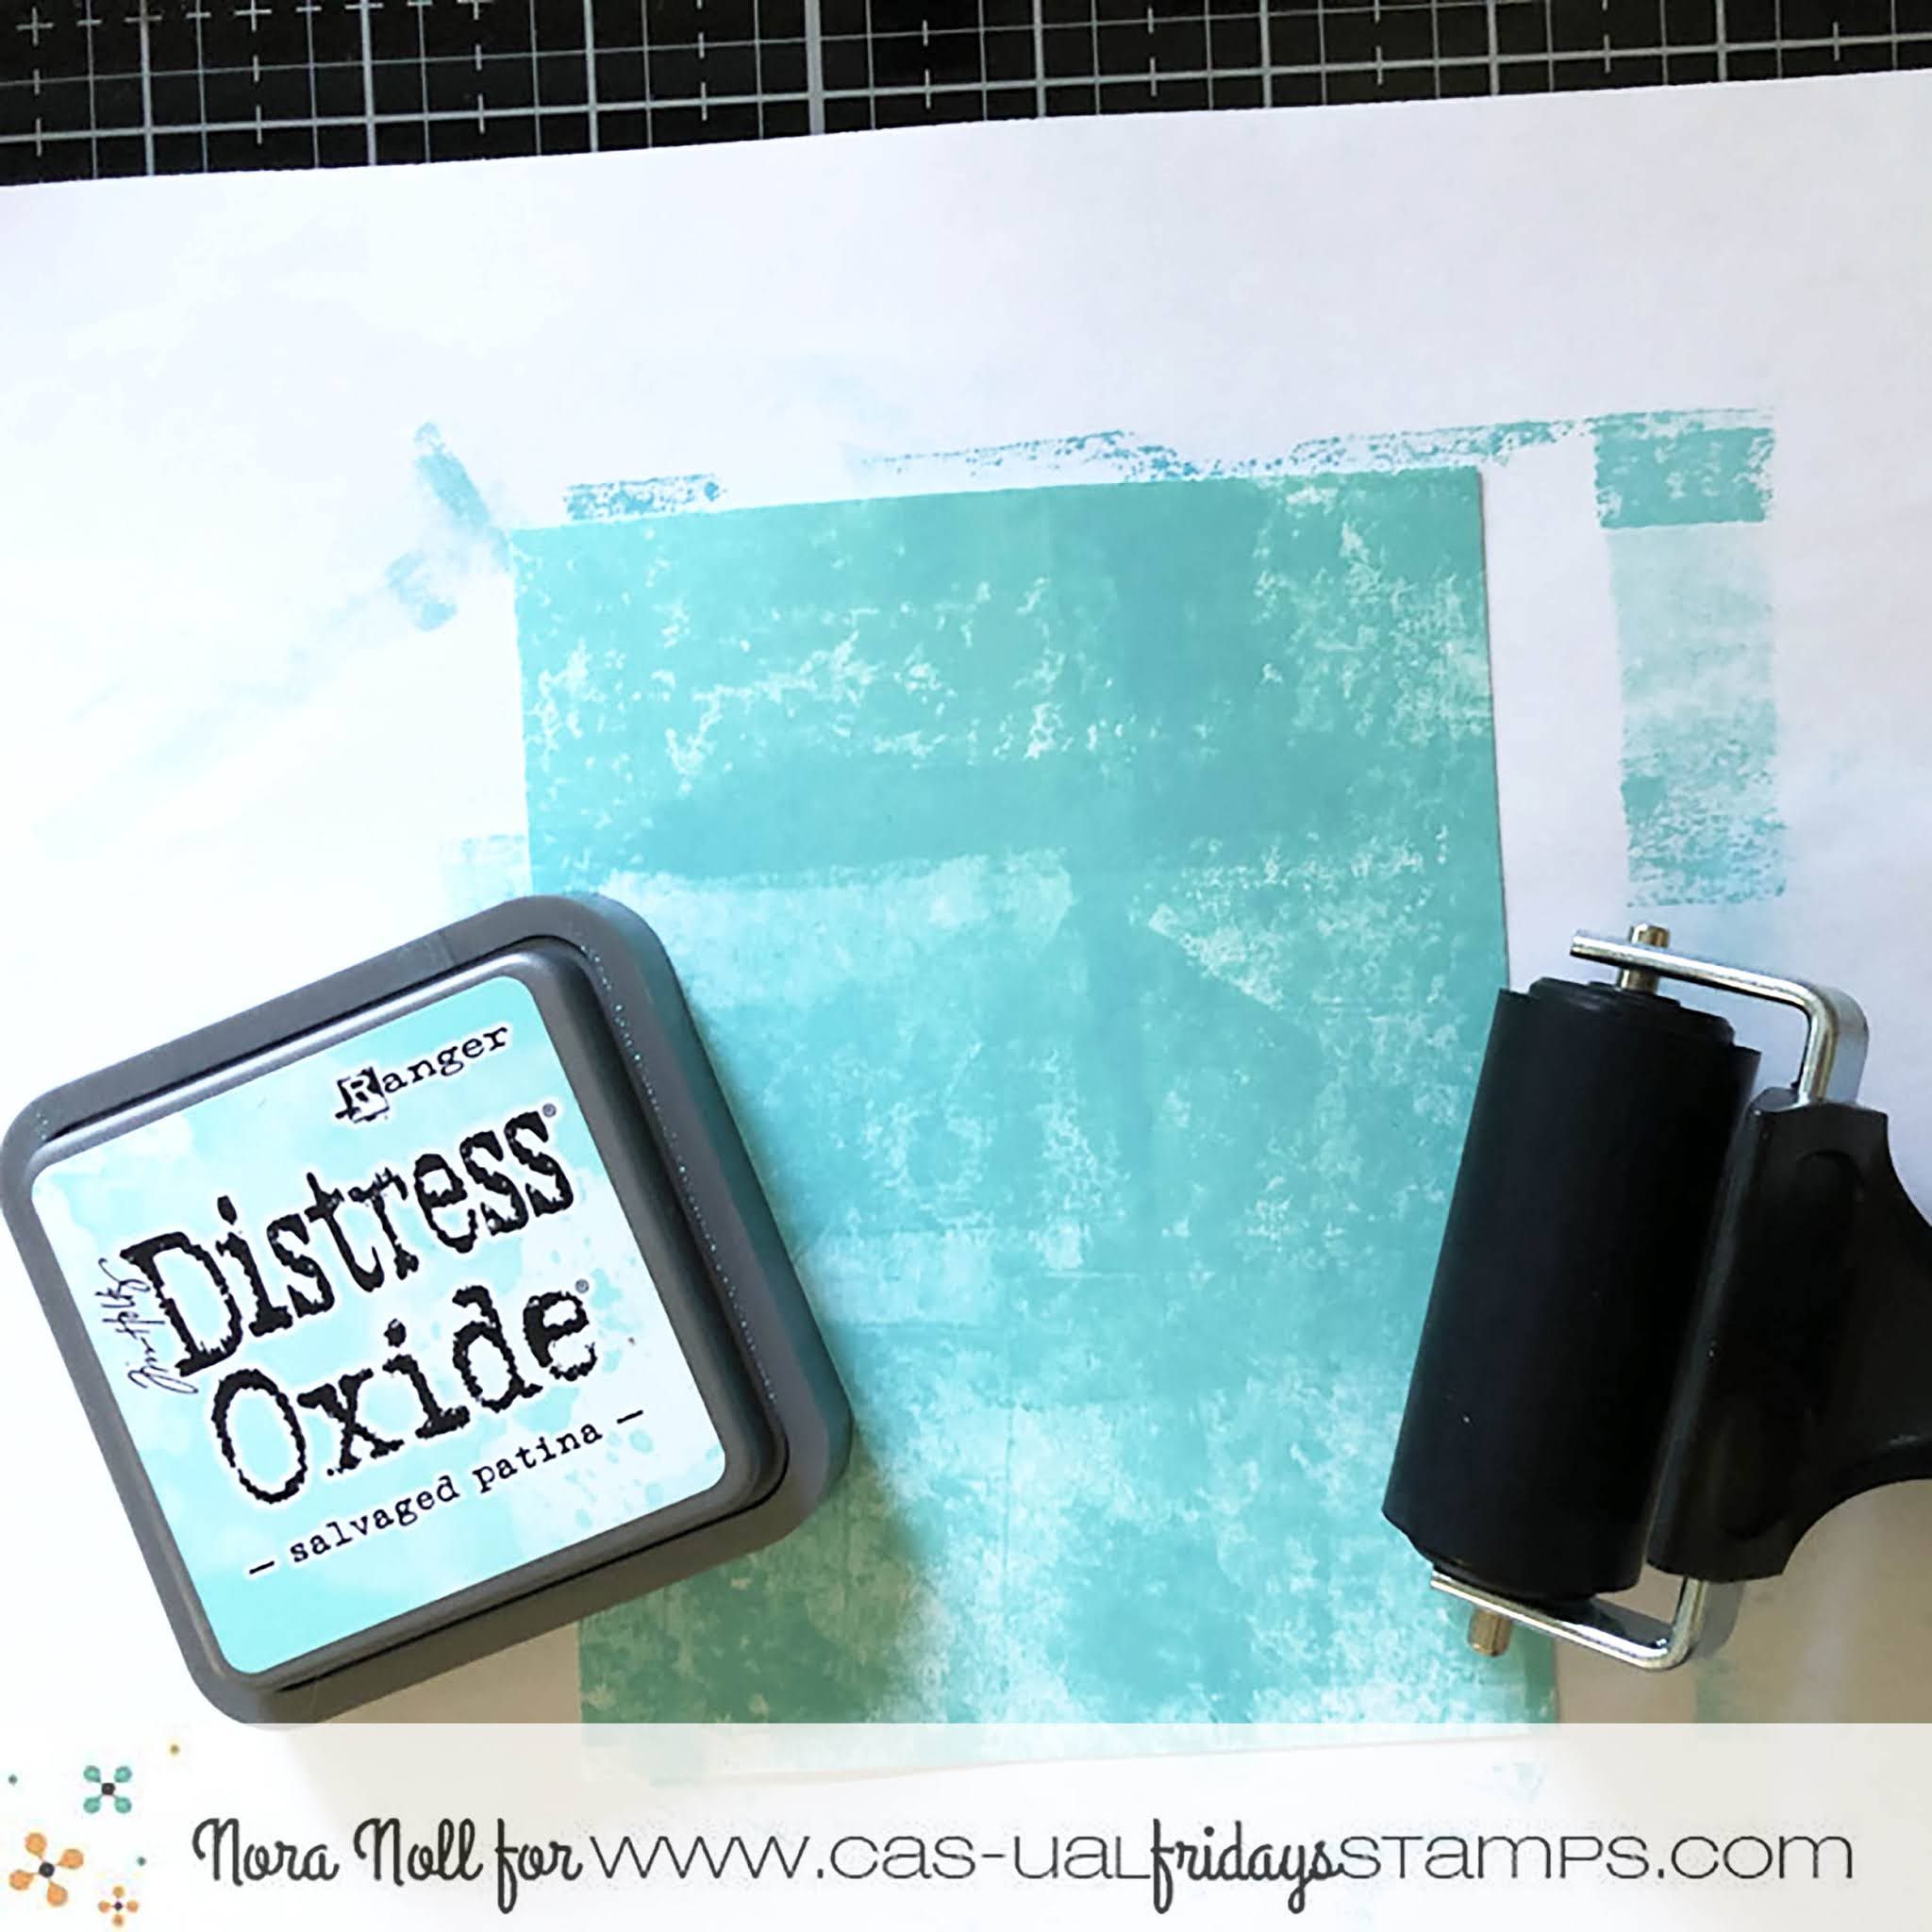
I used two different green inks to stencil my leaves. I started with a light green.


I then shaded over that with a darker green. When I took off my stencil, I thought it needed something else. I pulled out the CAS-Friday Flowerburst Stencil and used purple and pink ink to stencil 
some flowers. 


Once again I did not use the whole stencil but moved my stencil around to get the tiny flowers where I wanted them.


I added this panel to a pink, A2, top folding card base and then used some Nuvo drops in yellow and white to create flower centers. I set this aside to dry.


I wanted to create a butterfly but since I didn't have one from CAS-ual Fridays I created my own. I pulled out both the large and small flower from the 4 Petals Die and die cut one of each from white cardstock.


 I cut each flower in half and blended blue dye ink over the top of the white flowers. 


I then adhered one small set of petals with one large set to create a butterfly. I wrapped some black floss around the middle of the butterfly and tied it at the top to make some antennae.


Next I adhered these butterflies on top of my card-one using glue and one using foam adhesive. 


I used a clear shimmer pen over the butterflies to give them a little oomph.


My last step was to stamp a sentiment with black ink using the Terrific Flowers stamp set. 


I created this card by looking at my stencils and dies in a different way. If you don't have what you need, then create it with what you do have!

Interested in the products I used today? Use my code NORASENTME to get an extra 15% off your total order in the CAS-Fridays Shop


Be sure to return the CAS-Fridays Blog later this week to see some fabulous creations from the other Design Team Members. I want to thank you for stopping by today. Have a FABULOUS day!!


Wednesday, July 21, 2021

Using Dies to Create a Stencil

Hello Crafty Friends!! Nora here from A Creative Touch with a card I created by making my own flower stencil using dies.


Sometimes I like to make easy cards, other times I like to try new things. 


I decided that I wanted to make a flower stencil using the 4 Petal Die set and a piece of plastic sheet. 


The plastic sheet was 6" by 6" and I randomly die cut flowers out of the whole sheet. Don't have a plastic sheet to use? You can use a piece of heavy weight cardstock or a piece of acetate to create the stencil.


After I created my stencil, I used peach dye ink and a stencil brush to blend ink over a white sheet of paper. I then took some Copic Markers to shade in my flowers and added three white dots in the center using a gel pen.


Next I stamped the small leaf from the Flower Duo set with green ink in some of the empty white space. I used Copic Markers in shades of green to give some weight to my leaves.


 I die cut the panel and added a white scallop at the bottom and placed it over a green stenciled stripe that I created using the Stars and Stripes stencil.


 I added this rectangle to an A2, Kraft, card base.


I stamped a sentiment from the Flower Duo set with clear embossing ink and heat embossed it in white. I cut the Kraft paper into a rectangle and punched a hole into the left hand side. I added some ribbon and jute to my make shift tag and adhered it to my card front using foam adhesive.


My last step was to add some clear droplets around the sentiment.

I cannot tell you how much FUN I had creating this card!!! I encourage you to take the time and try this technique. The 4 Petal Dies were the perfect flower to use for making your own stencil.

Hop on over to the CAS-ual Fridays Stamps Shop for a shopping spree!! (Hint: there will be a new release this Friday so you might want to wait.) Use my code NORASENTME to get an extra 15% off your total order, including any sale items you might buy!!!


I want to thank you for taking the time to stop by today. Please come back on Friday for the NEW July release!!! Have a FABULOUS day!


Monday, July 5, 2021

A Mixed Media Card Combining Stencils, Dies and Stamps

Hello Crafty Peeps!!!

It is Nora  from A Creative Touch here on the blog today with a Mixed Media card. I have been kind of in love with getting messy lately, so I decided to make a mess while making this  card! I combined the Curtis Stencil, the Love Notes and Pretty Posies stamps with the 4 Petal dies to create my project.


I started off my card by adding Distress Oxide Ink across a of 4 1/2" by 5 1/4," white piece of cardstock with an ink brayer.  As you can see, I did not fully cover the cardstock as I knew I was going to be adding layers over this panel. Also, if you don't have a brayer, you can just drag the ink pad across the cardstock. I liked how the brayer looked so I chose to ink the 
panel up with that.


 Next, I used some Nuvo paste and the Curtis Stencil to stencil on top of my inked panel. 


I would urge you to let this dry but since I am impatient, I did not do so.


I used the Love Notes stamp set to stamp the xoxoxo sentiment randomly across the card front. 


At first I tried to make everything straight but since I was doing this free hand with an acrylic block, only some of the sentiment are perfect. I didn't care as it adds to the look of the card.


I used a music note and the same colored Distress Oxide ink to stamp the notes randomly around my panel. These notes kind of blended in to the background but this was the look I was going for.


The last step I did before I set the panel aside was to flick Distress Stain in a few colors 
cross the front. 

While the card front was drying, I worked on my flower. I used the 4 Petal Die set to die cut a bunch of petals out of white cardstock. 


I was not sure how many I would need so I cut extra. 


I stamped the leaves with black ink using the Pretty Posies set. 


Please forgive the look of my leaf stamp below. It has seen a lot of love!!!


At first I colored the leaves in green  using Copic markers. However, I didn't like how it looked with the background. Instead, I stamped a second set of leaves and used oxide ink with flicks of Distress Stain to color them in. 

I die cut the leaves with the matching Posies dies


I added my leaves as shown, adhering two with foam adhesive. I then glued the petals on, using both the large and the small die cuts, with a liquid glue. I wanted to be able to play around with where I wanted the petals placed so using a liquid glue that dries slower was a must.


The last step to this card was to add some flower centers with lilac dimensional drops. I looked at white hydrangea photos to see what color the center actually is but didn't have what I wanted in my stash. Since I had fun with the leaves, I decided I could make the centers of the flower whatever color I wanted.


I love love love how this card came out and it was a TON of FUN to make. It looks like it took a ton of time but really it wasn't because it did not require me to be "perfect."

Want to go shopping? There are a lot of fabulous products in the CAS-Fridays Shop. Use my code NORASENTME to get an extra 15% off your total order!!


That is all from me today. Please be sure to stop back to the blog to see some other FABULOUS projects by the Design Team. Have a FABULOUS day!!


Wednesday, June 23, 2021

Get Your Happy On With Alcohol Inks and Foil


Hello!  Welcome back!  I've got another one like the Champagne Flutes from last time and I'm sharing with you how I created it using a panel that didn't turn out as I'd hoped, but I decided it was perfect for die cutting flowers!


I started by covering a panel of EVO synthetic paper with alcohol inks.


I used the Bold Flower stencil to add some Reactive Paint to the panel and let it dry for a few hours and then ran it through the Minc with some purple foil.


Well, I'm not sure if I didn't let them dry long enough or if it is something else, but the foil stuck to more than just the painted area.  Not one to give up, I decided it would make some pretty flowers.  So I took out my 4 Petal dies and cut a few.


Then I die cut a panel of white cardstock and created a dragonfly shaped window using the coordinating die from the Everyday Dragonfly set.


I added foam tape to the back of the windowed panel and popped it onto a purple background.  Then I added all of my 4 petal die cuts in the center along with some sequins to fill up the open areas.


I added some iridescent gems to the center of the flowers and finally, a sentiment from the Whole Shebang stamp set and done.


That's me for today!  Hope you enjoyed my mistake.  I'll keep working on the foil and alcohol ink/stencil/panel thing, but in the meantime, I'm enjoying playing with these "mistakes".

Hope you'll come again soon for more CAS-ual Fridays Stamps inspiration!