Translate

Showing posts with label Curtis Stencil. Show all posts

Monday, July 5, 2021

A Mixed Media Card Combining Stencils, Dies and Stamps

Hello Crafty Peeps!!!

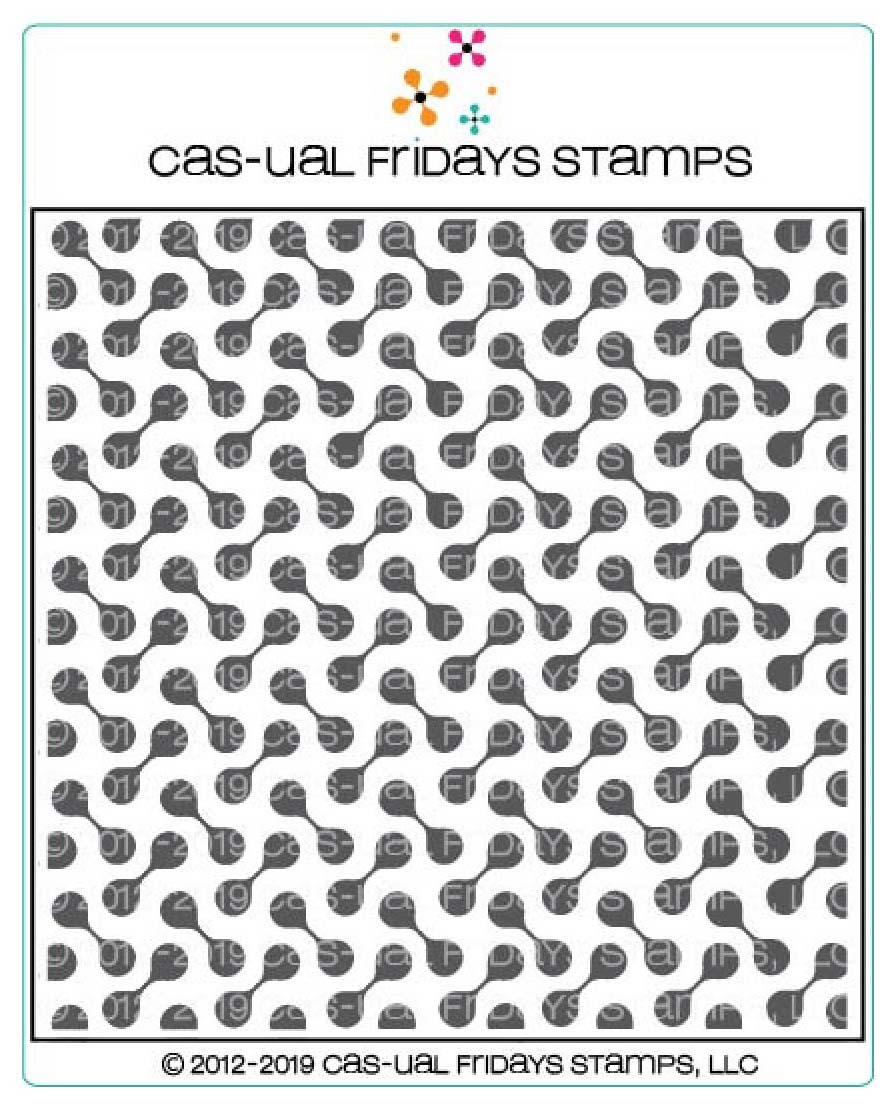
It is Nora  from A Creative Touch here on the blog today with a Mixed Media card. I have been kind of in love with getting messy lately, so I decided to make a mess while making this  card! I combined the Curtis Stencil, the Love Notes and Pretty Posies stamps with the 4 Petal dies to create my project.


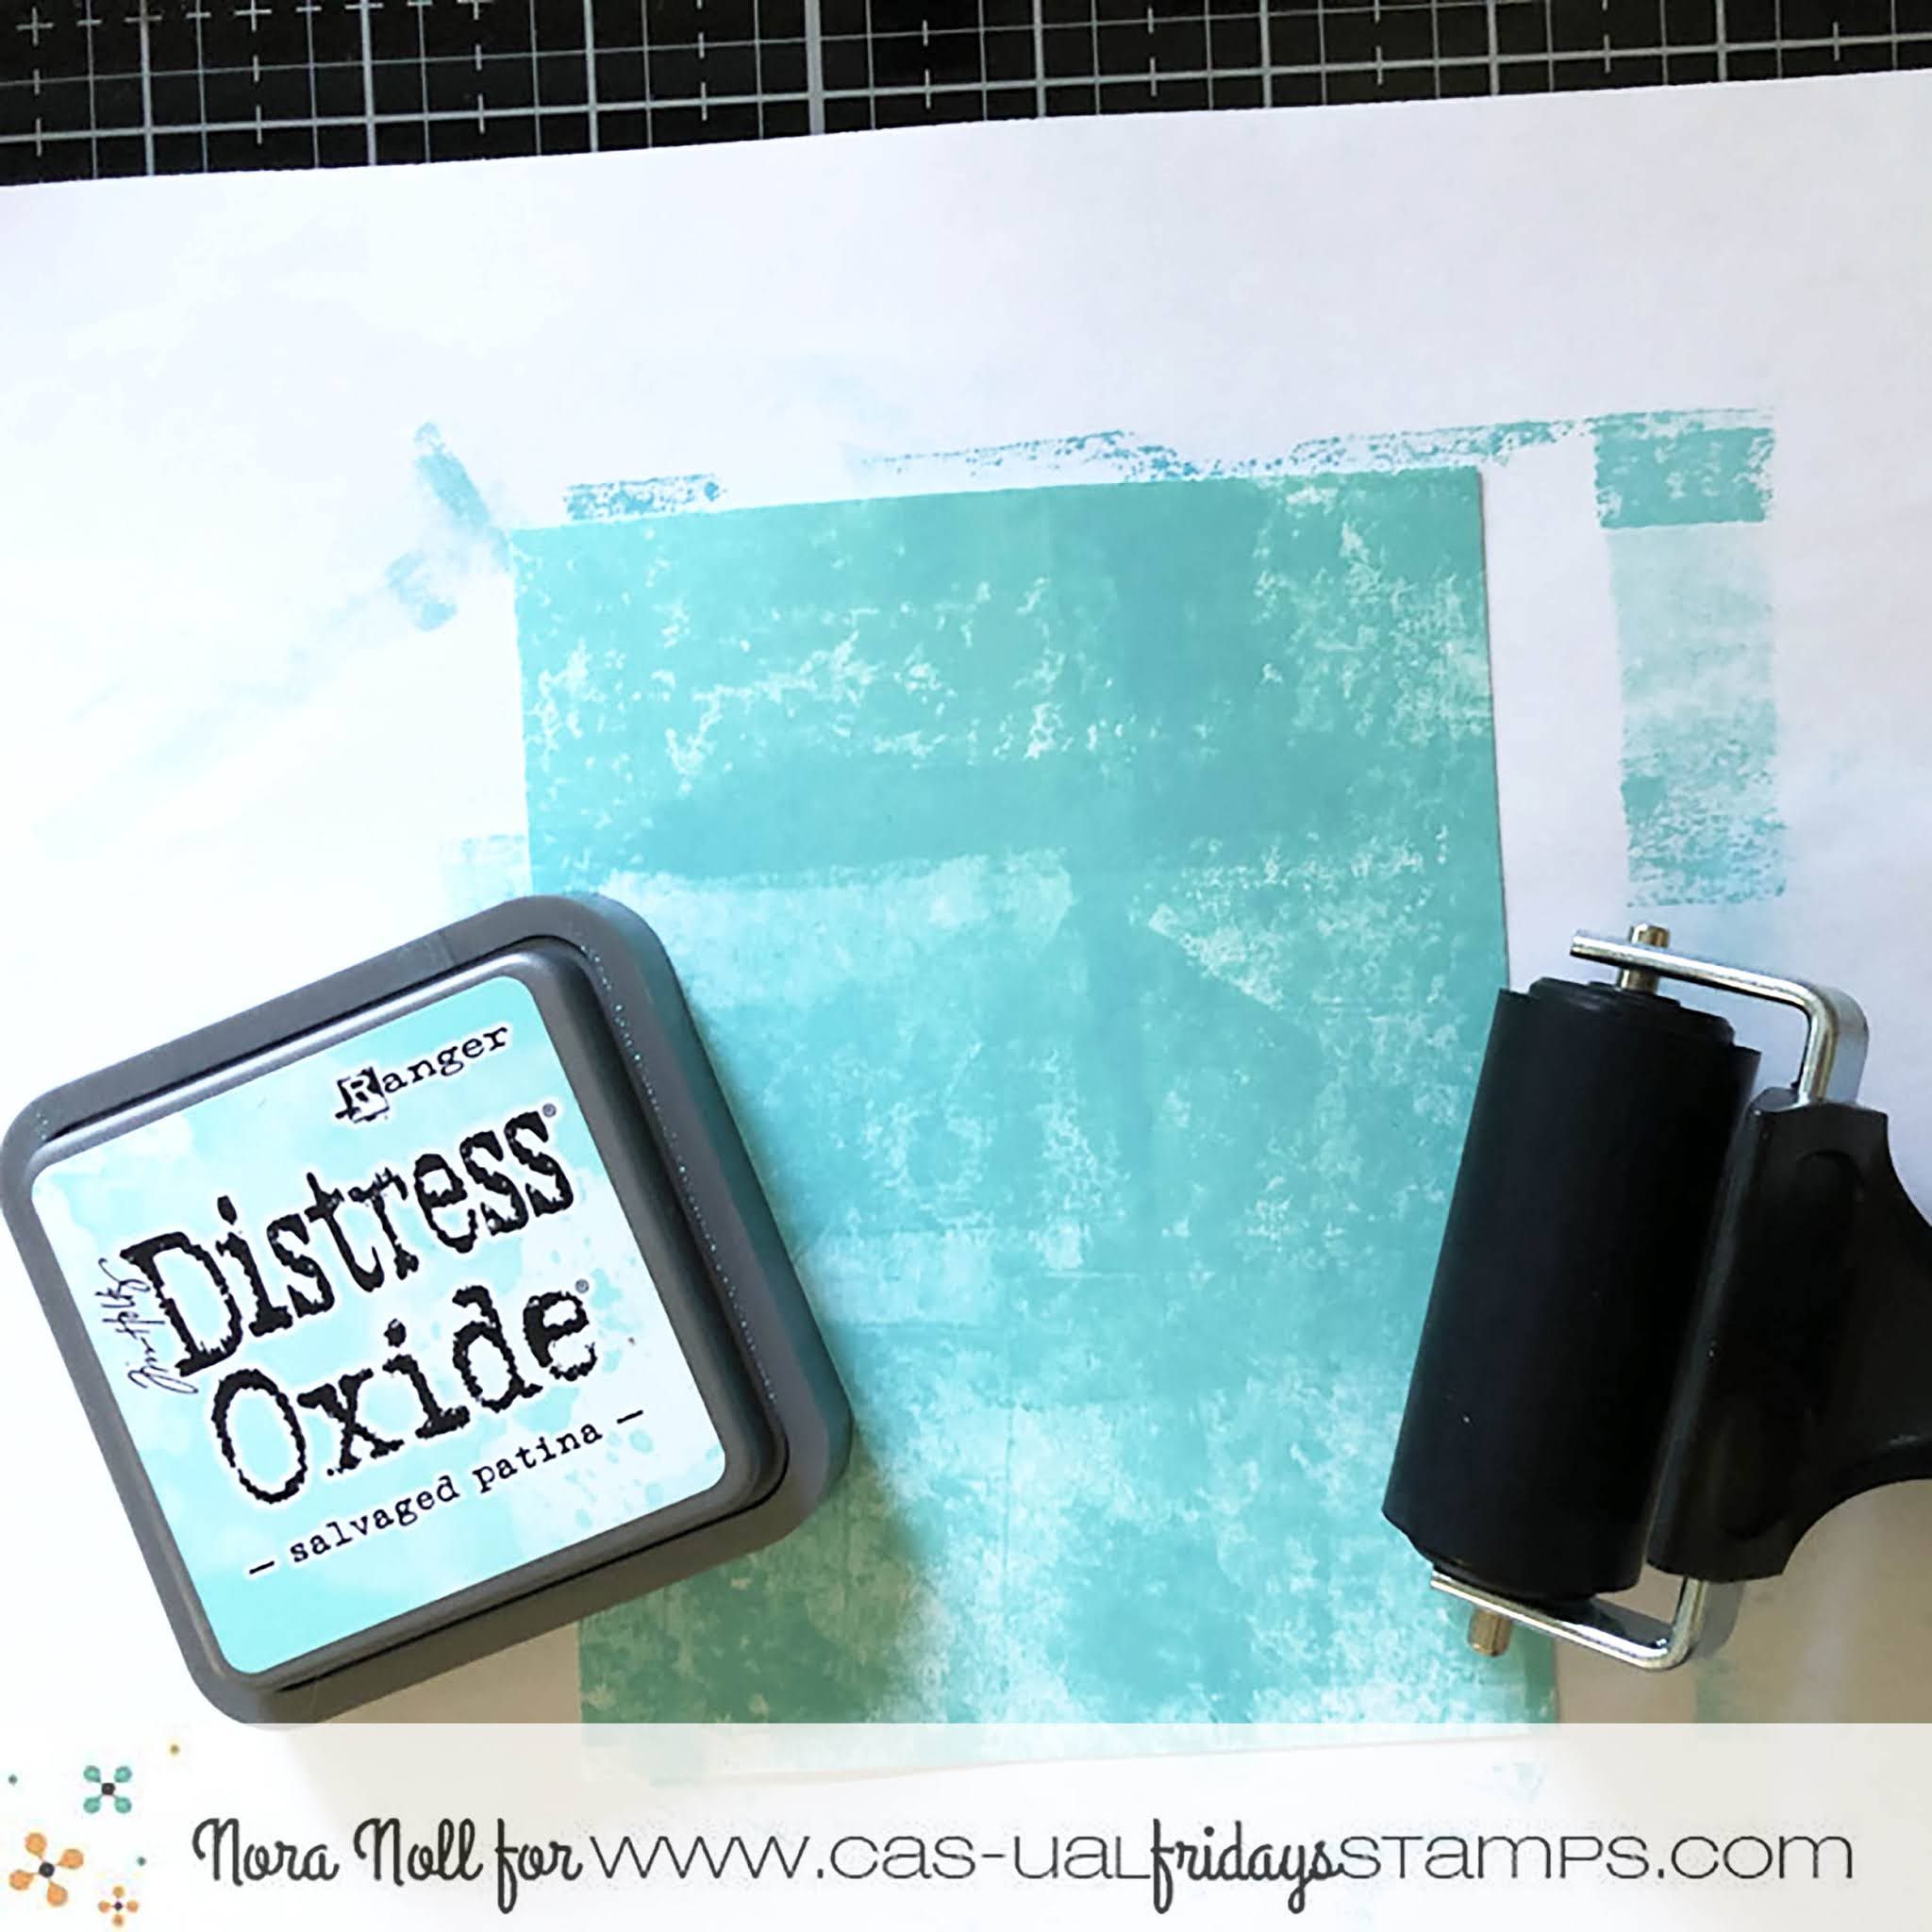
I started off my card by adding Distress Oxide Ink across a of 4 1/2" by 5 1/4," white piece of cardstock with an ink brayer.  As you can see, I did not fully cover the cardstock as I knew I was going to be adding layers over this panel. Also, if you don't have a brayer, you can just drag the ink pad across the cardstock. I liked how the brayer looked so I chose to ink the 
panel up with that.


 Next, I used some Nuvo paste and the Curtis Stencil to stencil on top of my inked panel. 


I would urge you to let this dry but since I am impatient, I did not do so.


I used the Love Notes stamp set to stamp the xoxoxo sentiment randomly across the card front. 


At first I tried to make everything straight but since I was doing this free hand with an acrylic block, only some of the sentiment are perfect. I didn't care as it adds to the look of the card.


I used a music note and the same colored Distress Oxide ink to stamp the notes randomly around my panel. These notes kind of blended in to the background but this was the look I was going for.


The last step I did before I set the panel aside was to flick Distress Stain in a few colors 
cross the front. 

While the card front was drying, I worked on my flower. I used the 4 Petal Die set to die cut a bunch of petals out of white cardstock. 


I was not sure how many I would need so I cut extra. 


I stamped the leaves with black ink using the Pretty Posies set. 


Please forgive the look of my leaf stamp below. It has seen a lot of love!!!


At first I colored the leaves in green  using Copic markers. However, I didn't like how it looked with the background. Instead, I stamped a second set of leaves and used oxide ink with flicks of Distress Stain to color them in. 

I die cut the leaves with the matching Posies dies. 


I added my leaves as shown, adhering two with foam adhesive. I then glued the petals on, using both the large and the small die cuts, with a liquid glue. I wanted to be able to play around with where I wanted the petals placed so using a liquid glue that dries slower was a must.


The last step to this card was to add some flower centers with lilac dimensional drops. I looked at white hydrangea photos to see what color the center actually is but didn't have what I wanted in my stash. Since I had fun with the leaves, I decided I could make the centers of the flower whatever color I wanted.


I love love love how this card came out and it was a TON of FUN to make. It looks like it took a ton of time but really it wasn't because it did not require me to be "perfect."

Want to go shopping? There are a lot of fabulous products in the CAS-Fridays Shop. Use my code NORASENTME to get an extra 15% off your total order!!


That is all from me today. Please be sure to stop back to the blog to see some other FABULOUS projects by the Design Team. Have a FABULOUS day!!


Saturday, December 5, 2020

A Trio of Cards to make you SMILE

Hello everyone!! It is Nora from A Creative Touch with a trio of cards using the soon to be retired Sassy Smiles stamp set with my Pinked Slimline Dies to create my cards. 


I started off by creating two circle stencils using the Pinked Slimline Dies. I die cut the small and large stitched circles out of regular copy paper. 


I often make stencils with my dies as a way to save money. Why buy circle stencils when you can make your own?


I stenciled the circles on each of the cards in a random pattern, using different colored Distress Ink. This card I used three different colors of pink Distress Ink.


I then used the Curtis Stencil over the circles to stencil a pattern over the top of some of the inked circles.


I then stamped my sentiments, two in black ink and one using WOW! Clear Embossing Ink, with WOW! Gold Fine Embossing Powder.


I mounted each of the cards on an A2 card base and then I did some doodling on two of them.


On my card above, I used a white gel pen to doodle on some of the circles on the card, as well as the black sentiment. I then covered the sentiment with some Glossy Accents.


On the card with the gold sentiment, I added a sentiment strip below the embossed sentiment. I added some gold dots on some random circles around the cards.

The Sassy Smiles stamp set is almost gone so get it while you can! You can use my code NORASENTME to get 15% off your shopping total order, including clearance items!


I hope this inspires you to make a trio of your own cards. 

I thank you for taking the time to stop by. Be sure to pop back in this week to see some more amazing projects from the design team. 


Saturday, April 11, 2020

Coffee - A Hug in a Mug

Hi everyone, thank you so much for popping in and really hope you and your family are doing well. We have started our third week of complete lockdown in New Zealand and so far everyone is doing a good job with staying at home but the past few nights I've been out walking the dog to find groups of people out on the pavements in front of their houses, having get-togethers with neighbours, friends etc...and they are not six feet apart!!! I just don't understand their mentality. I'm off to the supermarket soon for the 3rd time in three weeks and I'm petrified.....

On to cuter topics, my dog and cats have loved us being home as I'm sure all your pets have around the world. And I was thinking about what food (apart from flour) would be consumed the most with everyone being at home and think maybe coffee!! So I decided to combine these two thoughts on one card:


I used so many different products on this card: die-cuts from Coffee Cup Fri-Dies, stamp images from Coffee Talk and Little Huggables and a stenciled background using the Curtis Stencil.  For all the details on how I put this card together, pop over to my blog HERE. 


Hopefully you've had a chance to do some crafting during your lockdown and CFS is still posting out purchases, so feel free to do some internet shopping from home. Please stay safe and I'll see you back here again soon with some more card ideas.

Take care
Shona


Thursday, February 20, 2020

Make a Wish-Foiling with Stencils


Hello everyone!! Nora here from A Creative Touch with a fun, foiled birthday card. 

I have been in a glut with creativity and when that happens, I try a new technique. I decided to use the Curtis Stencil with foil transfer gel and rainbow foil to make my card. I have a limited experience using this medium and it was fun to experiment with it. 


I began by spreading foil transfer gel onto an A2 white panel using a palate knife through the Curtis Stencil. I then put it aside and left it to dry over night.


When the panel was dry, I used a rainbow foil sheet and a hot laminator machine to foil the front of the card.


Looking at it, you can see where some of the transfer gel was not spread evenly, giving it a funky look. I could have thrown the panel away but since the lack of coverage was not just on one part of the card but varies throughout, I decided that I would use this as a "design element."


I die cut the panel using a rectangle die and mounted it onto a red, A2 sized card base. I added two foiled circles that I had on my desk that were an "experiment" to make sure that my laminator 
was ready to use.


I heat embossed a sentiment from the Shenanigans stamp set, in gold, onto a white cardstock strip. I then cut out the words to stack on the card.


I adhered the sentiment, popping up the "make" and "wish" with foam adhesive. 


My last step was to adhere some red hearts that were die cut with the Fun-Fetti Fri-dies.


This card was really easy to make, barring the overnight drying time. I hope that this inspires you to try foiling yourself. 

That is it for me today. If you are shopping in the CAS-ual Fridays Store, be sure to use my code NORASENTME to get an extra 15% off your total order.


Thank you for stopping by. Be sure to pop back in to see more inspiration from our design team.