Translate

Showing posts with label Sassy Smiles. Show all posts

Tuesday, March 16, 2021

A card with no Stamping!

Hello, it's Michelle here today with a CAS card I made with no stamping!

I didn't do it on purpose and only realised when I had finished that there was not a single stamp used!
Although the little die cut flowers came from the Sassy Smiles Duo stamp set so maybe that counts.


I started by masking off a strip on the bottom of a card panel and ink blended Suede Shoes and All That Jazz Catherine Pooler inks.  


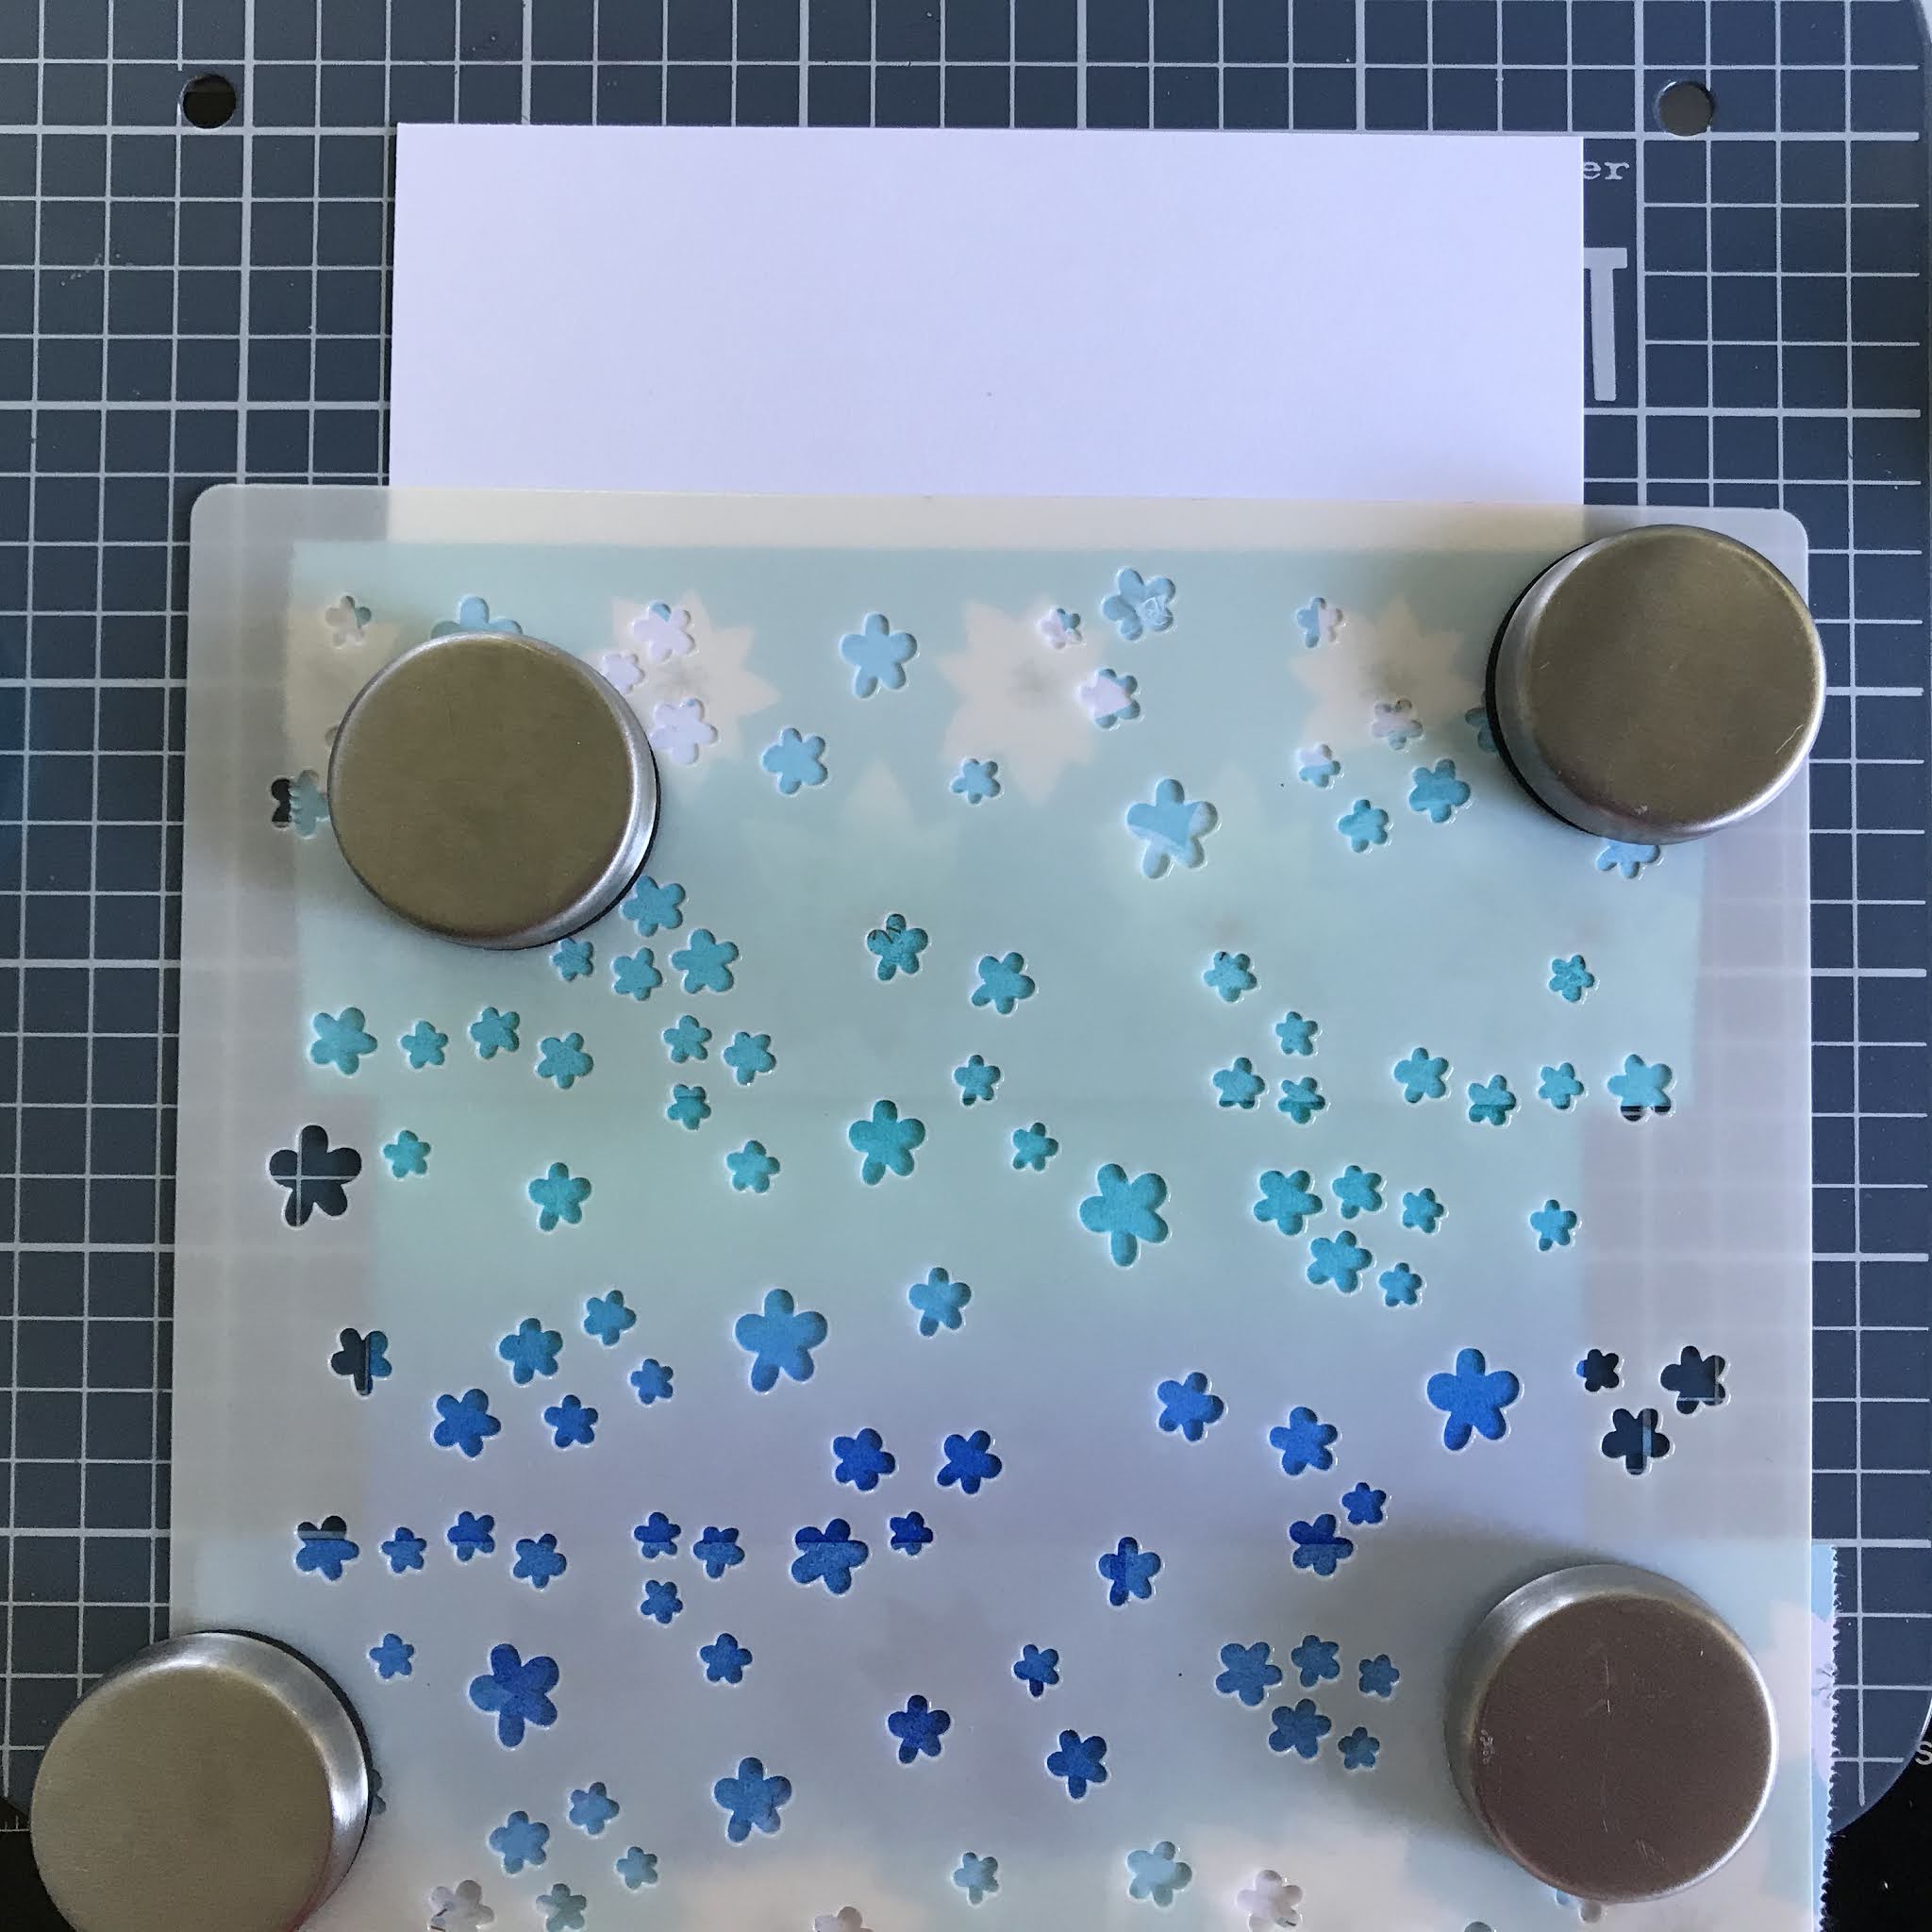
Then I placed the Flowerburst stencil over the top of the inked area and used the same color inks.


I die cut the "Hello" from the Sweet Friend dies 3 times and adhered them together with liquid glue.
I die cut 3 of the tiny flowers from the Sassy Smiles Duo.
Then I added some foam tape to the card panel and adhered it to a top folding card base.


Thanks for visiting and I hope I have inspired you to get inky!
Don't forget you can use my special discount code below for a 15% discount in the shop.


Saturday, December 5, 2020

A Trio of Cards to make you SMILE

Hello everyone!! It is Nora from A Creative Touch with a trio of cards using the soon to be retired Sassy Smiles stamp set with my Pinked Slimline Dies to create my cards. 


I started off by creating two circle stencils using the Pinked Slimline Dies. I die cut the small and large stitched circles out of regular copy paper. 


I often make stencils with my dies as a way to save money. Why buy circle stencils when you can make your own?


I stenciled the circles on each of the cards in a random pattern, using different colored Distress Ink. This card I used three different colors of pink Distress Ink.


I then used the Curtis Stencil over the circles to stencil a pattern over the top of some of the inked circles.


I then stamped my sentiments, two in black ink and one using WOW! Clear Embossing Ink, with WOW! Gold Fine Embossing Powder.


I mounted each of the cards on an A2 card base and then I did some doodling on two of them.


On my card above, I used a white gel pen to doodle on some of the circles on the card, as well as the black sentiment. I then covered the sentiment with some Glossy Accents.


On the card with the gold sentiment, I added a sentiment strip below the embossed sentiment. I added some gold dots on some random circles around the cards.

The Sassy Smiles stamp set is almost gone so get it while you can! You can use my code NORASENTME to get 15% off your shopping total order, including clearance items!


I hope this inspires you to make a trio of your own cards. 

I thank you for taking the time to stop by. Be sure to pop back in this week to see some more amazing projects from the design team. 


Thursday, March 19, 2020

Smile, you are terrific!!

Hi everyone, really hope your all coping well with the pandemic. Its such an unsure time, not knowing whats going to happen next but I'm sure your all looking after each other, even people you don't know so well. And maybe sending a card to let them know your thinking of them could be a good idea too!!

I wanted to share a card with you today, with some fresh, Spring colours for all you people on the other side of the world. We have started Autumn in New Zealand here but it still feels like the middle of Summer with hot nights and even hotter days. We are trying to make the most of the good weather until Winter kicks in or we have to stay inside for a long period of time.....

 
Blue and green always seem like such fresh, happy colours, I thought this could really lift someone's day!

This was pretty simple to put together, I wanted something quick so I could make a few in different colours and get them in the mail asap. I used the Sassy Smiles and Pretty Posies stamp sets for this card and for all the details on how I put this together, pop over to my blog HERE.


Thank you so much for taking the time to stop by today, fingers crossed this card make you smile and that you may have some time to do some creating for yourself.

Take care
Shona


Wednesday, May 1, 2019

One stencil, two different techniques!!

Happy 1st of May everyone!! I hope your week is going just as you planned so far and the weather is looking good. We are definitely heading into Winter with our beautiful sunny days and freezing cold nights!

This is my first 'Girl Friday' post for this month and I have two cards to share with you, both using the same stencil but in different ways:

 
I've been sick with the flu the past few weeks and even though I didn't feel like making many cards, I spent a lot of time watching YouTube videos of my favourite crafters. One of them is Yana Smakula. Her cards are always incredible and she has so many amazing ideas. I watched this video of hers HERE  where she showed 5 different ways to use a stencil. I desperately wanted to try some of them out and these cards are what I came up with!!
 
Each card uses the Tin Roof Stencil, as well as one of the Sweet Friend Fri-dies. The sentiments are from the Bushy Tailed and Sassy Smiles stamp sets. To find out what techniques I used and how I put these cards together, pop over to my blog for all the details.


Thanks so much for stopping by and I'll see you back here later this month with some more card ideas!!

Take care
Shona

Wednesday, March 13, 2019

Birthday Cards Using Paper Scraps and CAS-ual Fridays Stamps Sentiments

Hello everyone!! Nora here on the blog today to show you some fun cards I created using up paper scraps and some fun CAS-Friday Sentiment stamps.

I don't know about you but I have a TON of paper scraps and my drawers only are getting fuller. I challenged myself to use up some of the scraps by making two birthday cards, one for a boy and one for a girl. I created a step-by-step for the girl card. My cards were inspired by a card I found on Pinterest that used pre-made products and I thought it would be fun to reproduce with stamps.


My first step was to stamp and heat emboss in white all the sentiments I was going to use. Some I masked, others I used the whole strip.


Next I created a card front stenciling over different sized circles with Twisted Citron Distress Ink.


At first I was going to just do a few circles but I got carried away!!


I then started placing the strips around the card, trying to figure out where I wanted them to go. I wound up fussy cutting the "celebrate" sentiment and placed that where I wanted it to go using foam adhesive. I adhered the rest around it.


My last step was to add some pink and green sequins. Who doesn't like a birthday card with some sparkle?


The second card I produced for a boy and used a black striped pattern paper as the background.


Instead of "celebrate," I chose to use the HB2U as the centerpiece. I fussy cut it out, then topped it off with some clear sparkle and Glossy Accents.


Well that is all form me today. I hope this inspires you to look through your scraps and stamp sentiments to create some of your own fun cards. Use my code NORASENTME to get 15% off your total order at CAS-ual Friday Stamps.


Have a FABULOUS Wednesday!!

Stamp Supplies Used: