Translate

Showing posts with label Heart Board Fri-Die. Show all posts

Monday, March 9, 2020

You Are Terrific!


Lisa here!  Today I'm all about the Pretty Posies!  I'm playing along with the current 30 Day Coloring Challenge and I colored these up on Day 8 and got them right onto a card for today.  Of course I used some pretty and subtle pink plaid for a quick and simple background.


I used two of my favorite Copic combos to color these... for the Pink flower I used R81, R83, R85, and R89.  And for the green and white daisies I used YG01, YG03, YG17 and YG67.  Some days I pull out what seems like all of my Copic markers and other days I keep it simple!  These are my most often used combos.


And one of the Heart Board Fri-Dies cuts was the perfect place for one of the beautiful sentiments from the Pretty Posies set to rest.


That's me for today!  Hope you enjoyed your visit and whether you are participating in the coloring challenge or not, I hope you find some time to color, or stamp, or sew, or do whatever it is that makes your heart happy every day... even if it's just for a few minutes!

Happy Creating!


Wednesday, January 29, 2020

As High As The Sky


Hello!  Lisa here and today I'm sharing this sweet card that could be a Valentine or just to let someone know that you love them!  And I'll show you how I used the Bubble Box Fri-Dies to create this cloudy background!


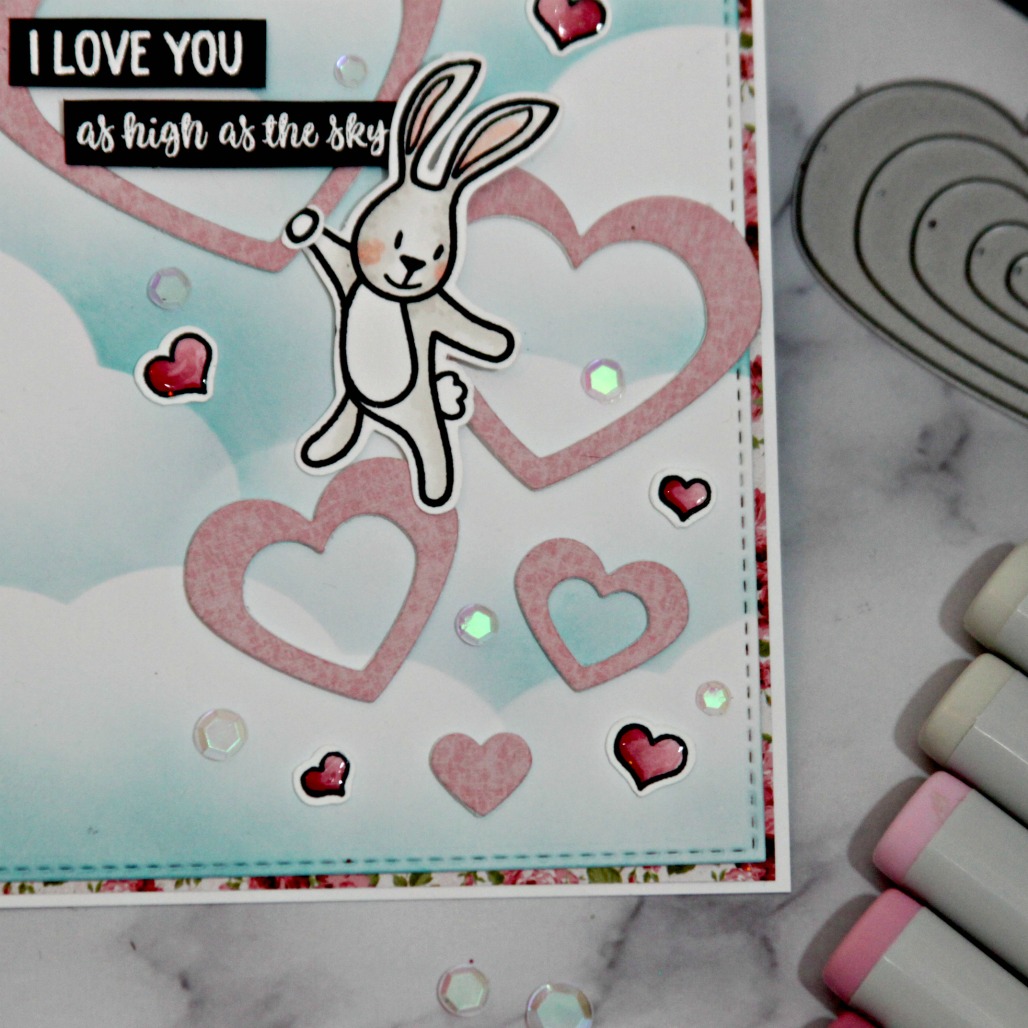
I started by cutting a background layer from white cardstock.  Then I cut the largest Bubble Box die also from white... you could cut it out of any cardstock or even a light cardboard or chipboard depending on how often you intend to use it.  Although even just out of simple card stock this one is in my stash ready to use again!  I laid the bubble Box die over the background panel starting at the bottom at various angles, blended ink lightly over the top and then moved the die cut over and repeat... always tilting at different angles to give the feel of various shaped clouds.


I just kept my ink blending to the top of the diecut careful not to go over the straight edge too much!


This background took just a few minutes and I love it!  I added a little ink to the bottom of the panel as well... 'cause we're WAY high up in the sky...


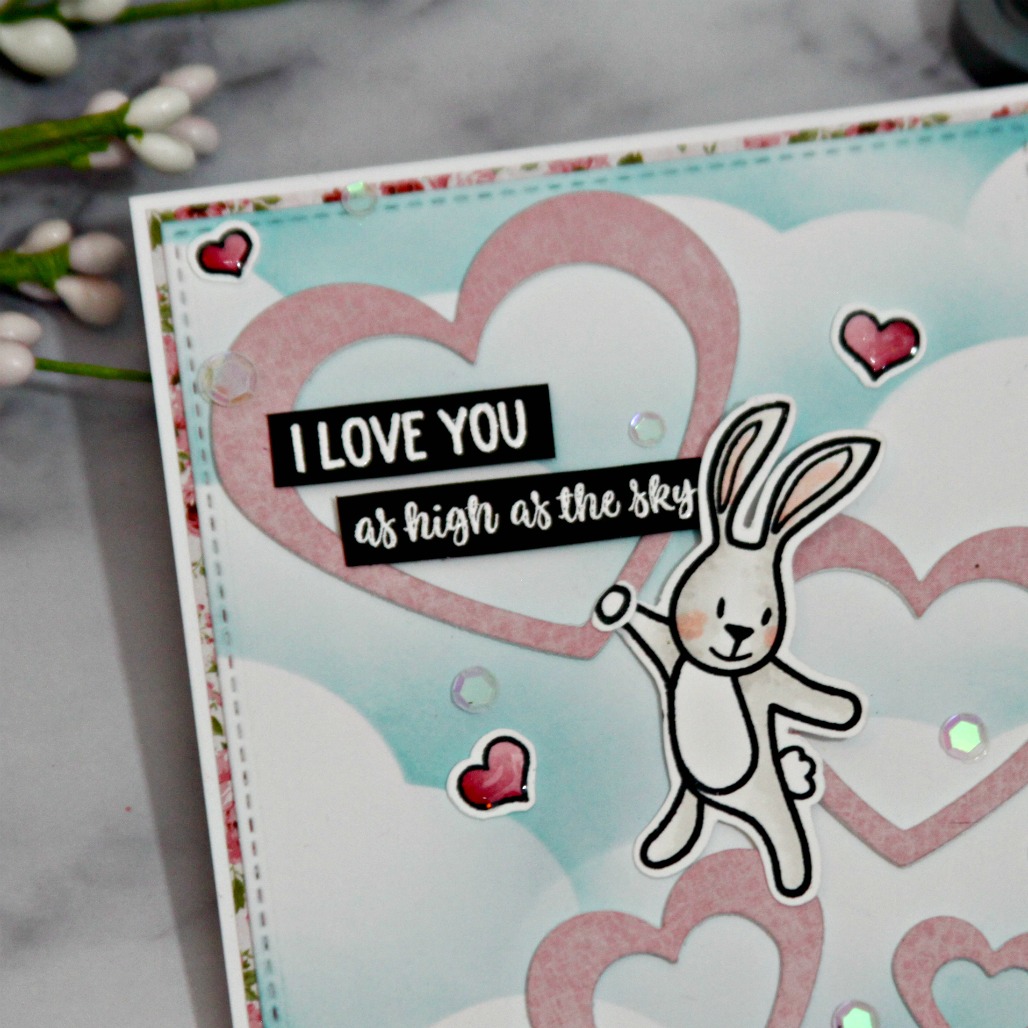
... 'Cause that's how much I love you!!  Aren't those bunnies from the Somebunny Stamp set SO adorable!!  This one was floating hanging onto a balloon, but I cut the balloon and string off and covered the extra lines with white gel pen.  Then I cut his hand off (sorry bunny) so I could make it look like he had it wrapped around that largest heart from the Heart Board Fri-Dies.  And can we talk about the heartwarming sentiments on the Somebunny Set?!  Love them all, but I thought this one was perfect!


And seriously... those Heart Board Fri-Dies are one of my favorite go to die sets... I cut them once from the design paper I wanted to use and once out of some thin crafters foam for a little bit of dimension.  And the hearts from the Somebunny set were perfect to scatter around along with a few sequins.


And that's me for today!  Thanks so much for visiting and hope you enjoyed it!

Should you decide there is something that you must have, I have this for you:


And you can still get some great deals on retiring sets right here!

Come again soon and often for more inspiration!


Wednesday, January 15, 2020

I Ruff You!


Lisa here!  I knew I wanted to create a Valentine for today and my first thought was flowers and then I remembered the adorable Huggable Critters Fri-Dies!


I was in the mood for this pup!  And I love him in Black and White so I made him spotted!  I cut one body piece in white and one in black and handcut some spots out of the black one to add spots to the edges of his body.


And I thought it would be so cute for my Valentine to be carrying a Valentine!  I cut the Heart Board Fri-Die out of red glitter paper and plain white cardstock and then alternated the little heart frames back together.  And of course he'd have a puppy Valentine with a cute little Punny sentiment from the Little Huggables stamp set.


So there you have it... a Valentine with a Valentine... I wonder if that little pup Valentine is carrying a littler pup Valentine??

Should you decide you need this pup or anything else, I have this for you:


And did you know this is going on right now??


Thanks so much for stopping!  Hope you enjoyed your visit and come back soon and often for more inspiration!


Sunday, January 5, 2020

Happy Anniversary!!

Hello everyone!! Its my first card for 2020 and nice to not be making a Christmas card! Hope you all had a fantastic holiday, that your weather was kind and you had a chance to relax. I'm back to work tomorrow after having just under two weeks off and not looking forward to it at all.....would much rather stay home and hang out with the kids, play basketball with Max and experiment with make-up with Phoebe.

Walking through a bookstore yesterday I saw a few Valentine's cards advertised and was quite shocked as feel like I haven't gotten over Christmas yet. But it got me thinking about making some cards about love instead of them being covered in Christmas images:


I thought these pastel colours were so pretty together with the light grey and white. And love how the 'white-on-white' background adds some interest without taking away from the main image.

The background was made with the Heart A2 Panel Fri-die, the central image with the Heartboard Fri-dies and Ornament Tag Fri-dies, and the sentiment from the Ever After  stamp set. Mixing a bit of the old with the new!! To find out how I put this together you can find all in the info on my blog HERE. 


Hope you've found a bit of inspiration with my design for your own Valentine's cards and I'll see you back here again later in the month with a new idea or two.

Take care
Shona


Friday, January 3, 2020

On Your Wedding Day


Happy New Year!  Lisa here and today I'm sharing a card for a wedding and I've used lots of embossing powder on the background, sentiment and on the embellishments.  I used some gold mirror cardstock and was wondering how it would take the heat if I were heat emboss it. 

I started by creating my background using the Starlequin stencil and applied some gold embossing paste through it.  Then while it was wet I sprinkled on some Vintage Peacock embossing powder and heated it up.:


Next I die cut one of the CASual Trees Fri-dies from gold mirror cardstock, smooshed the ends onto my embossing ink pad and then smooshed them into the powder.  I didn't worry about full coverage because I like things imperfect and wanted the gold to show through.


As you can see, the mirror cardstock took the heat ok, however, some of the embossing powder seemed to slide around a bit as I heated it.  After it cooled, I applied more embossing ink and more powder and heated it again... this time keeping the heat pointed straight down at it instead of coming from the side as I tend to do and that seemed to help more stay put.....


And this is what I ended up with... I LOVE it!   I used the same powder as in the background, Vintage Peacock, and I mixed in some plain gold die cuts for contrast in my "bouquet". I love imperfect things in my project, but if you don't, then you may want to use plain cardstock for this technique for more even coverage of the embossing powder and you can just keep adding more until you get the look that you like!
  

I love to cut apart the branches of this CASual Trees die cut so I can make a full "bouquet" and love how it coordinates perfectly with the background.  The heart from the Heart Board Fri-Dies is perfect as a vase.


I embossed the sentiment from the Ever After set in white onto some teal cardstock and added a matte of the gold behind it, tucking a few more of the branches from the CASual Trees die cuts in the corner.
  

I'm playing along with the Wow Embossing Powder January Challenge which is Love/Valentines Day/Wedding/Anniversary.  I've got that covered!

If you entered the giveaway for the Season's Giving Blog Hop, be sure to stop back tomorrow to see if you were a winner here at the CAS-ual Fridays Stamps Blog!  And if there are things that you need from the shop, I have this for you:


Thanks so much for stopping by!  Come back again soon for more inspiration!

Below are links to the CAS-ual Fridays Stamps Products I used today:


Sunday, July 7, 2019

The Purrfect Amount of Sparkle!


Lisa here!  I know some of you hate glitter... and that's ok!  I'm not one of those people!  I love to keep my craftroom stocked with all sorts of glittery things.  I have a shelf full of jars of glitter; many sheets of glitter paper; and many glitter covered embellishments.  What can I say... I get mesmerized by the stuff and before I know it, it's in a cart.. real or virtual.  But I use it... so I'm good with that!

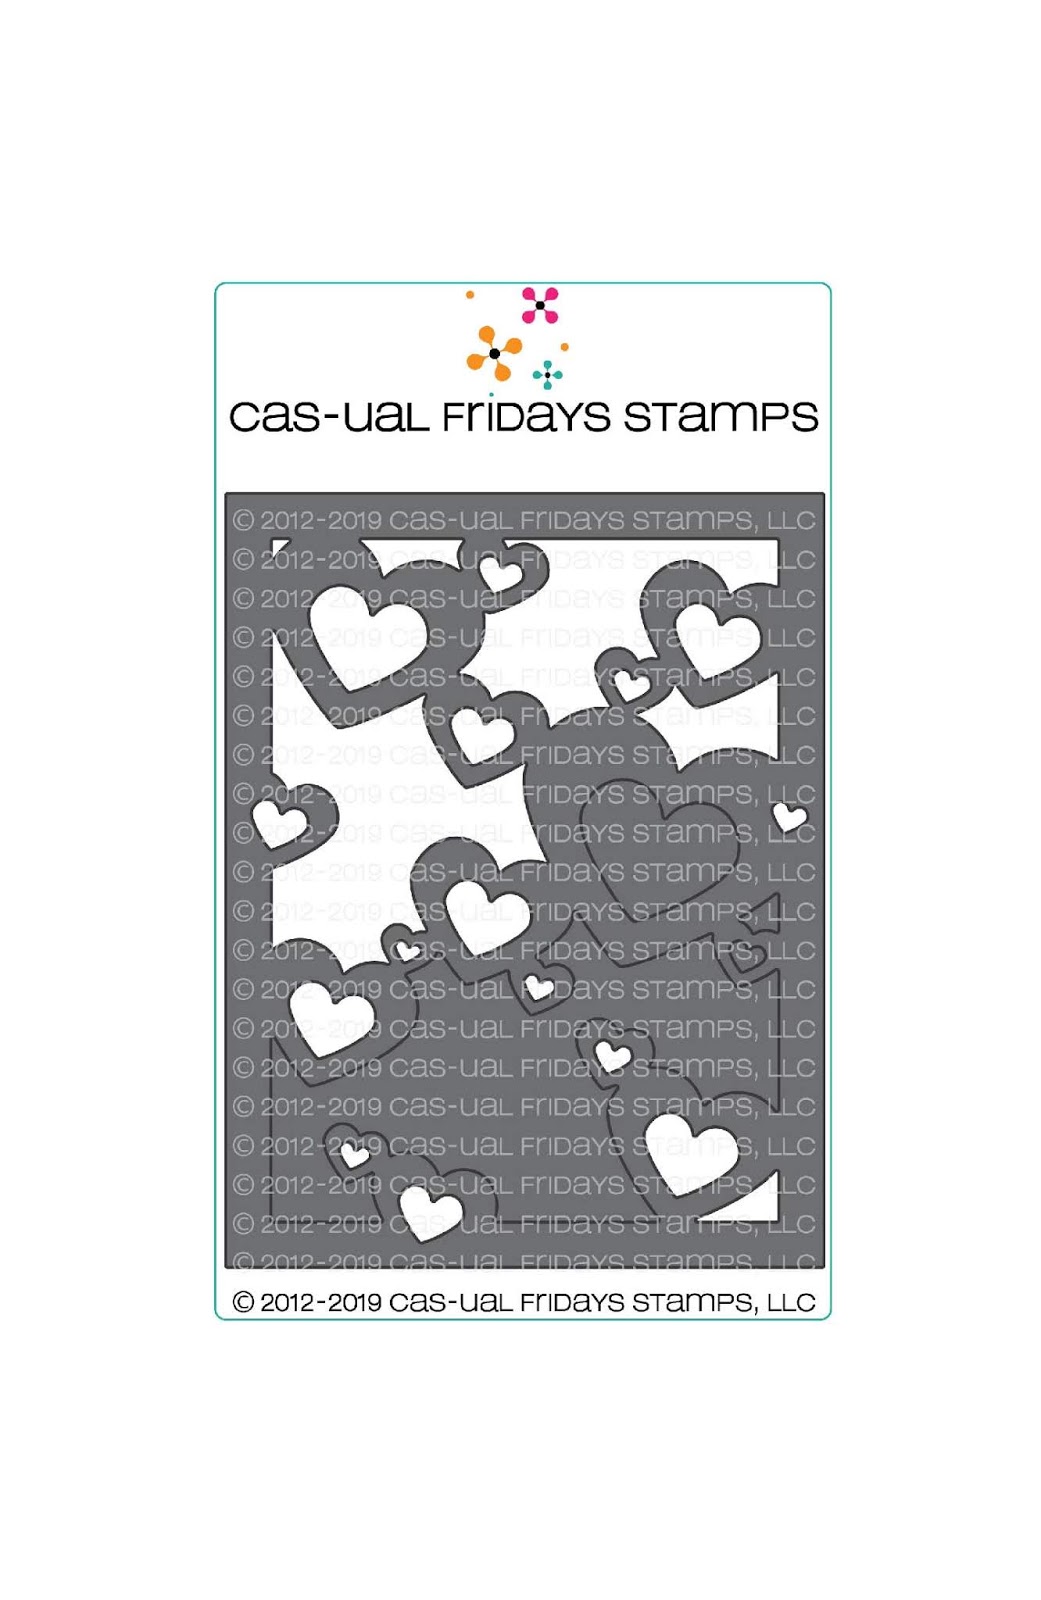
I wanted to use the new Hearts A2 Panel die over a glitter background, but just didn't have the right color of glitter paper that I wanted!  So I decided to create my own and it was easy!


I pulled out some sheets of double sided adhesive that I had and cut the Hearts panel from a sheet of purple cardstock.  I also cut an A2 size of the same purple cardstock and cut my adhesive sheet down to an A2 size.


Next I pulled off one side of the adhesive sheet exposing the adhesive.  To make it easier to handle, before I had the entire sheet off, I started lining up my solid piece of cardstock over it and then stuck it down as I peeled the rest of the backing off.


I pressed down firmly all over the back of the cardstock to be sure the adhesive transferred to it and then flipped it over and peeled back the second paper from the adhesive sheet leaving a piece of cardstock that was totally covered in adhesive.


Finally I positioned the Hearts A2 panel I'd cut over the solid piece of cardstock and pressed down.  It's ok that I was a little off on the edges.  The important spaces were covered (the insides of the Hearts panel).  It was easy to just trim off the sticky cardstock that was sticking out.


For the next bit, I laid out a piece of scrap paper for easy cleanup; sprinkled the glitter I'd chosen all over the top of it... be generous to be sure you have coverage.


Then I proceeded to just rub the glitter into the adhesive firmly all over the card where the sticky areas were, brushing the excess onto my scrap piece so I could see that I had the areas covered.  This process is called burnishing the glitter.  


I used a paint brush to remove any additional excess glitter sticking to the places I didn't want it because of static and was easily able to fold the paper in half and place that back into the container.  What you're left with is an almost smooth sparkly surface on your card!  These new A2 panels are just perfect for this kind of a technique!


I cut some plaid paper using the Heart Board Fri-Dies and intended to adhere them all together as a background layer for my kitty when I discovered that the hearts from this die fit perfectly over the hearts in the A2 Panel... BONUS!  So my plan changed a bit and I decided to accent some of the hearts using the plaid paper.

.
I ended up cutting another set of hearts to use in a couple more places on the background.  Isn't that sparkle so pretty??


If you follow me you may remember this little guy from the new Little Huggables stamp set on Instagram... I colored him for the 30 Day Coloring Challenge... he's been bugging me since to get him onto a card so he should be happy now!


I just added a few sequins to bring in the orange and green from the plaid and made my sentiment strip in the orange color as well.  Those punny sentiments from the Little Huggables set... SO cute!

So glad you could stop by today and hope I've either given you a new technique to try out or reminded you of one that you haven't used in a while!  And if you HATE glitter but love the sparkle... just get yourself some glitter paper and use that instead... so many of them are made so that you don't have to worry about little sparkly bits falling off of them everywhere... although I really don't see the problem!  (Except when my husband wants to know why there is glitter in the living room.. um... did I do that?)

Should you decide you need something from the CAS-ual Fridays shop, I have this for you:


And be sure to check us out at these places: