
Hello Crafty Friends!!
Larissa here today with a Layered Regal Flocked Happy Hanukkah Shaker Card!! I'm NOT ready for Winter yet, but I am in the mood for using my Products to create some of the Winter Cards I'm going to need!!
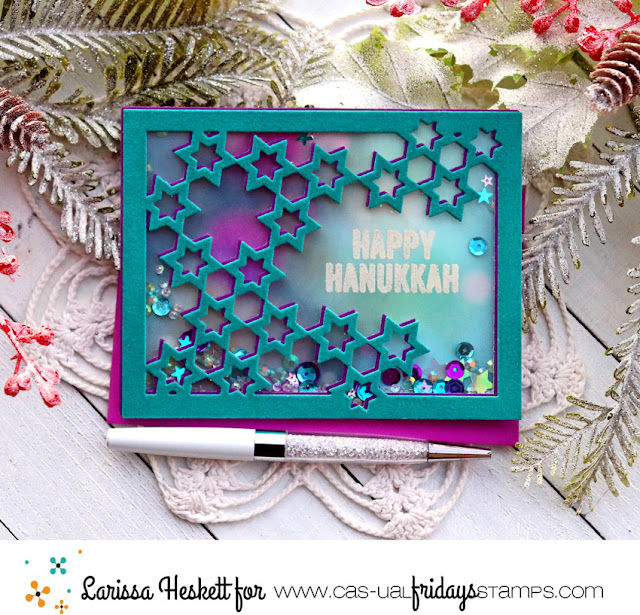
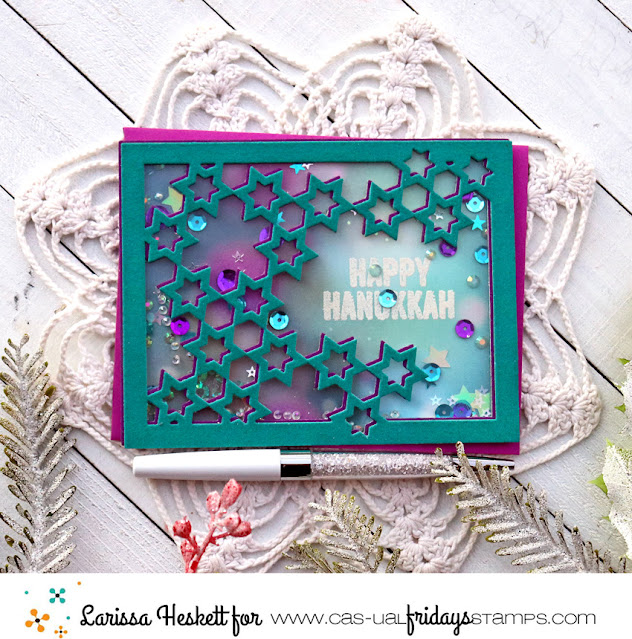
SWOON!! Doesn't this SCREAM Regal!!?? I LOVE the Color Combo and with the Flocked Texture and the Sparkle and Shine from the Sequins reminds me of the Gems and Gold!! PERFECT for the feeling I'm going for, Made for a King!!


So when I think of the Star of David it makes me think Regal so I decided to use the Deco Foil Flock Sheets in Purple Punch along with the Double Sided Foam Adhesive Sheets to create the STUNNING Stars A2 Panel!!
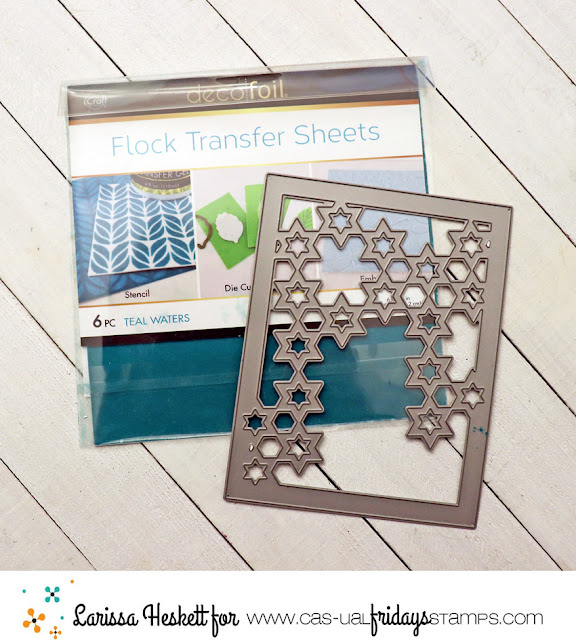
I then repeated the same process only this time I used the Deco Foil Flock Sheets in Teal Waters!!

I like to leave the Die Cut Panel in the Die as it makes it alot easier to add the Acetate onto the back of it without distorting it in anyway!! As soon as the Acetate is adhered to the back I cut down some Foam Tape into strips and added it to the outer frame of the Card to build my Shaker Window!!

I found this Bokeh Patterned Paper in my stash and wanted to use it for the background of my Shaker Card, but first I needed to Stamp and Emboss the Sentiment!! I used the Star of David Stamp Set and some Ranger Vintage Pearl Embossing Powder!! It matches perfectly with the Bokeh Design of the Paper and adds a touch of Sparkle too!!
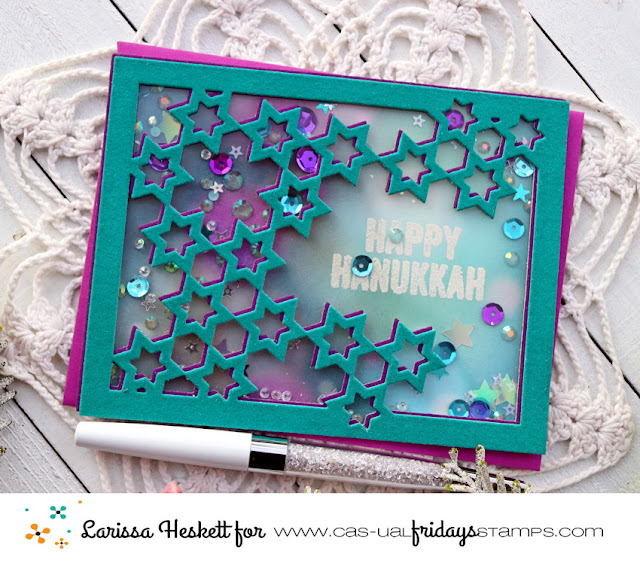
I added a mixture of Sequins and Jewels and then adhered the Stars A2 Panel and the Background Paper together creating the Shaker Card!! I adhered it onto and Top folding Cardbase and I LOVE the way it turned out!! Full of Texture with the Deco Foil Flocking Sheet and then the addition of the Sparkle and Shine from the Shaker Elements just makes this Card SPECIAL!!
THANKS SO MUCH for stopping by today and I hope you'll give Deco Foil Flock a try with your Intricate Dies!! I ASSURE you, you'll LOVE it too!! Have a FABULOUS WEEKEND!!
LARISSA =)
Use my discount code LARISSASENTME, to save 15% off on all of the goodies in the
CFS Shop!!


