Translate

Showing posts with label Hanukkah Cards. Show all posts

Monday, December 6, 2021

Last Night of Hanukkah

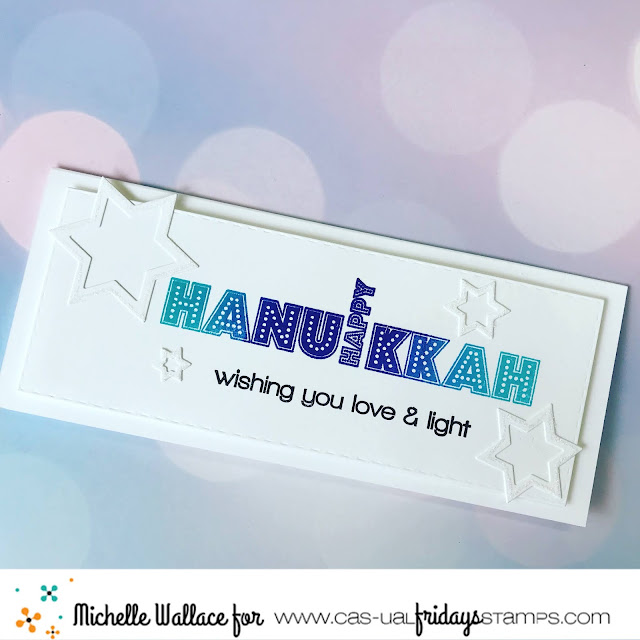
Hello, it's Michelle here today with a couple of cards to celebrate the last night of Hanukkah.

For my first card I've used the Festival of Lights stamp set and the Hanukkah Dies and made a slimline card.


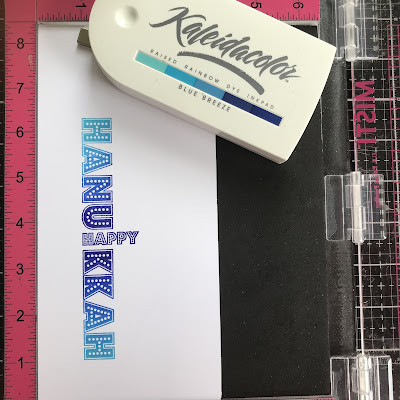
I started by stamping the largest sentiment using the Kaleidacolor Ink pad and my MISTI.


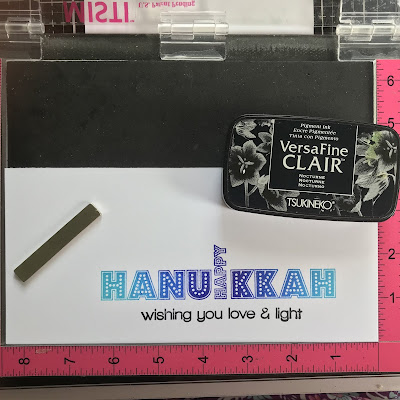
Next I stamped the smaller sentiment underneath using VersaFine Clair black ink.


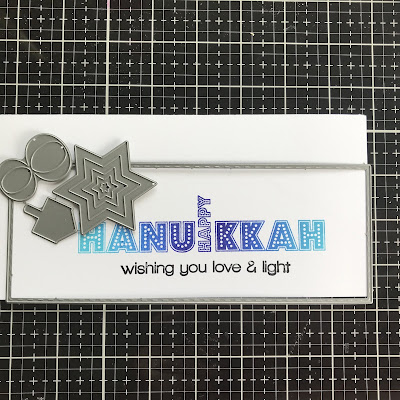
I die cut the panel out using the stitched die from the Pinked Slimline Die set and some Stars from the Hanukkah Dies.


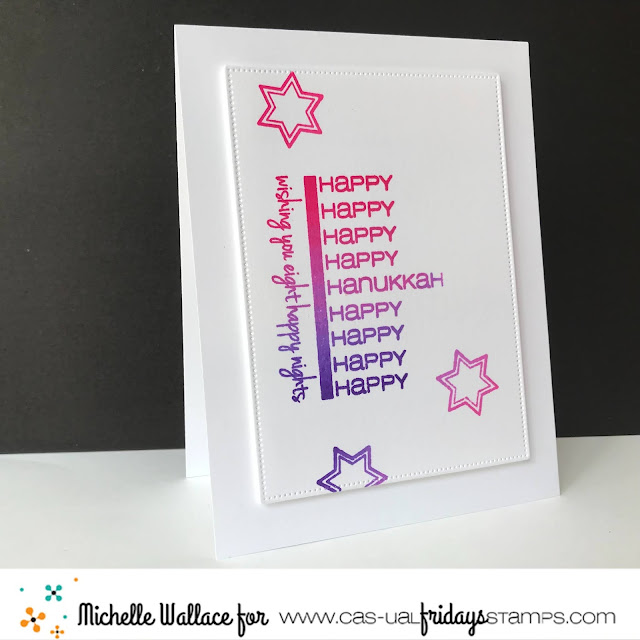
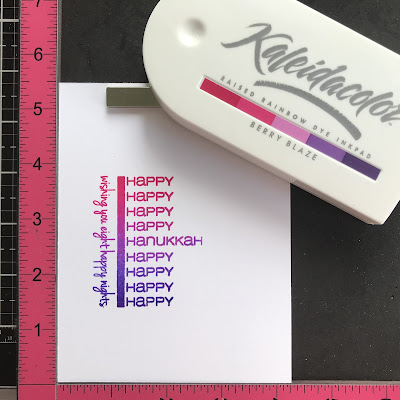
My next card was pretty quick and simple.  I used the 8 Happy Nights stamp set and the Berry Blaze Kaleidacolor ink pad.


Thanks so much for stopping by and if you are interested in purchasing any of the products I've used today, you can click the "let's go shopping" link below to take you over to the shop!
I have used my affiliate link which means at no extra cost to you I can make a small commission on any purchase you make.

You can also use my special discount code MICHELLESENTME for an additional 15% discount.


Saturday, December 4, 2021

A Happy Hanukkah Card

Happy Hanukah my friends!! It is Nora, here from A Creative Touch on the blog today with a festive card to celebrate this holiday of lights.


I started off my card by blending blue ink through the large star on the CAS-Fridays Jewish Star Stencil. I masked it off with tape so that I would only get the ink inside the part of the stencil I wanted. 


I then masked off the star and applied blue texture paste over the top. I utilized the same stencil but used the star strip on the left. I wanted a tone on tone effect that I could get using both the ink and the texture paste together. The texture paste was just a tad bit lighter so that it can be seen over the dark blue of the ink blending.


While my star was drying, I prepared my background. I used my FAVORITE CAS-Fridays stencil, Swirls Stencil, and blue glitter glue to make all the sparkly dots on a die cut, white rectangle. I have used this stencil on SO MANY cards and out of all the stencils I own, I have played with this stencil the most.


I set this panel aside to dry, and die cut the sentiment using the Happy Hanukkah dies. 


I decided to use a silver glitter cardstock to give the sentiment some visual weight because I was using so much blue on this card. I first tried a white glitter die cut but it blended into the background too much.

 
When all the pieces were dry, I put the card together. I adhered the swirls background over an A2, white, top folding card base. I then used foam adhesive to adhere the Jewish Star to my card front. My last step was to adhere the glitter sentiment over the star and my card was complete.


I was not sure where I was going when I started my card but I love the way it came out. I hope this inspires you to use your stencils and dies together.

The two stencils and the die cut for the sentiment are available in the CAS-Fridays Shop. Please use my code NORASENTME to get an extra 15% off your total order!!!


I thank you for taking the time to stop by. Please be sure to check in to the blog this week for some more fabulous creations from the Design Team. 


Friday, December 11, 2020

Happy Hanukkah 3rd Night of Hanukkah Card!!

Hello Crafty Friends!! 

Larissa here today sharing a Card for the 3rd Night of Hanukkah!! 
I LOVE the Stars A2 Panel Die as it's so versatile!! I've used it for the background of my Card today along with the Star of David Stamp Set!!
 

I Started by Die Cutting the Stars A2 Panel Die from some of the Foiled Lawn Fawn Patterned Paper!! Then I I created my Card Panel background by Inking it with some Tumbled Glass Distress Oxide Ink and some Cracked Pistachio Distress Oxide Ink!! 
Then I used the Happy Hanukkah Sentiment from the Star of David Stamp Set and Stamped with some WoW Ultra Cear Embossing Ink!! Then Embossed with some WoW Metallic Gold Sparkle Embossing Powder!! I Heat set it with my WoW Dual Speed Embossing Tool!! It coordinates so BEAUTIFULLY with the Gold Foiled Patterned Paper!! 

Then I adhered the Stars A2 Panel Die Cut to the Inked Stamped and Embossed Card Panel Background using some Utlrabond Adhesive!! 
I wanted to add some extra Sparkle and Shine so I adhered some Metallic Stars, Gold Sequins and a few Pearls!! 
I LOVE the added touch as it adds the perfect touch of Sparkle and Shine, plus it helps to create a visual Triangle around the Sentiment!! 

For TONS of AMAZING Inspiration make sure to visit the CAS-ual Fridays Stamps Blog and shop the NEW, Old and Sale Products in the CFS Shop!! You can also use my discount code LARISSASENTME to SAVE 15% off anything in the Shop!! WHOOP WHOOP!! 

THANKS SO MUCH for stopping by today and I hope you have a FABULOUS WEEKEND!!
Larissa Heskett 💗